Sesid Equator
Responsibilities
- Designed and created the level for 50 vs 50 competitive FPS.
- Planned and placed assets for low, mid, and high level detail.
- Integrated key features into the level, such as invisible collisions, streaming volumes, spawns, and kill boxes.
- Optimized the level.
- Scripted multiplayer level streaming.
- Scripted procedural rock materials, which reduce resolution at different screen percentages.
- Coordinated closely with the art team for lighting and assets, as needed.
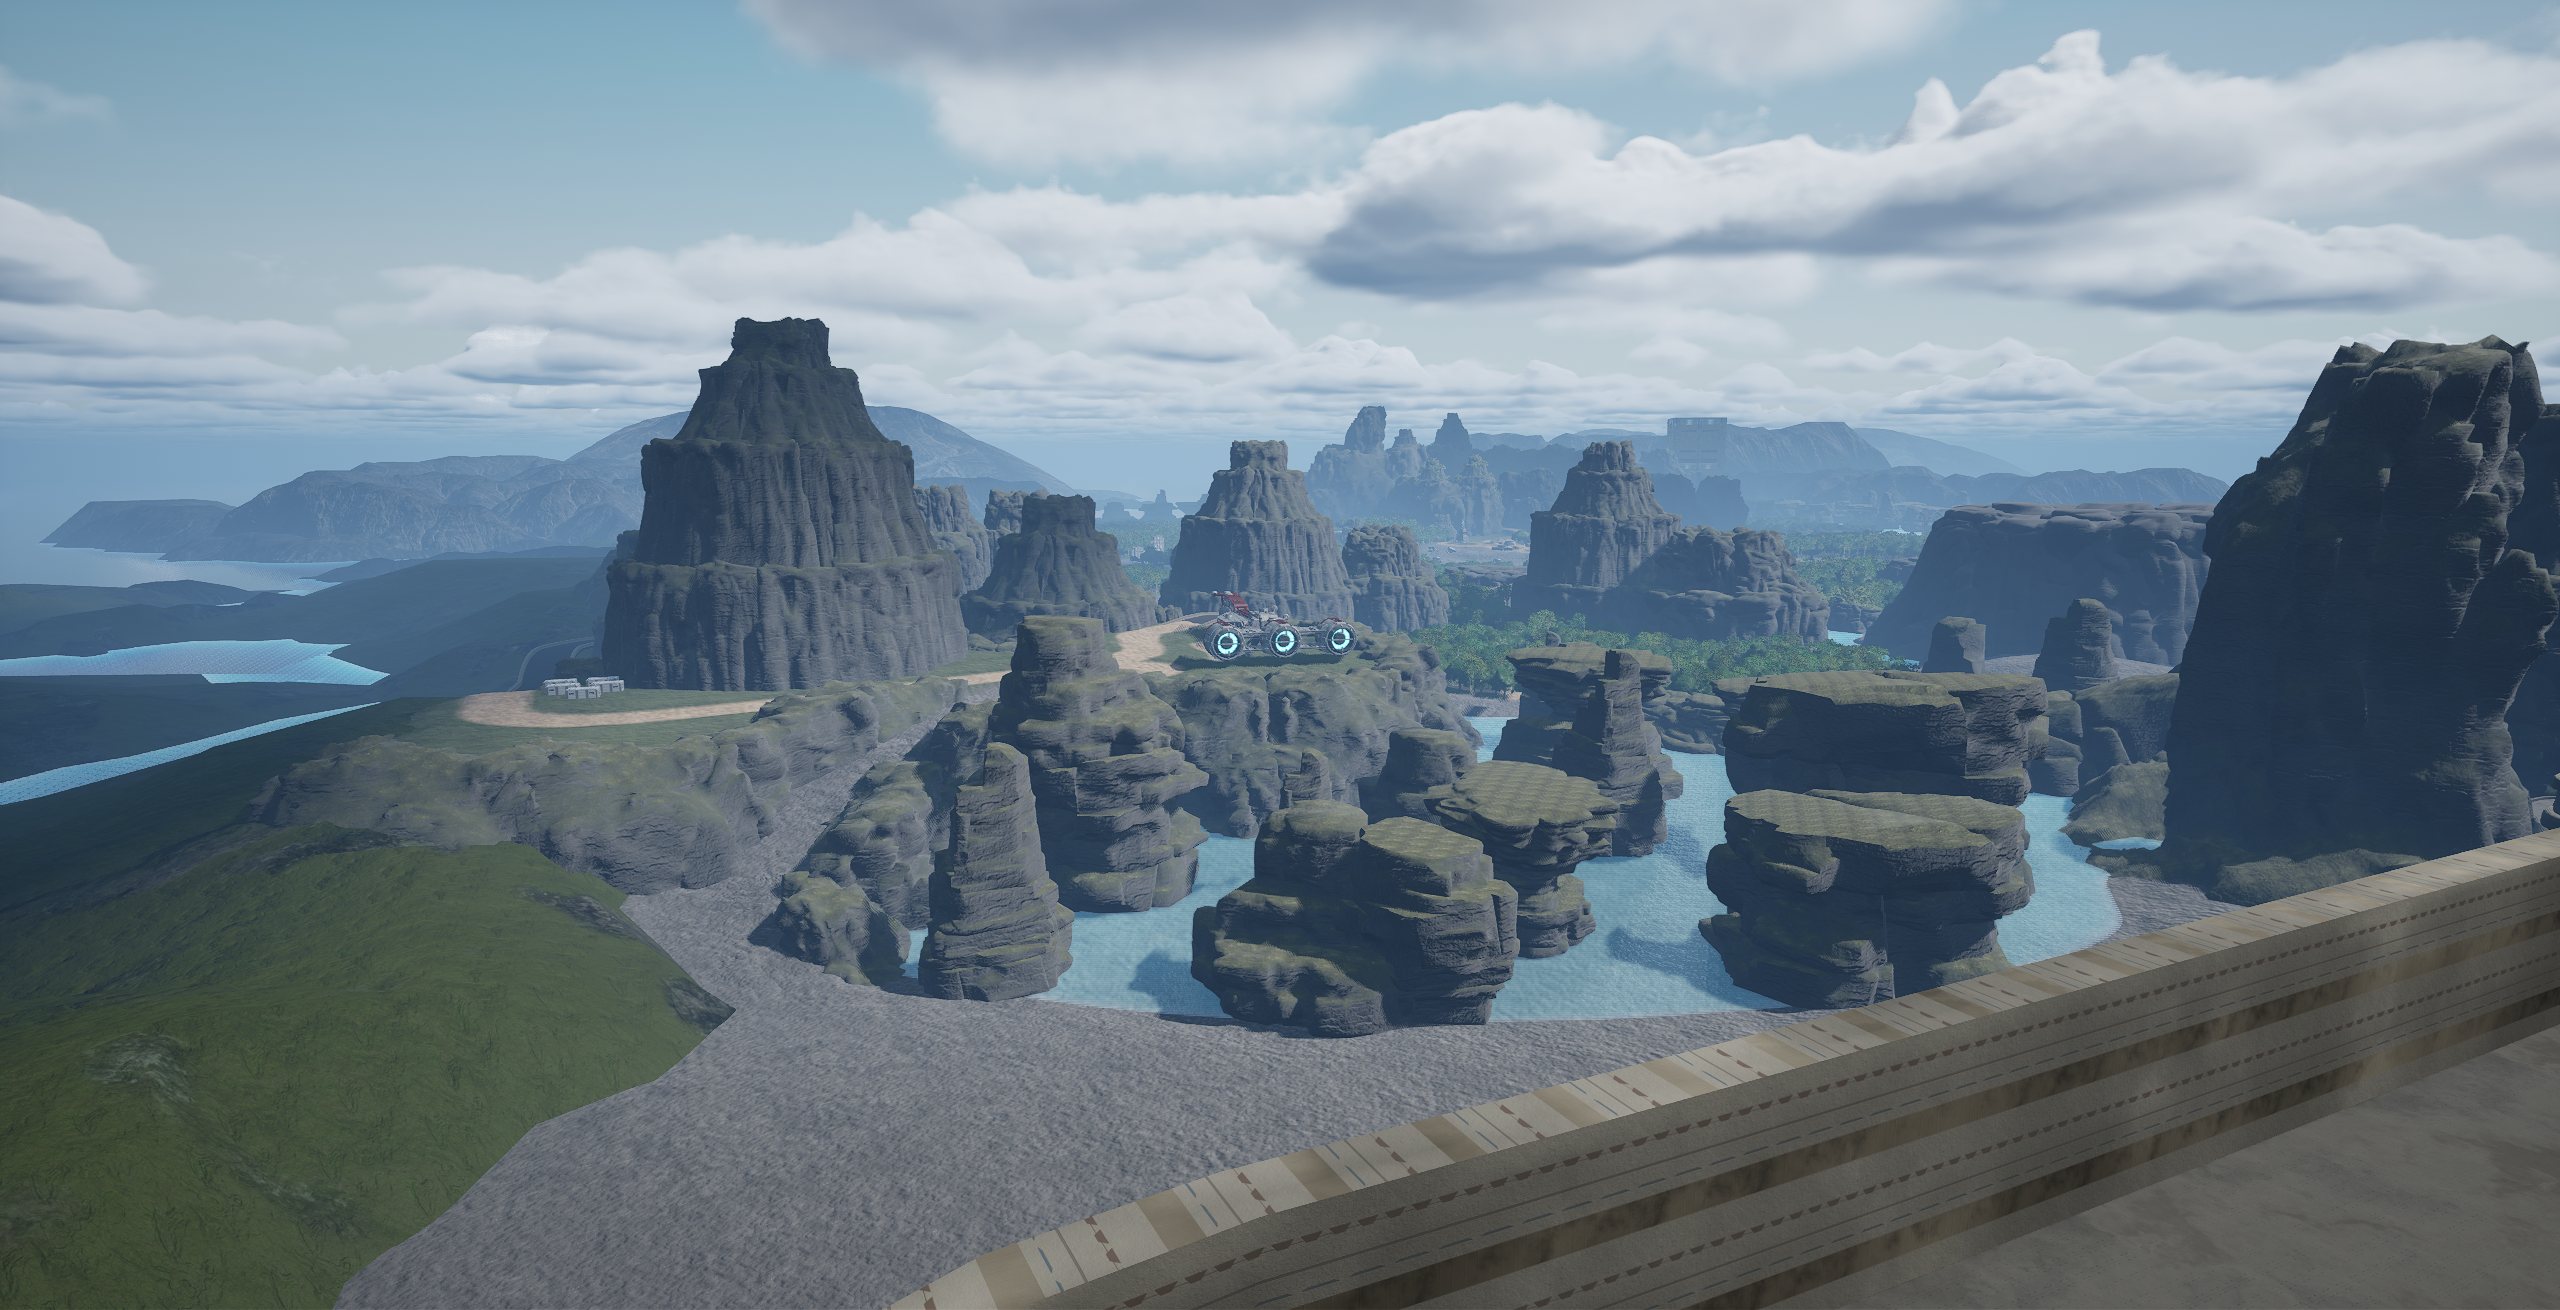
While with the team at Galactic Contention, I was given the opportunity and the responsibility to create a sequel level to the already-loved Sesid level. This level had to fit in the broader scope of Galactic Contention, which is a total conversion mod for an FPS game called Squad. In it, 2 teams of 50 players each fight in a variety of game modes for control of a planet. As a level designer, I had to ensure that each of these game modes were offered support, whether or not they were planned to be featured at map launch.
It was also critical that the game's logistics system was kept in mind when developing this level. While all mechanics are important, the logistics system governs how players spawn and fortify locations across large levels.
To start on the map, I first started with what I knew from the specs I was given:
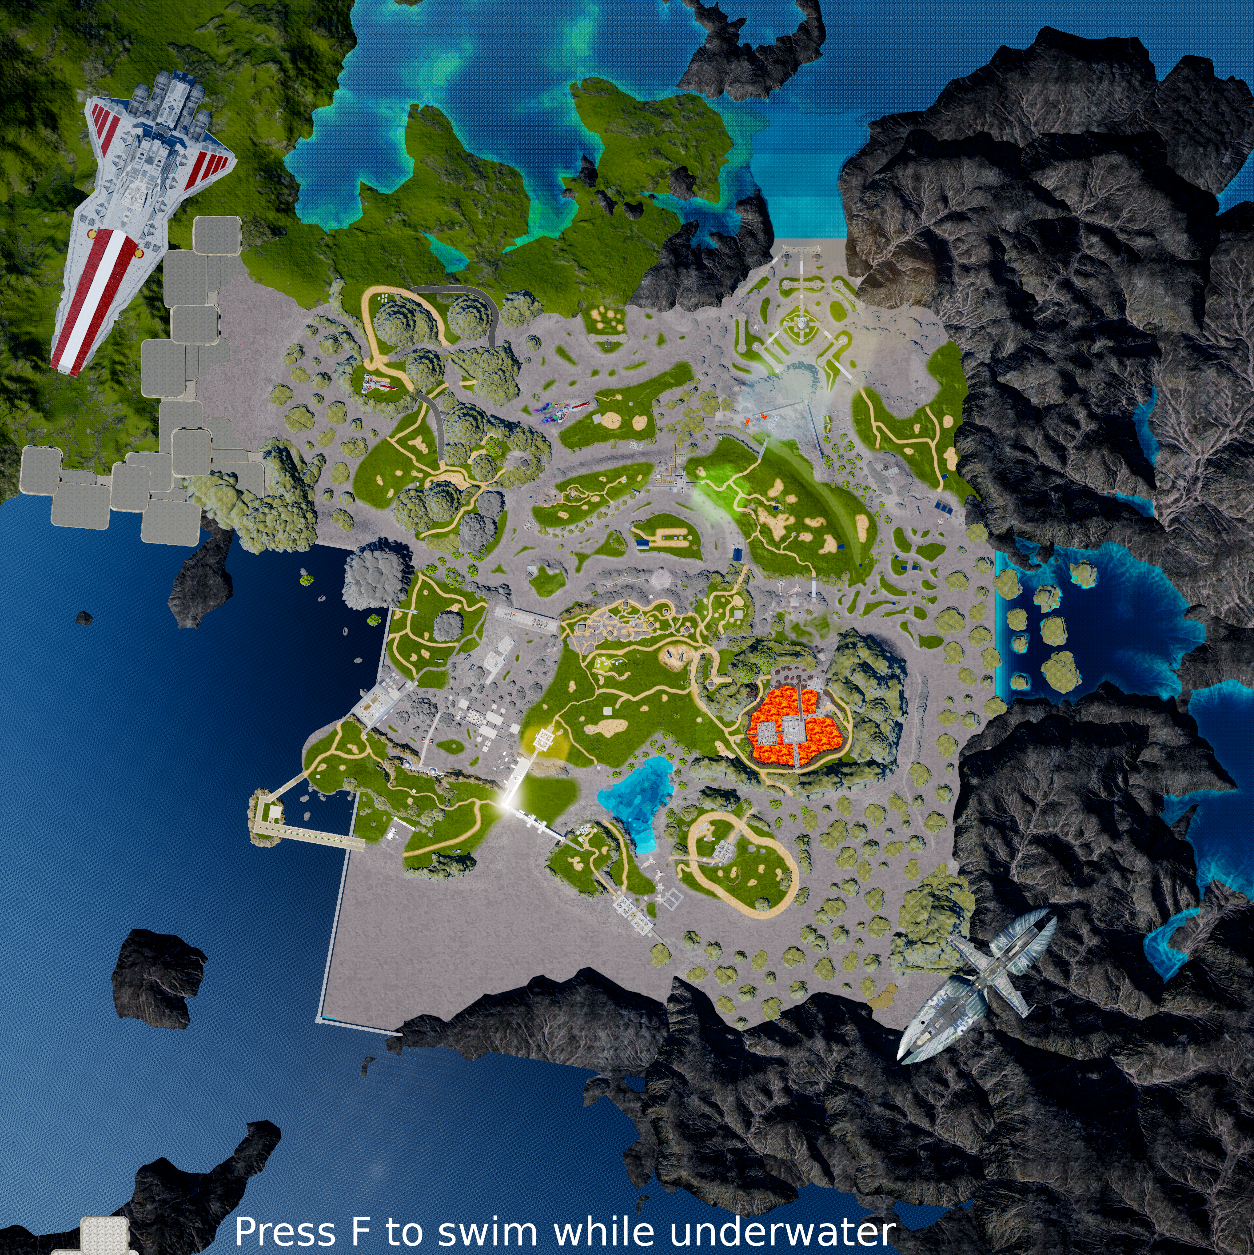
- The level should be located on the planet Sesid.
- Level dimensions should be 4x4 kilometers for the playable area.
- Combined arms (infantry, armor, and air) must be supported.
- There would be minimal to no new asset creation, as the art department already had plenty of work to do related to other high-priority tasks.
Aside from these specs, I was given fairly free reign when it came to the design of the level. However, an added requirement I had for the map was that there should be many POIs, so as to support pseudo-random objective lattices. Other level designers and myself have been working to update our various levels to use this system, as it helps to improve gameplay. This is for reasons largely unrelated to Sesid Equator, so I will skip over this reasoning for now.
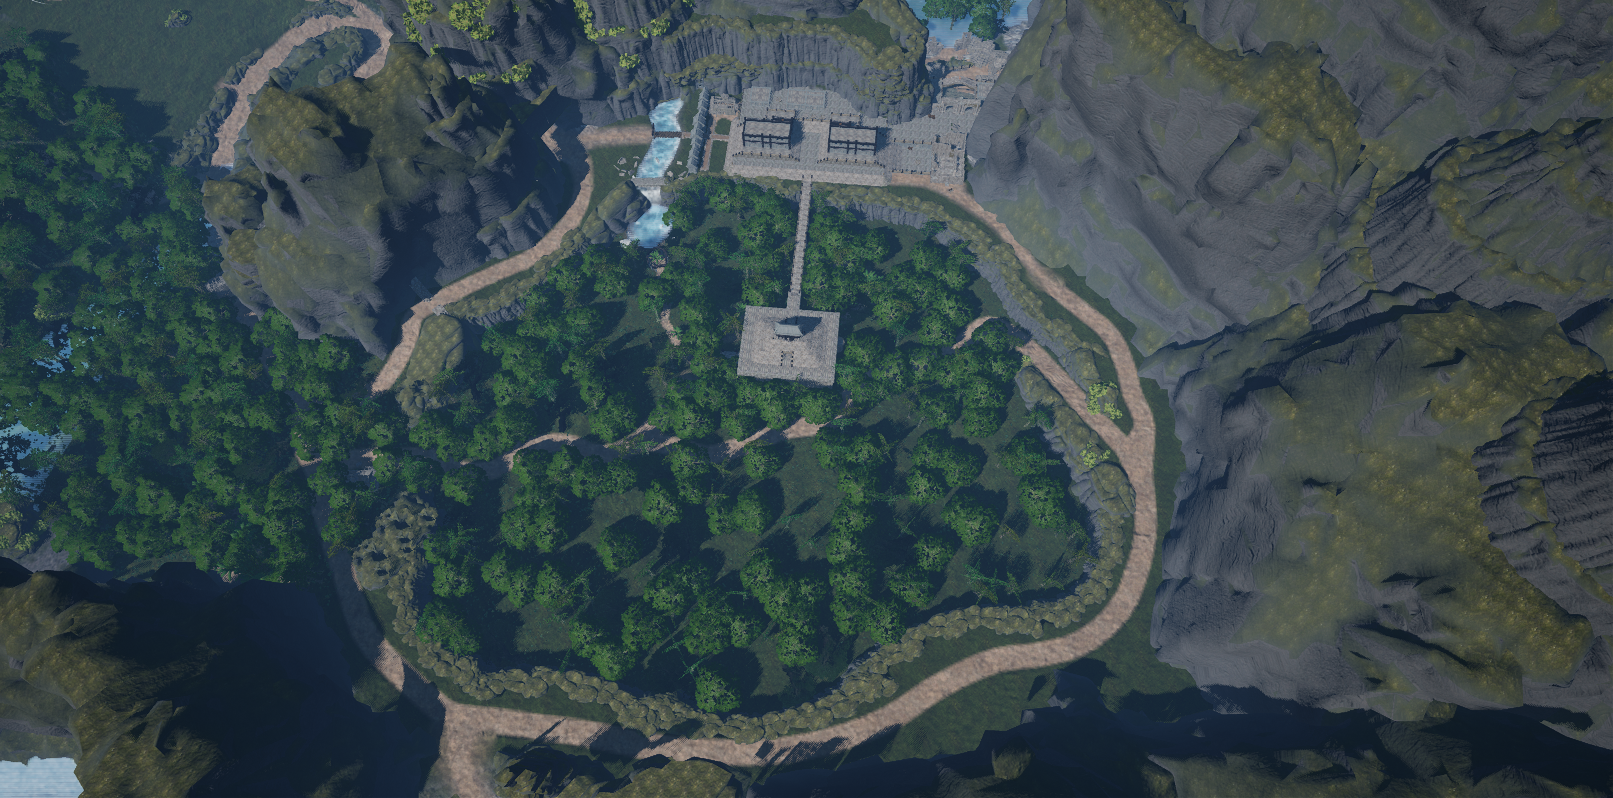
Working off this, the best first step I could take was to create a rough diagram of the flow between POIs. While the flow within each POI would vary, having a broad overview for a level so large was critical. While my neat version for future reference is attached below, I usually start by drawing directly on a flat landscape, as it helps to better visualize scale and sight lines.
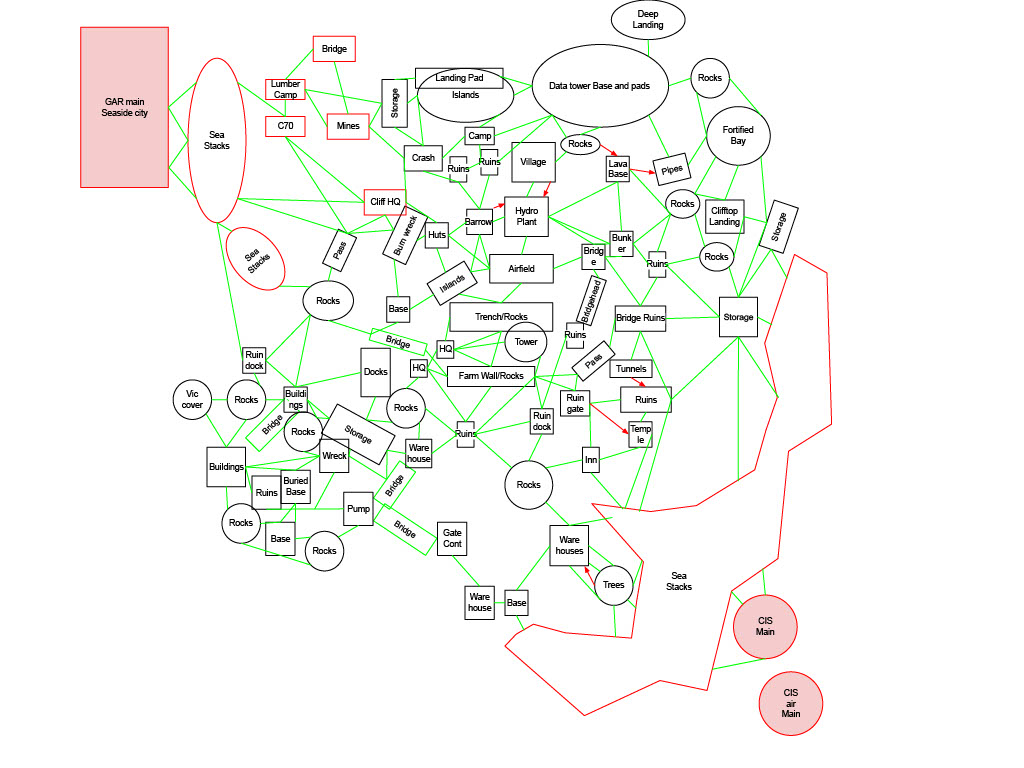
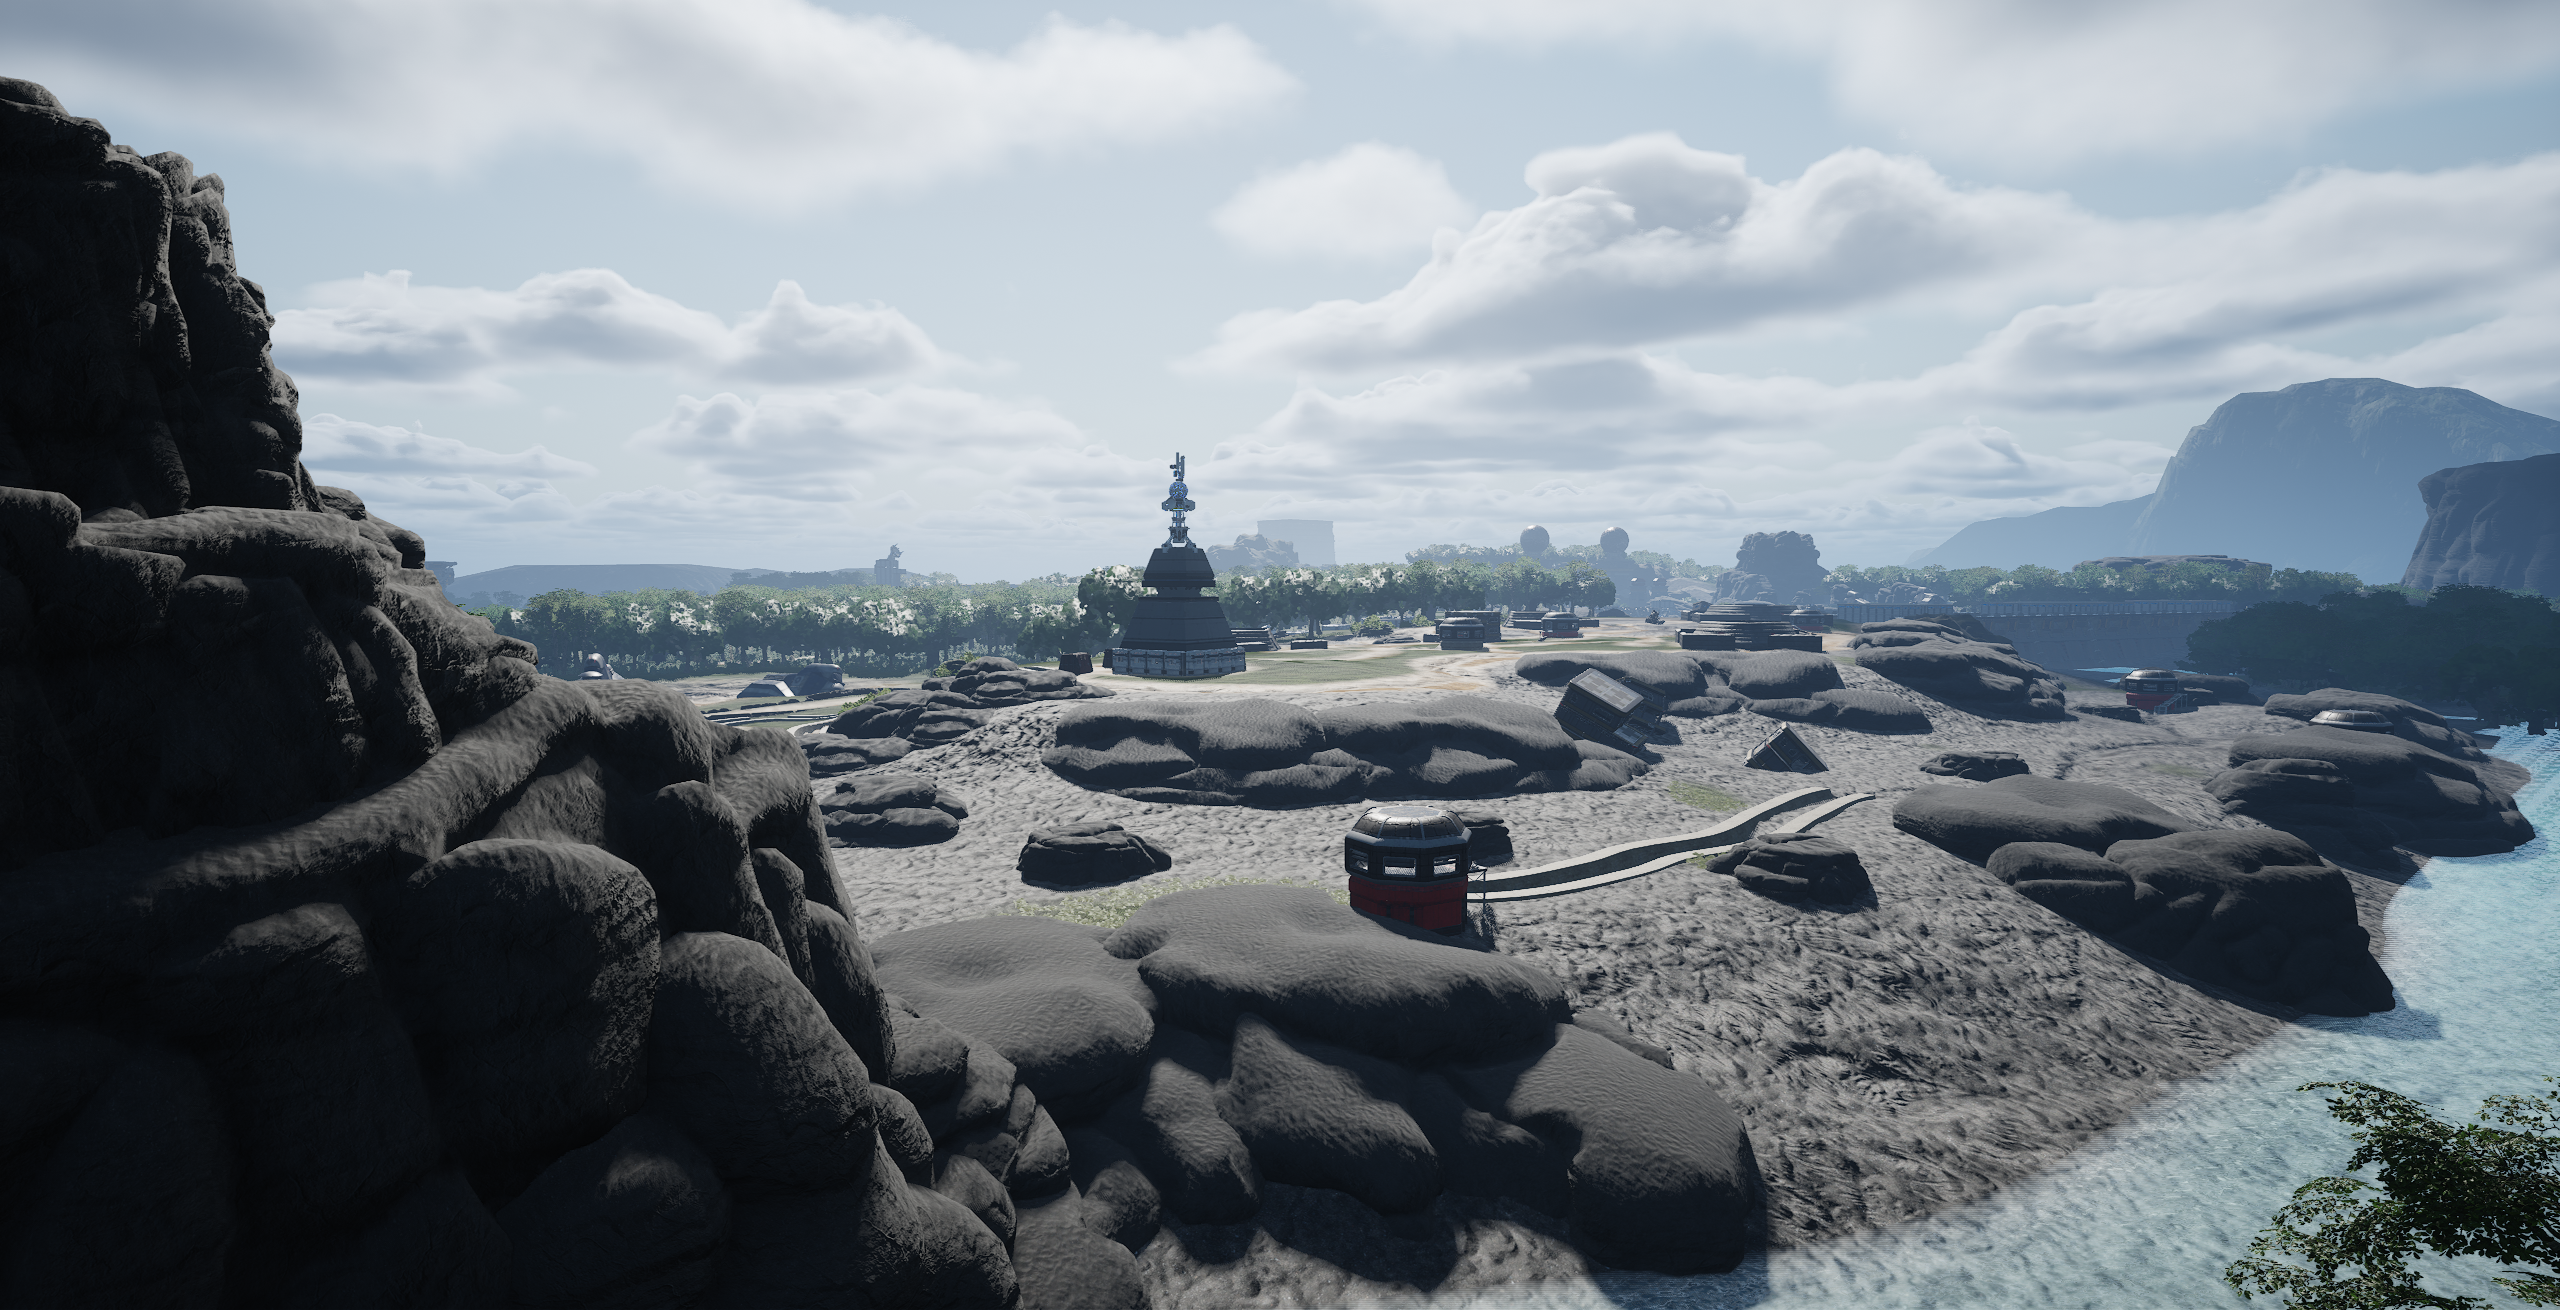
Working off of this diagram (which did see changes and iterations over time - this is the final version), I began to sculpt the terrain, apply a quick foliage paint, and place larger buildings. For buildings which were not being constructed from modular components, I did not use traditional blockouts, as the size of each was determined by the assets used. Instead, larger buildings functioned as part of the blockouts for the area, with smaller aspects being added later. These smaller aspects could include cover such as a stone, a barrier, or a crate.
Once this was done, I moved on to smaller aspects, moving to progressively more and more detailed aspects to keep the map at a consistent level of quality. It should also be noted that each POI was given a similar treatment to the level as a whole, in that it was treated as it's own level within the broader context that is the Sesid Equator level. I also began using higher-quality assets, which required some additional optimization.
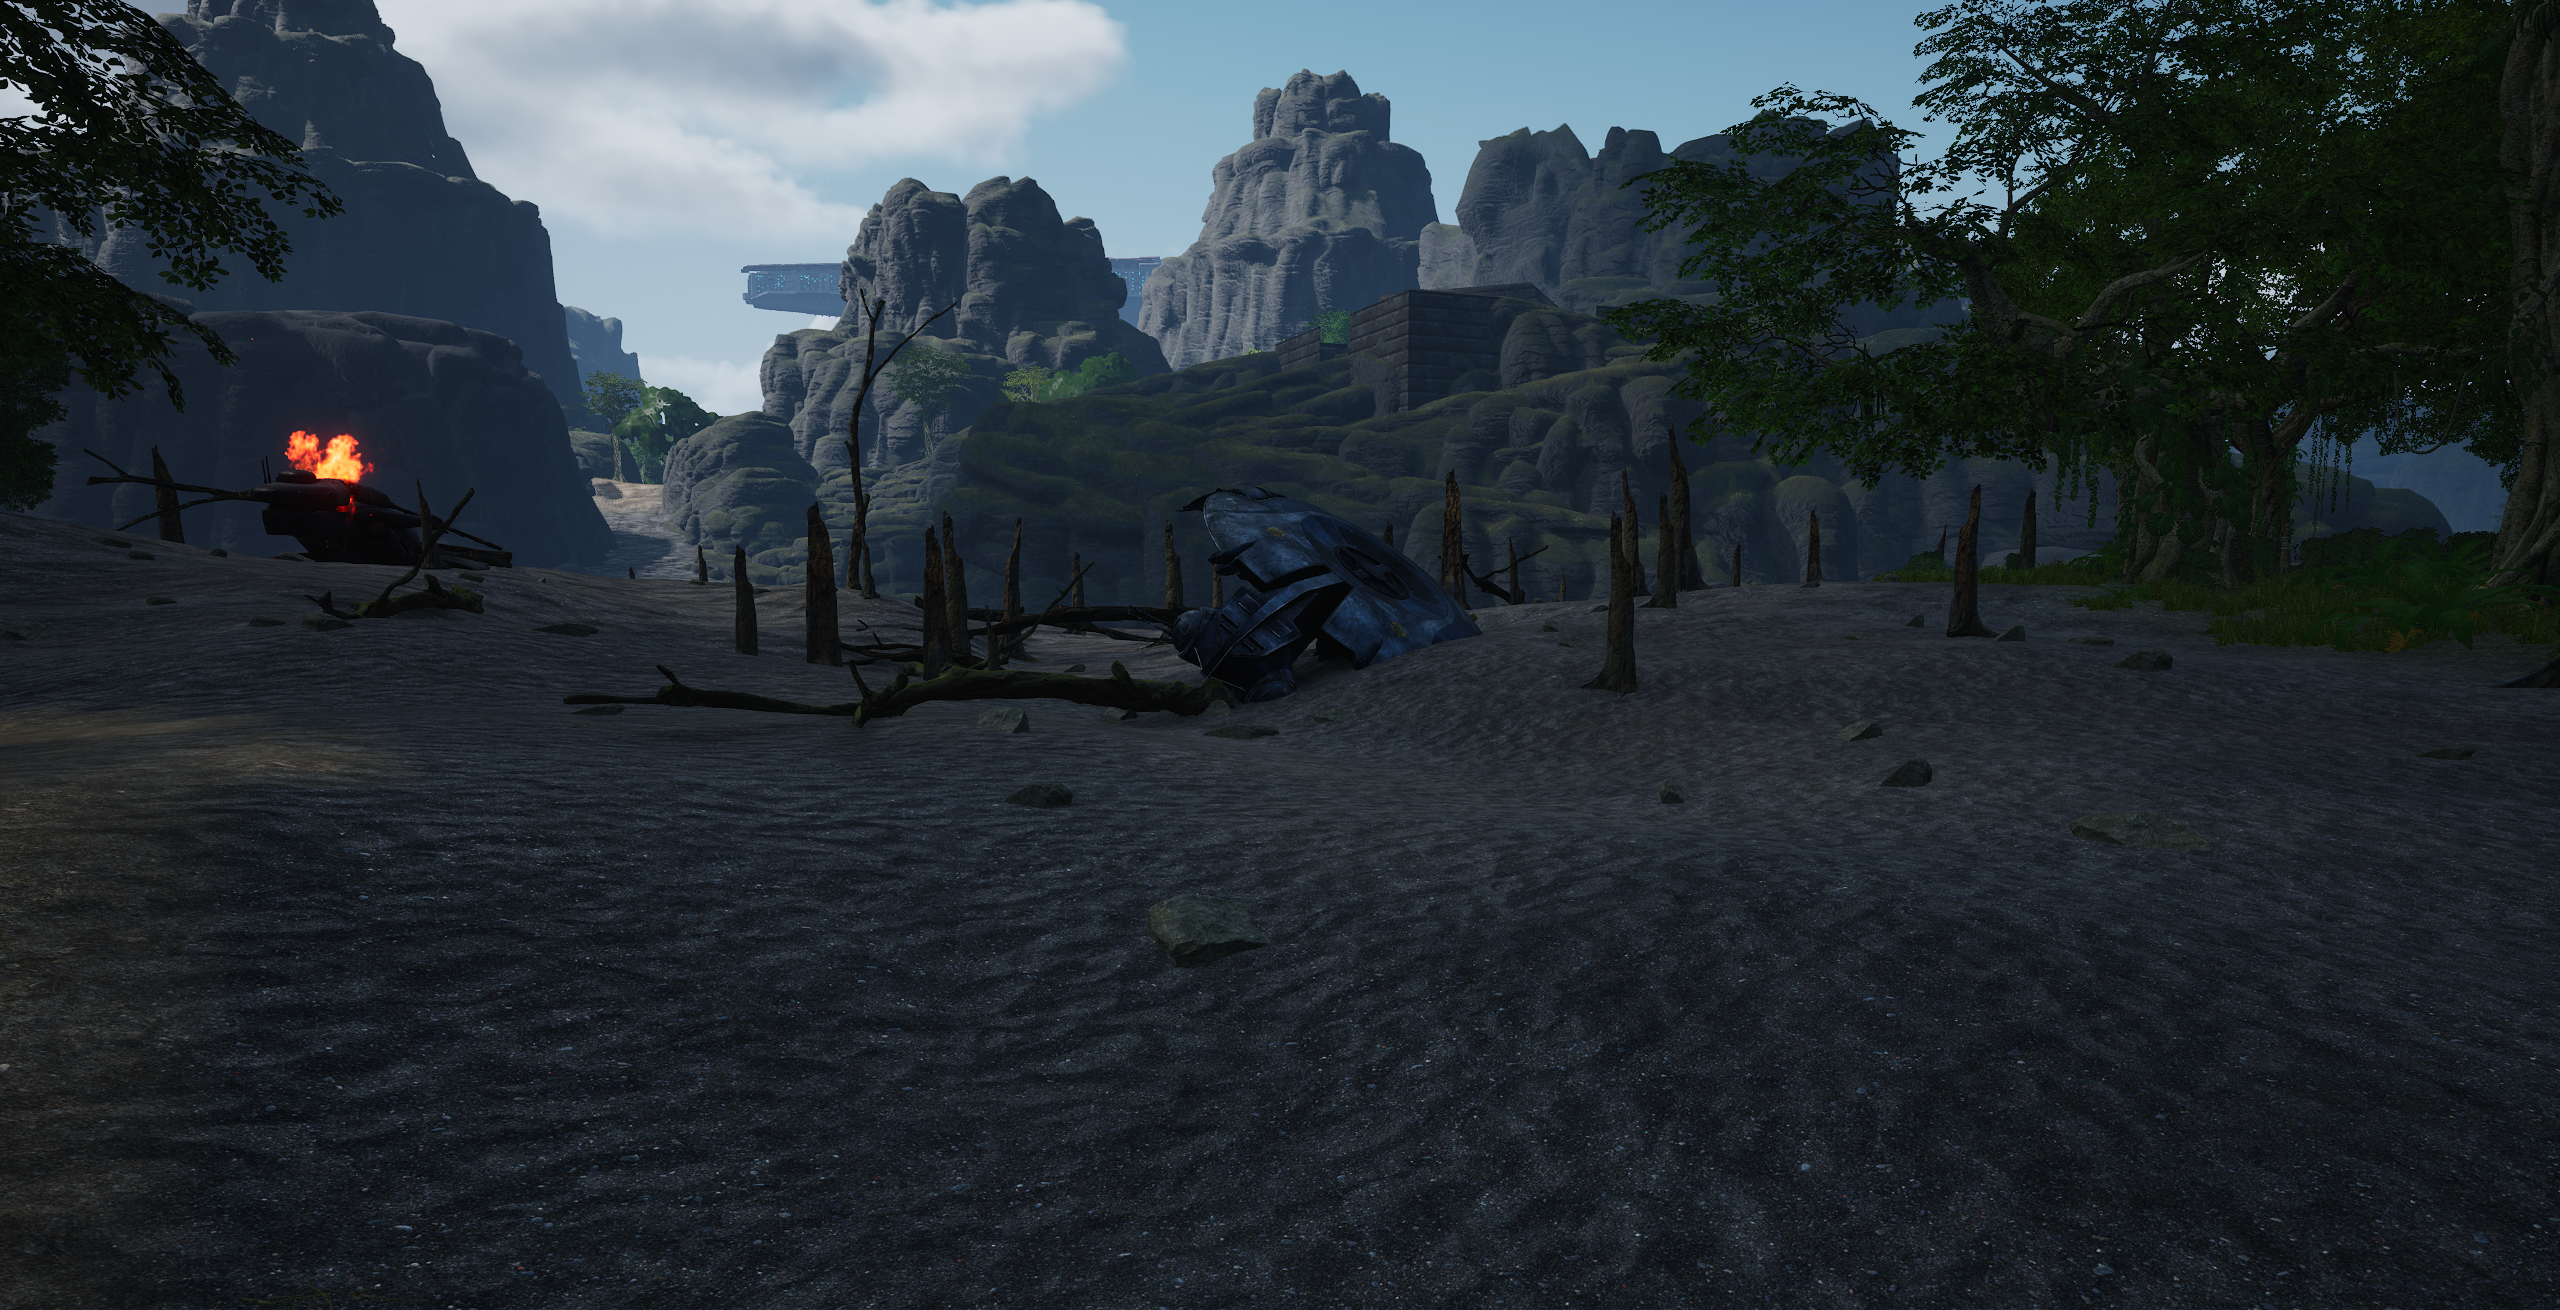
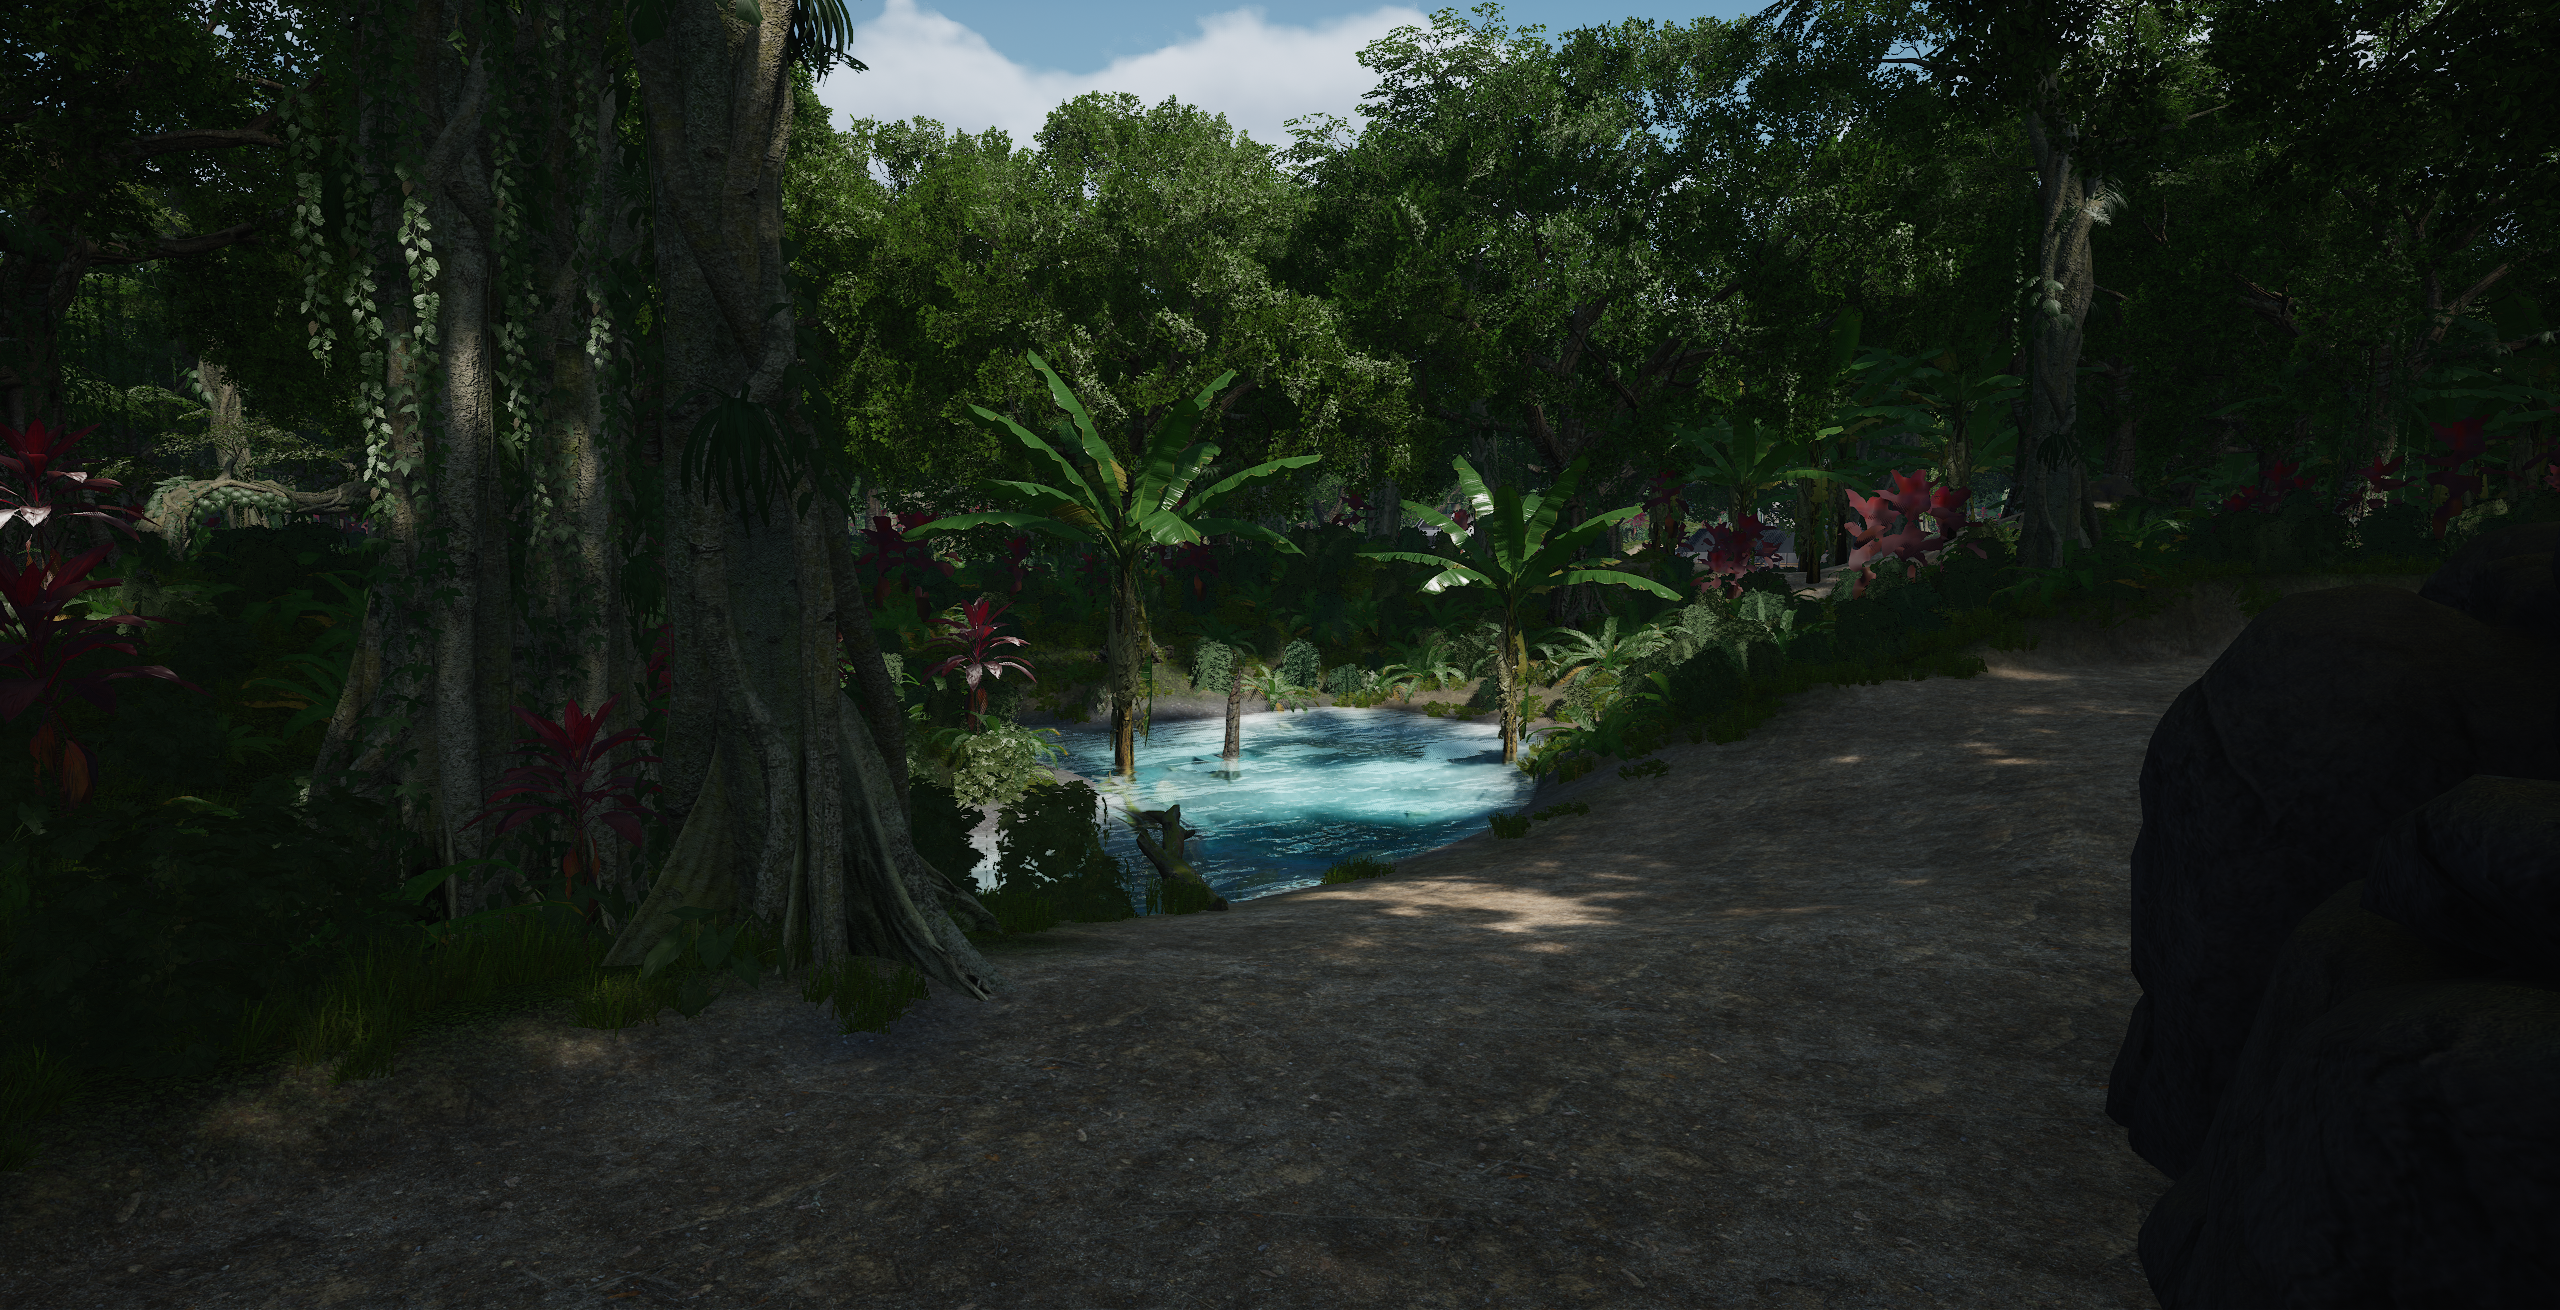
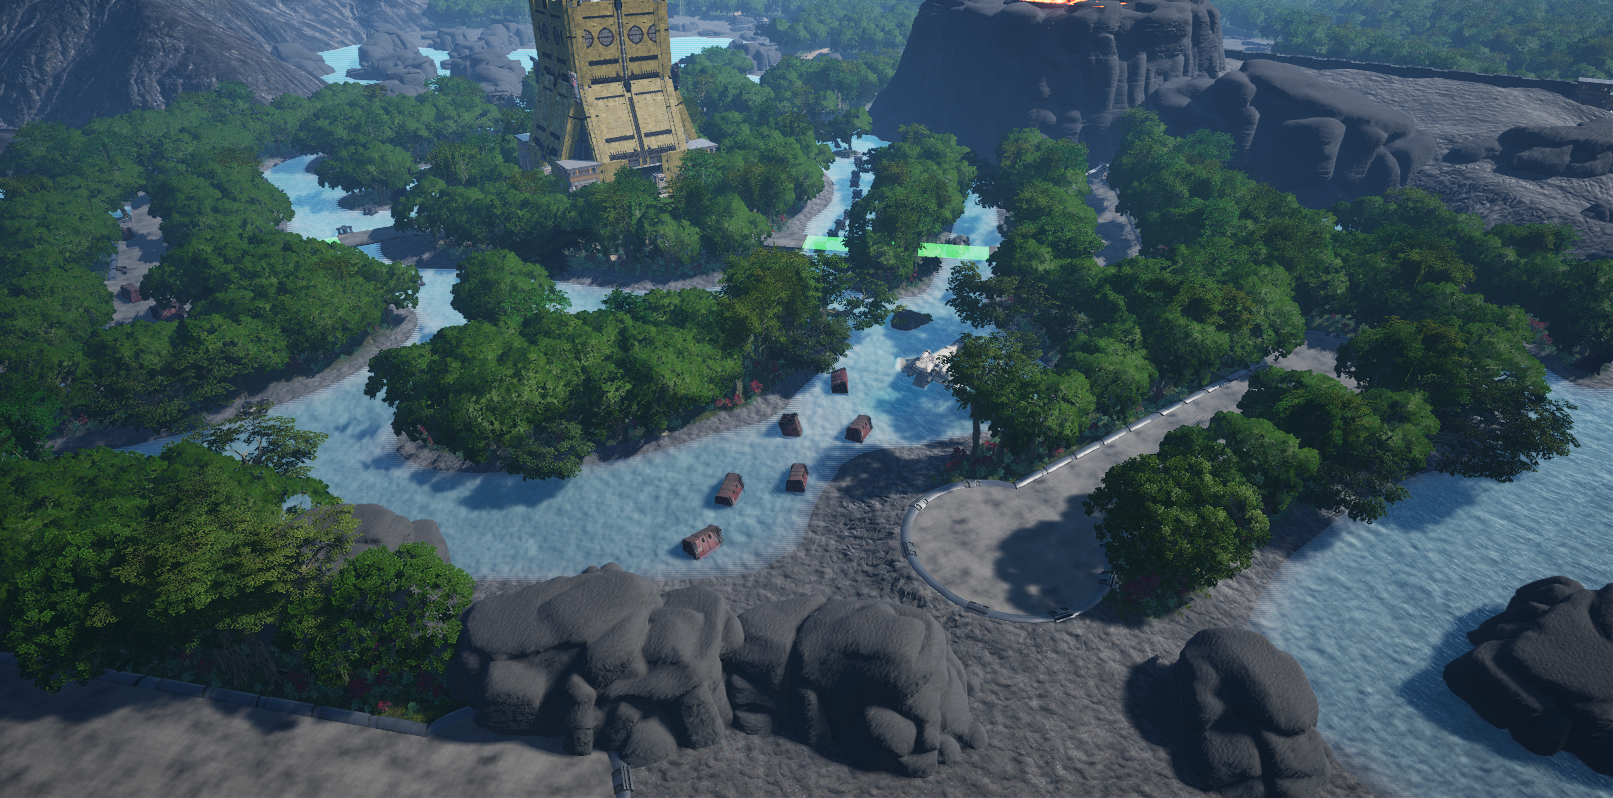
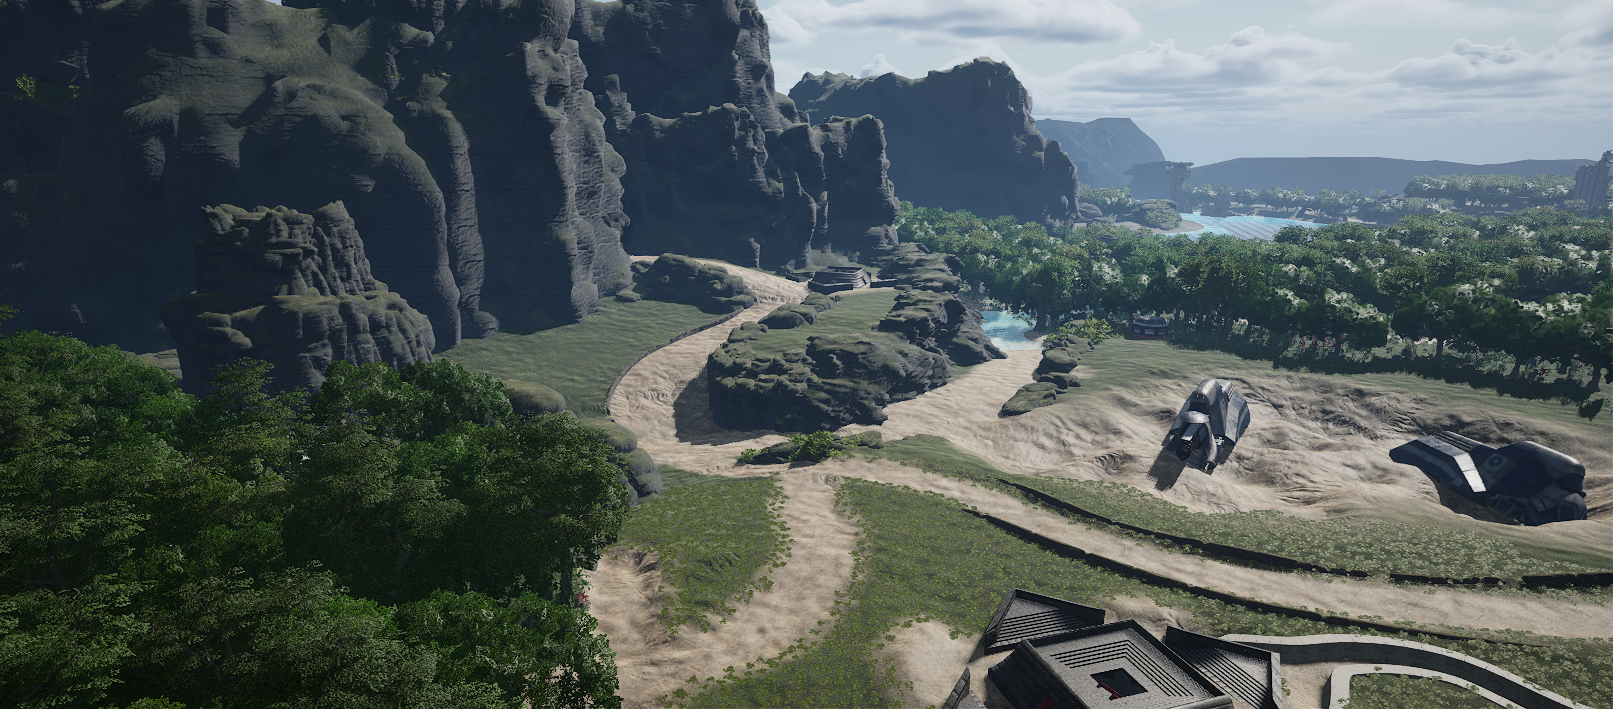
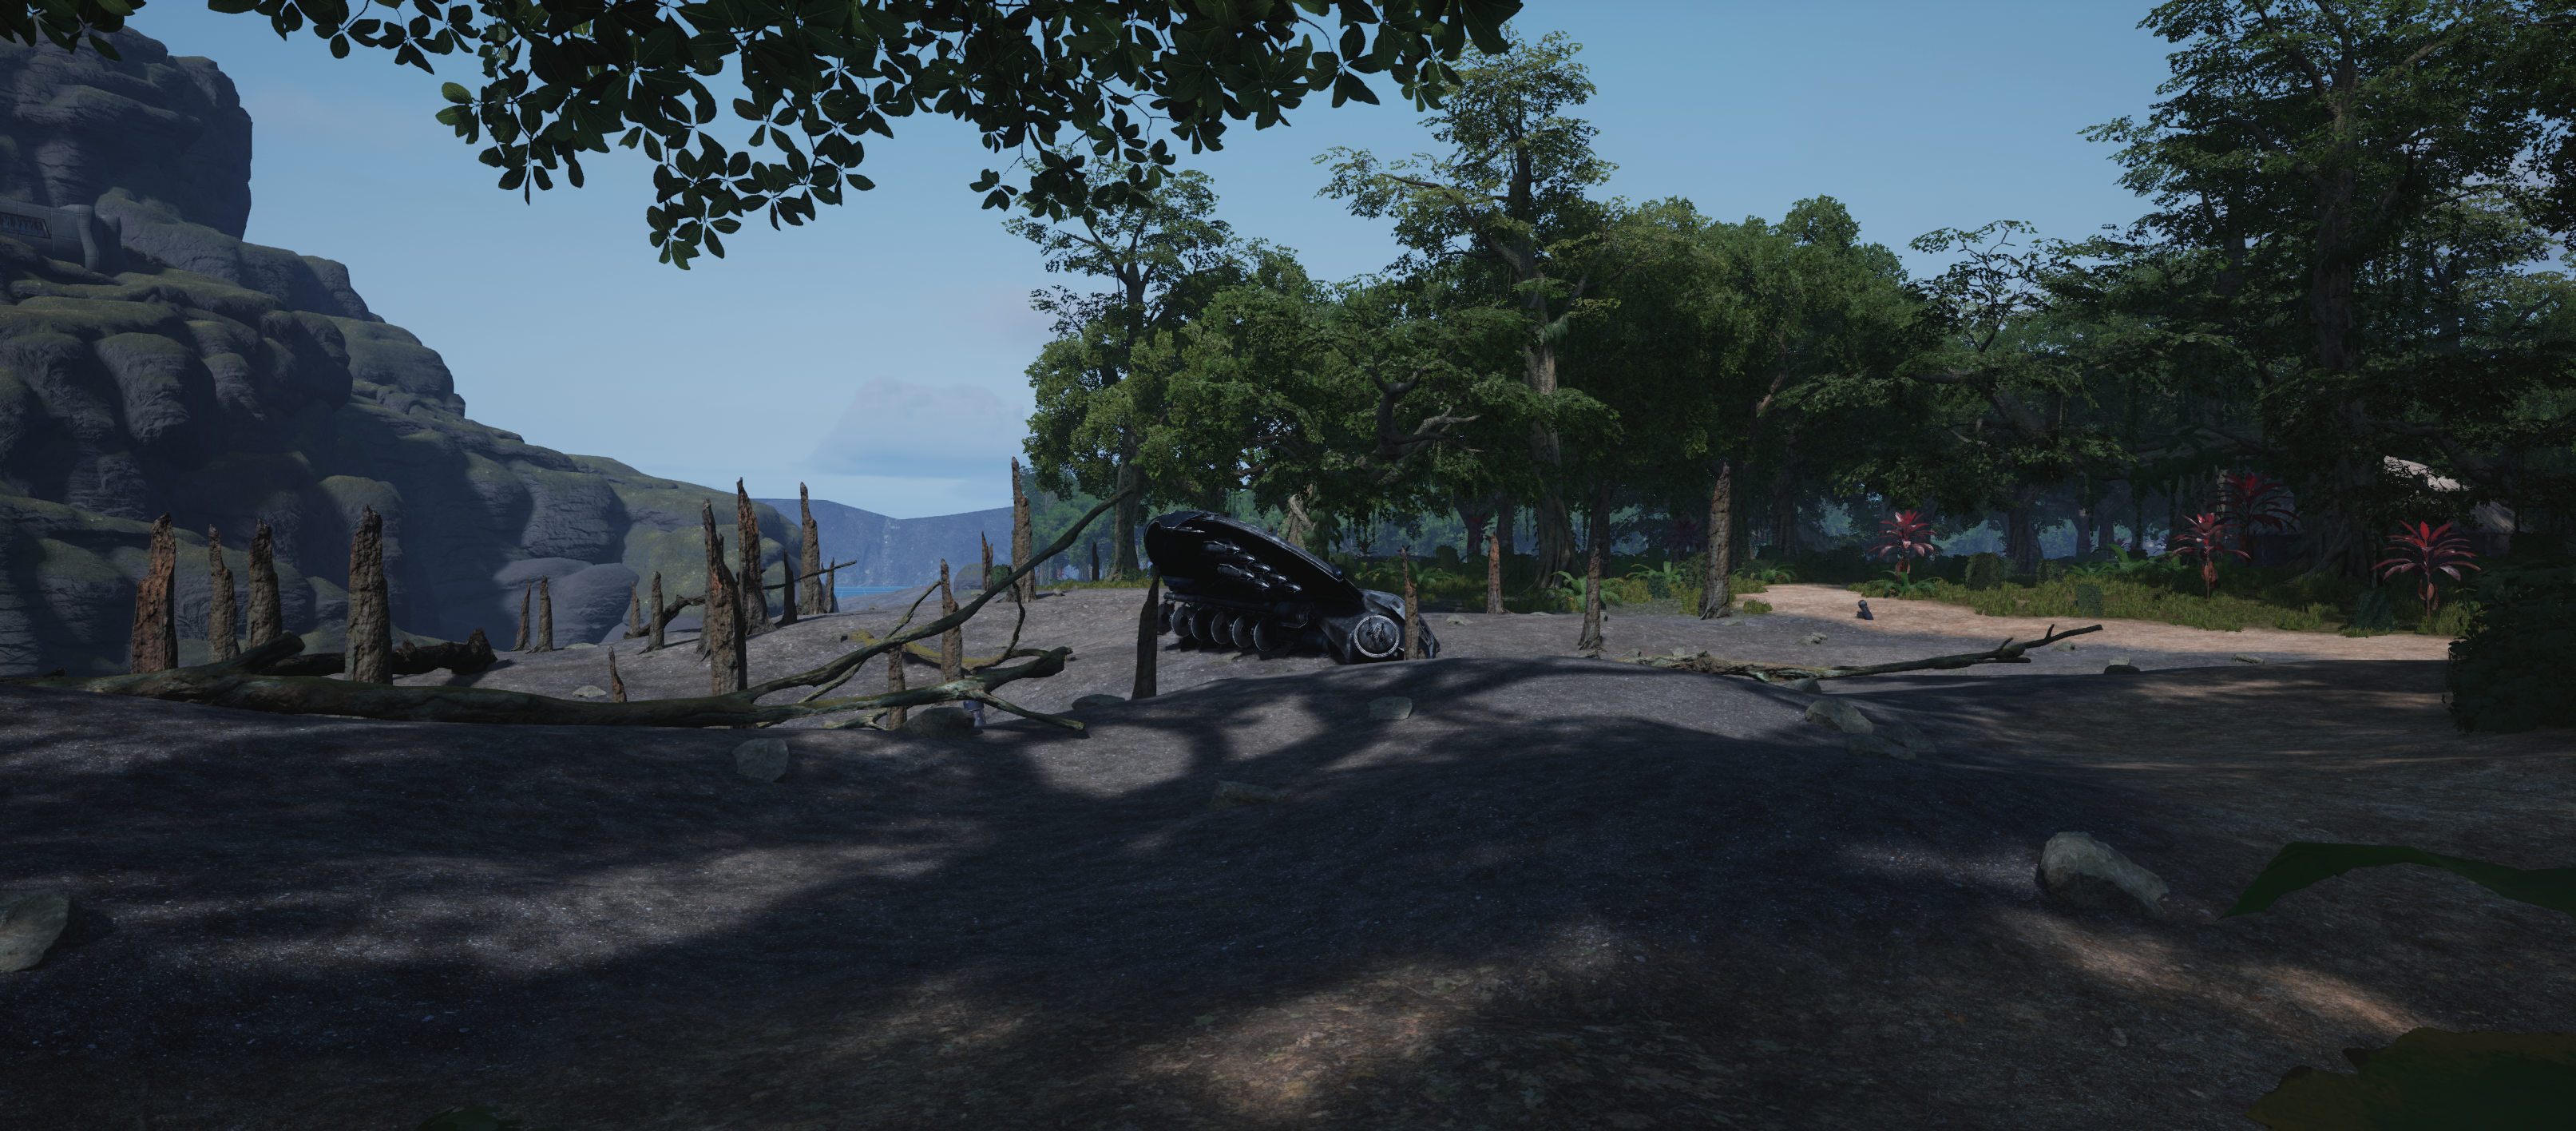 Above, a section of the jungle was changed to a burn patch with additional wrecks. This serves to give the attackers an easier push towards the first point. The burned logs, stumps, and craters provide only horizontal cover, so they provide protection from
defenders within the treeline, but not from attackers atop the hilltop base. This decision as made, as the burn patch is not an objective to be fought over, and should not add too much difficulty to an objective at the beginning of the chain of objectives.
Additionally, a ramp was added to better facilitate vehicles moving up and down the slope (before the rocks were added to improve visuals), as the bumpy terrain could occasionally cause them to flip.
Above, a section of the jungle was changed to a burn patch with additional wrecks. This serves to give the attackers an easier push towards the first point. The burned logs, stumps, and craters provide only horizontal cover, so they provide protection from
defenders within the treeline, but not from attackers atop the hilltop base. This decision as made, as the burn patch is not an objective to be fought over, and should not add too much difficulty to an objective at the beginning of the chain of objectives.
Additionally, a ramp was added to better facilitate vehicles moving up and down the slope (before the rocks were added to improve visuals), as the bumpy terrain could occasionally cause them to flip.

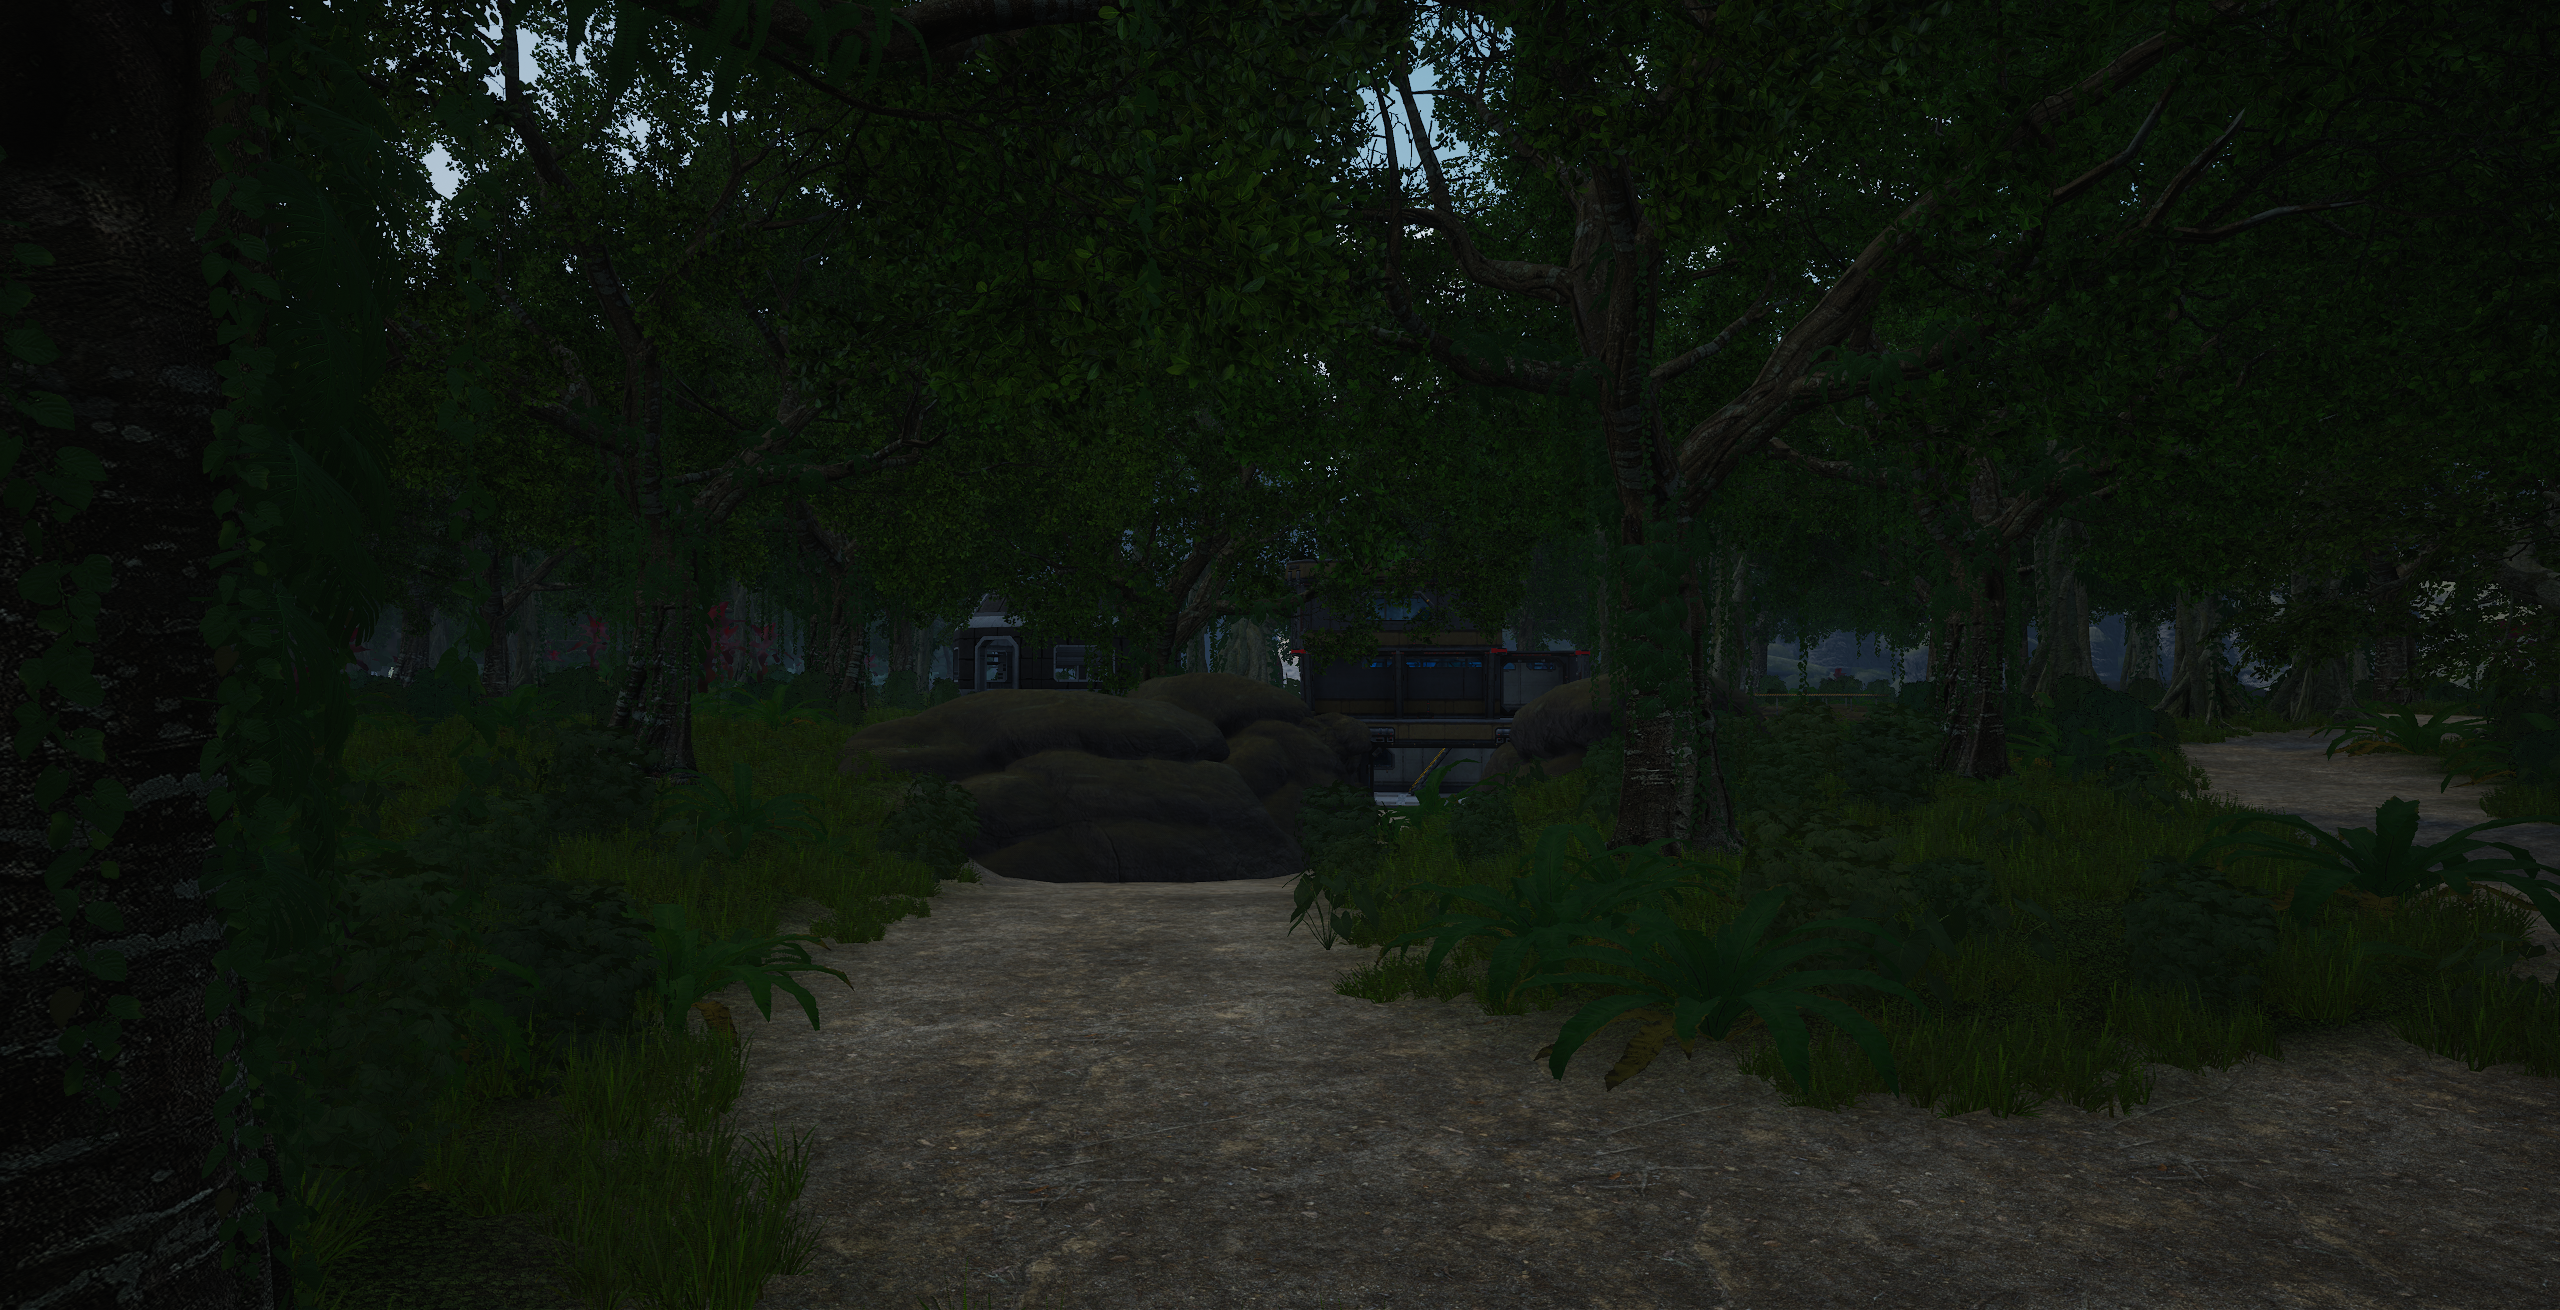
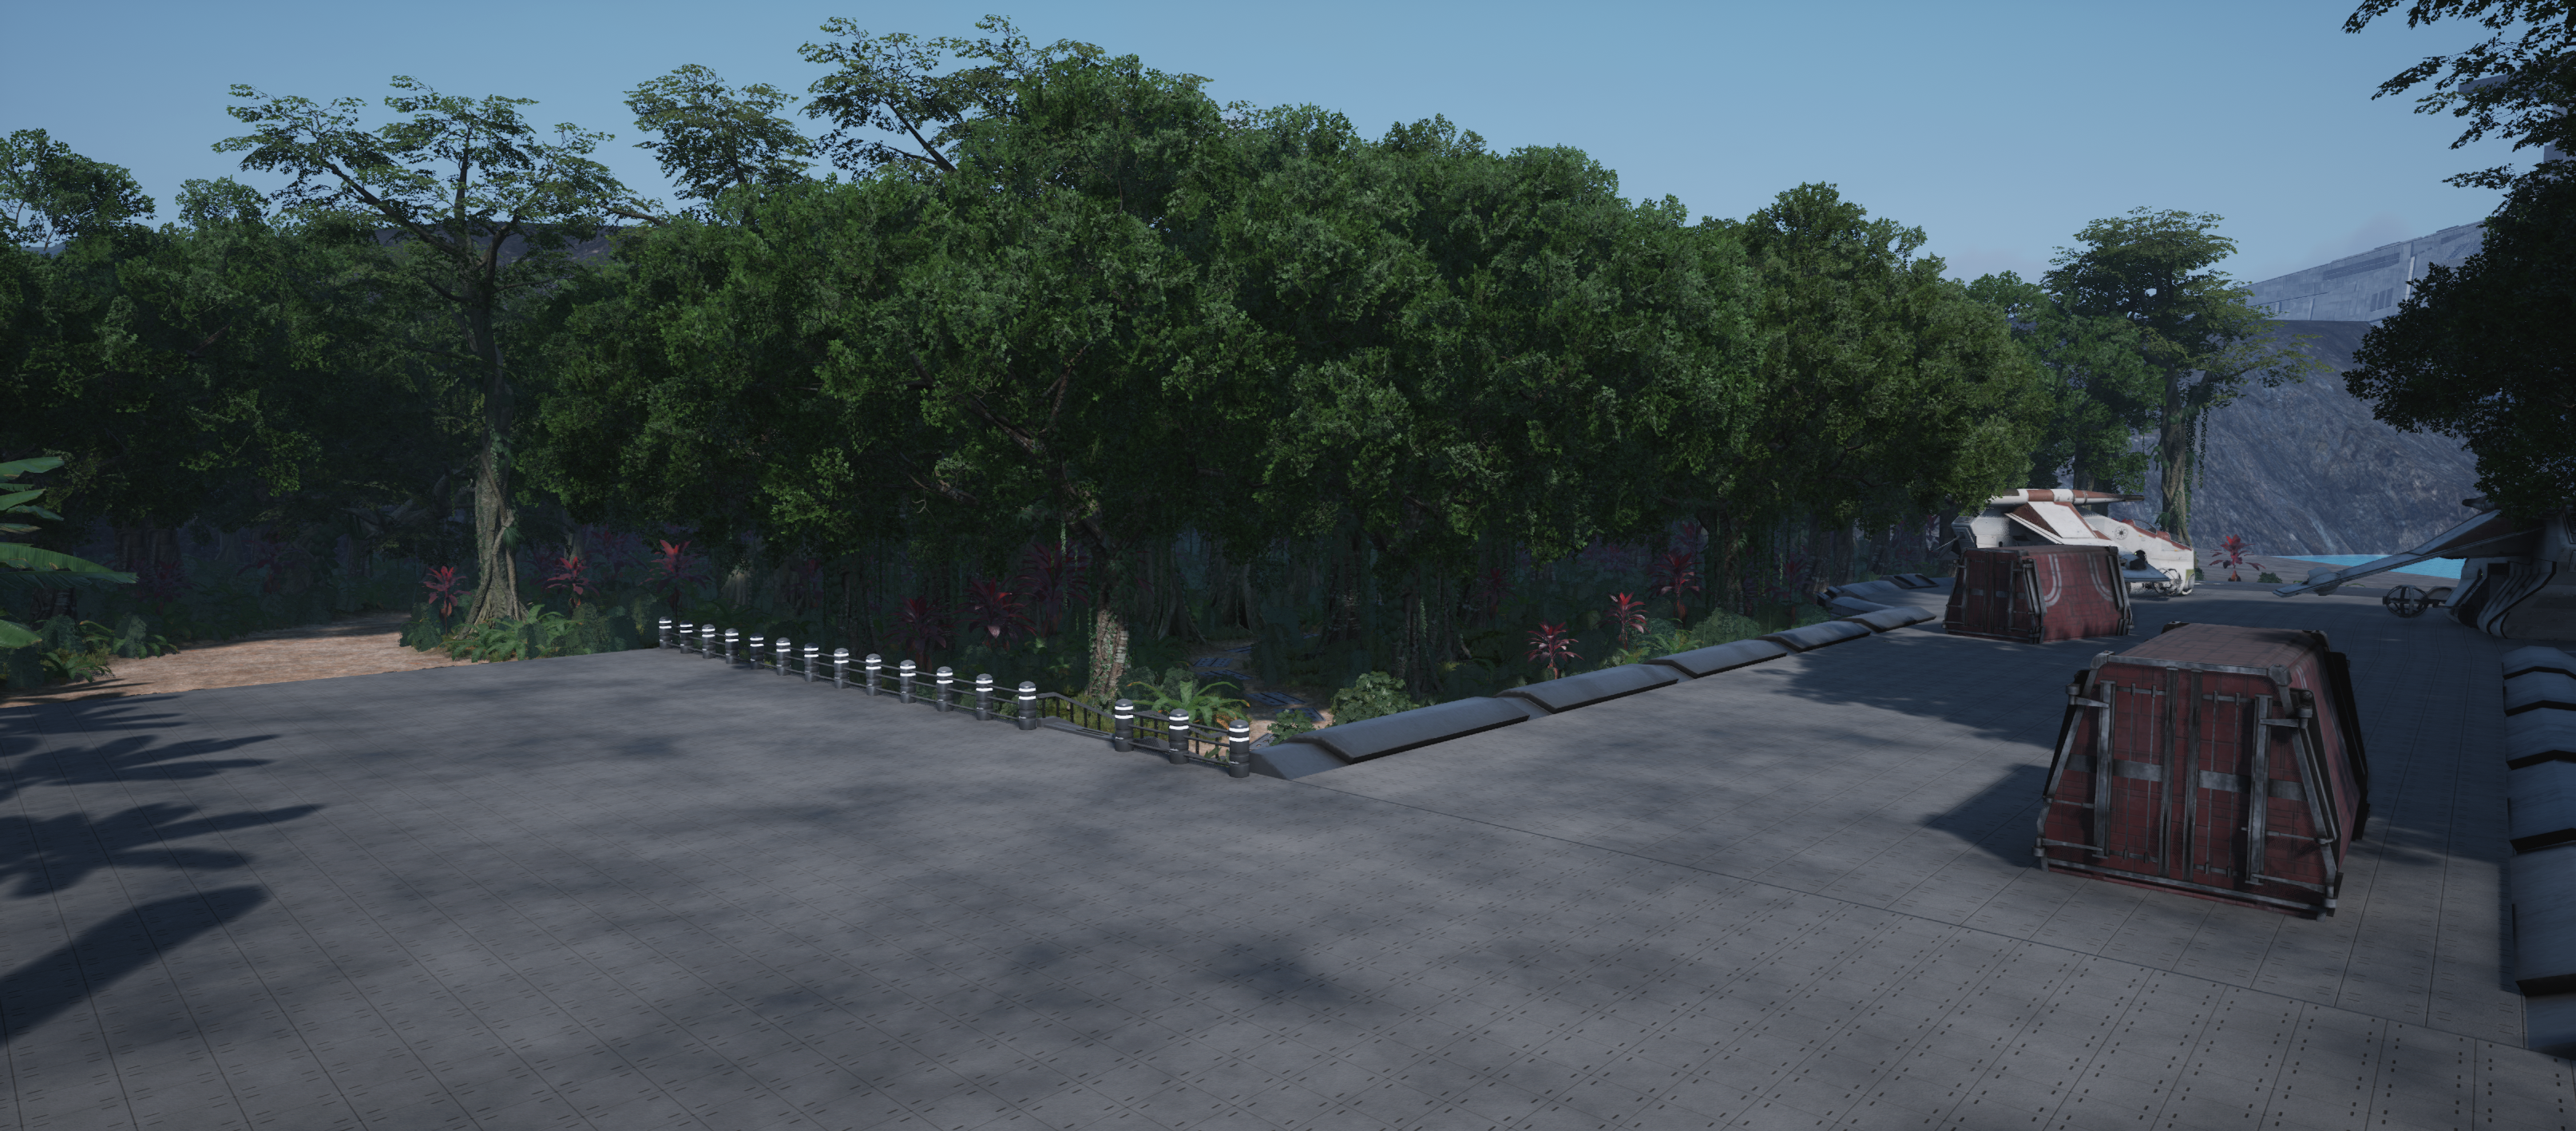
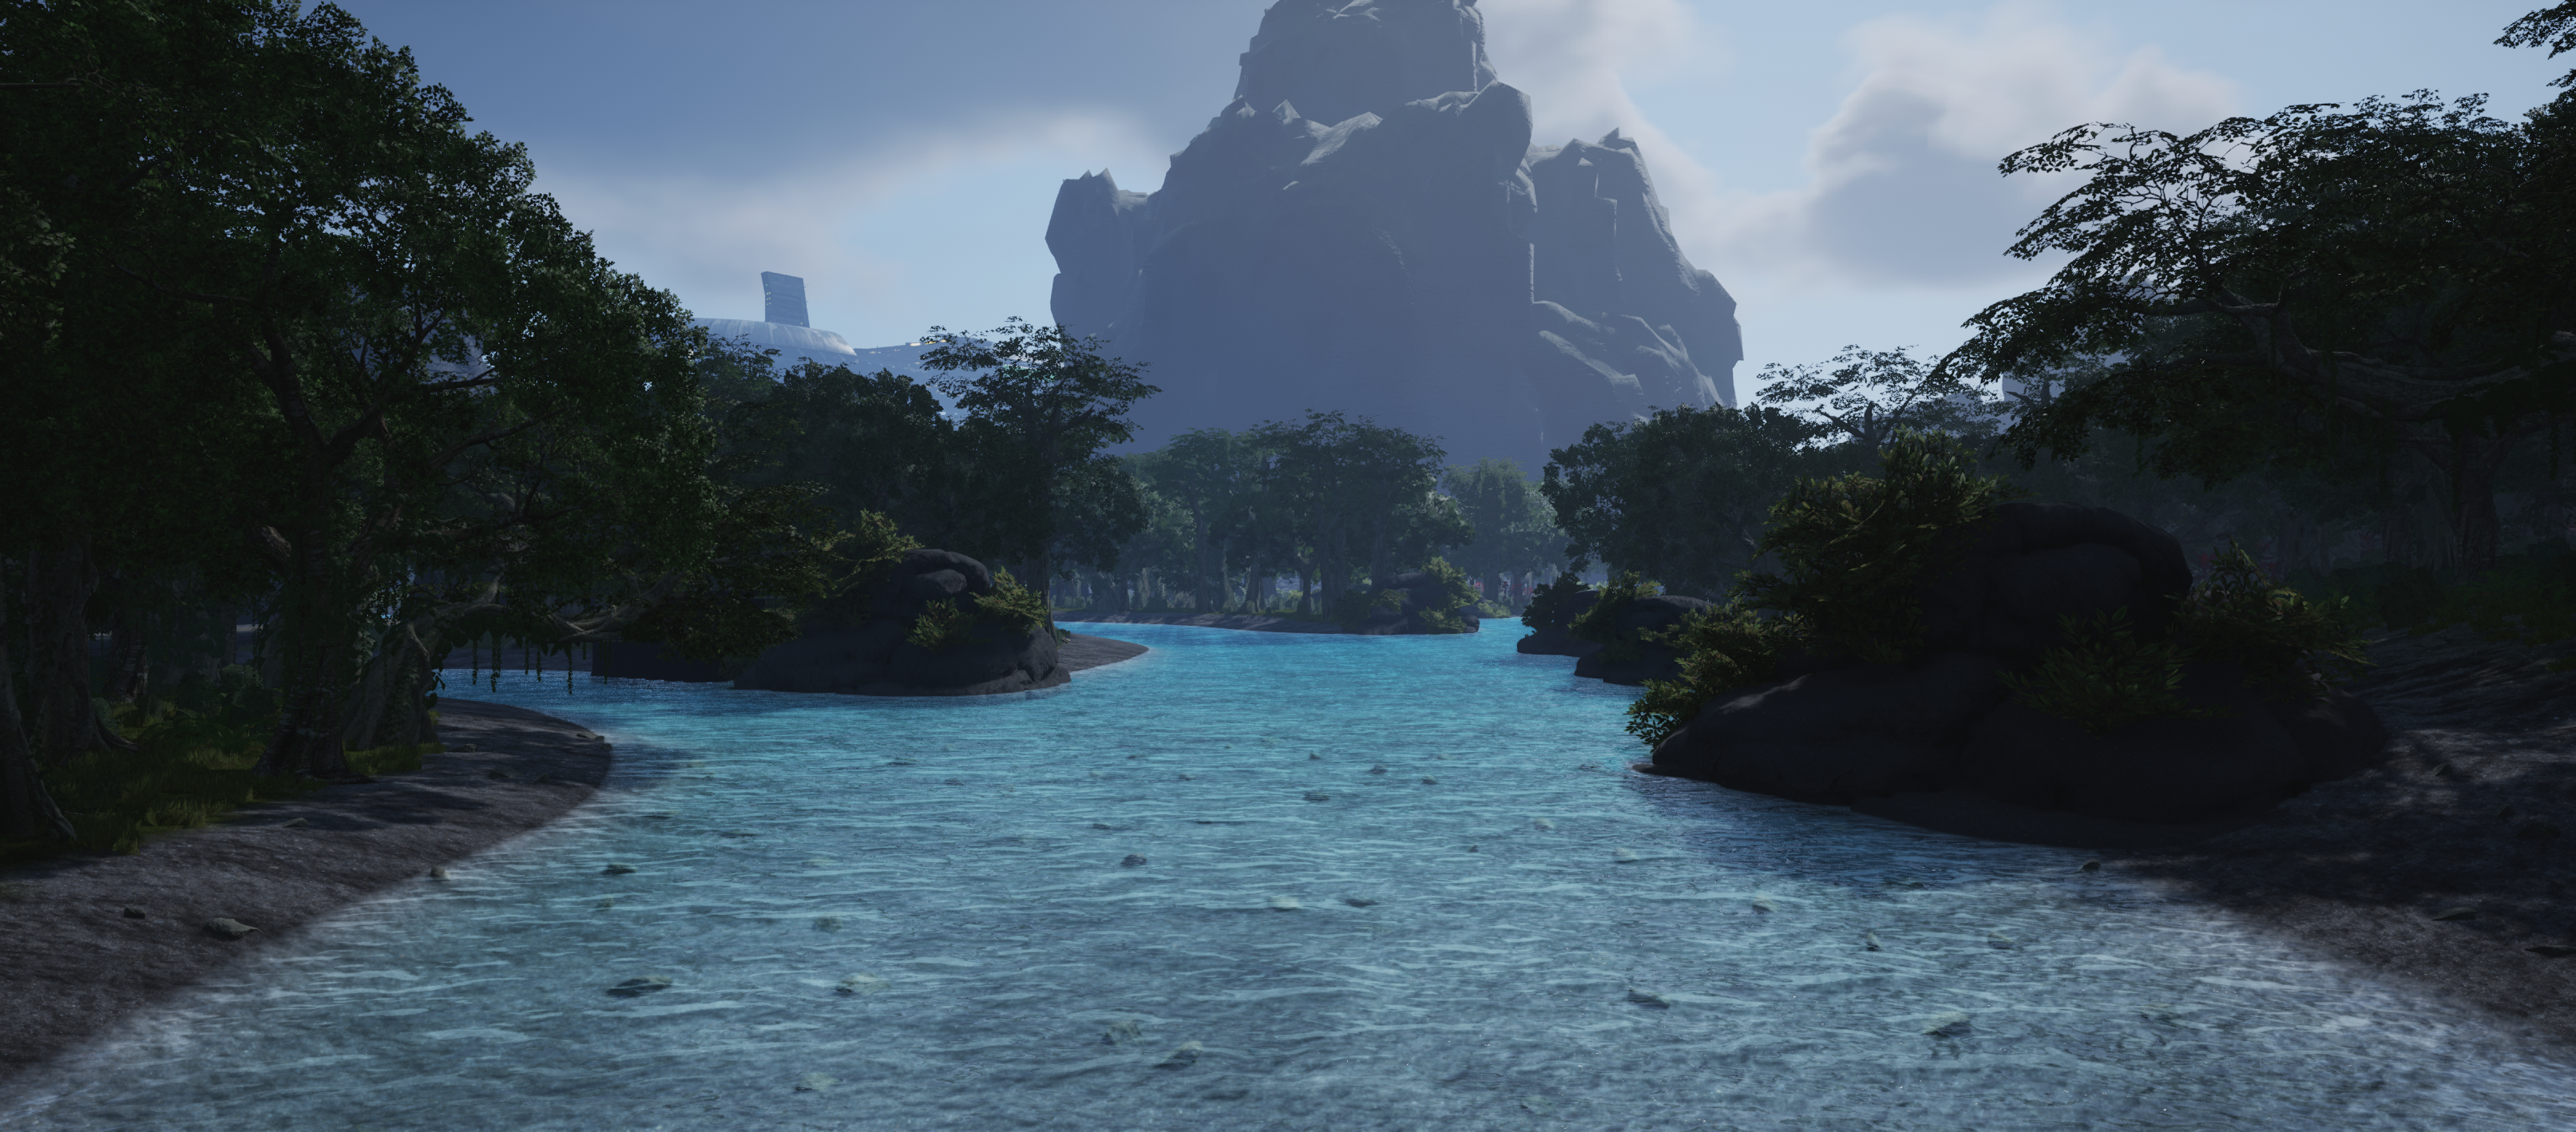
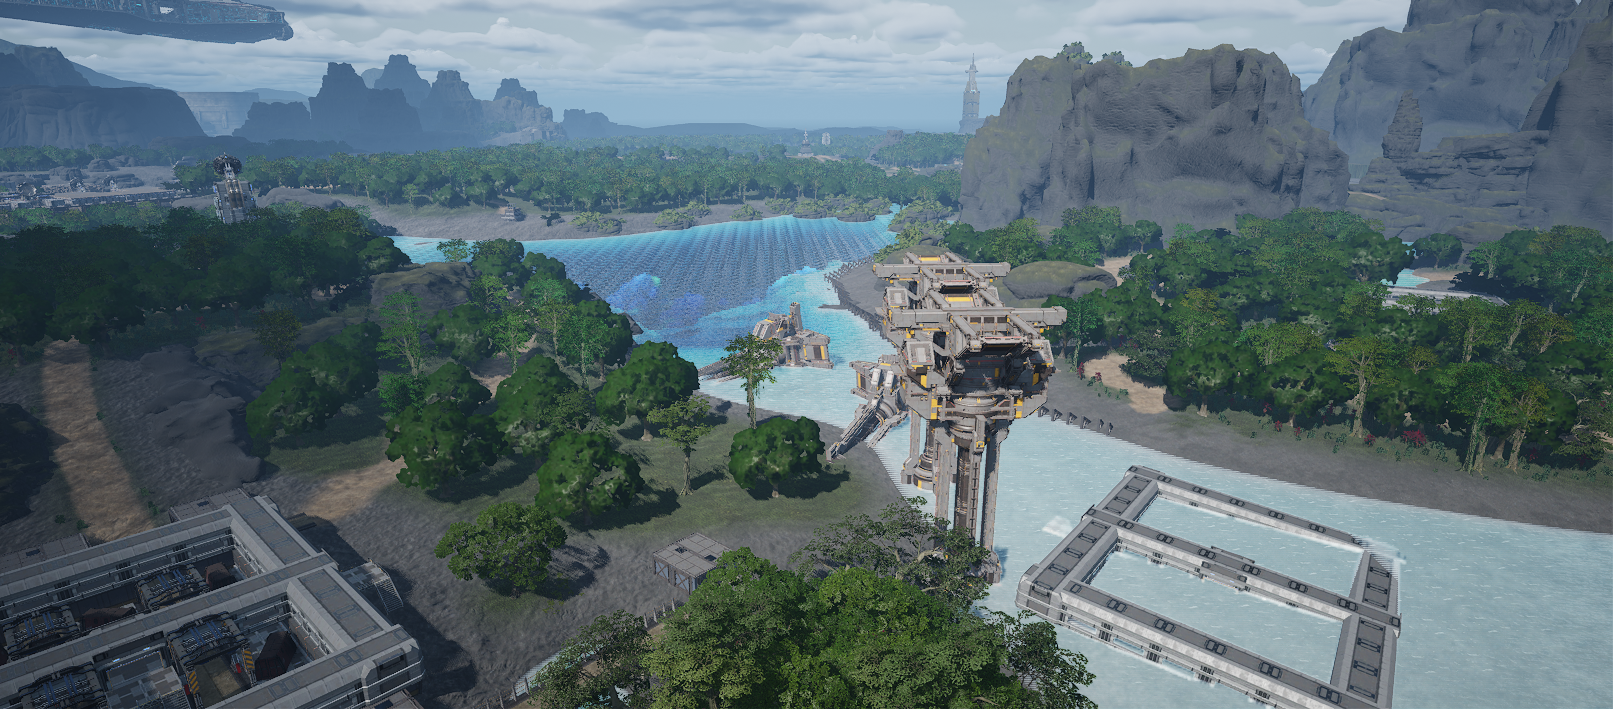
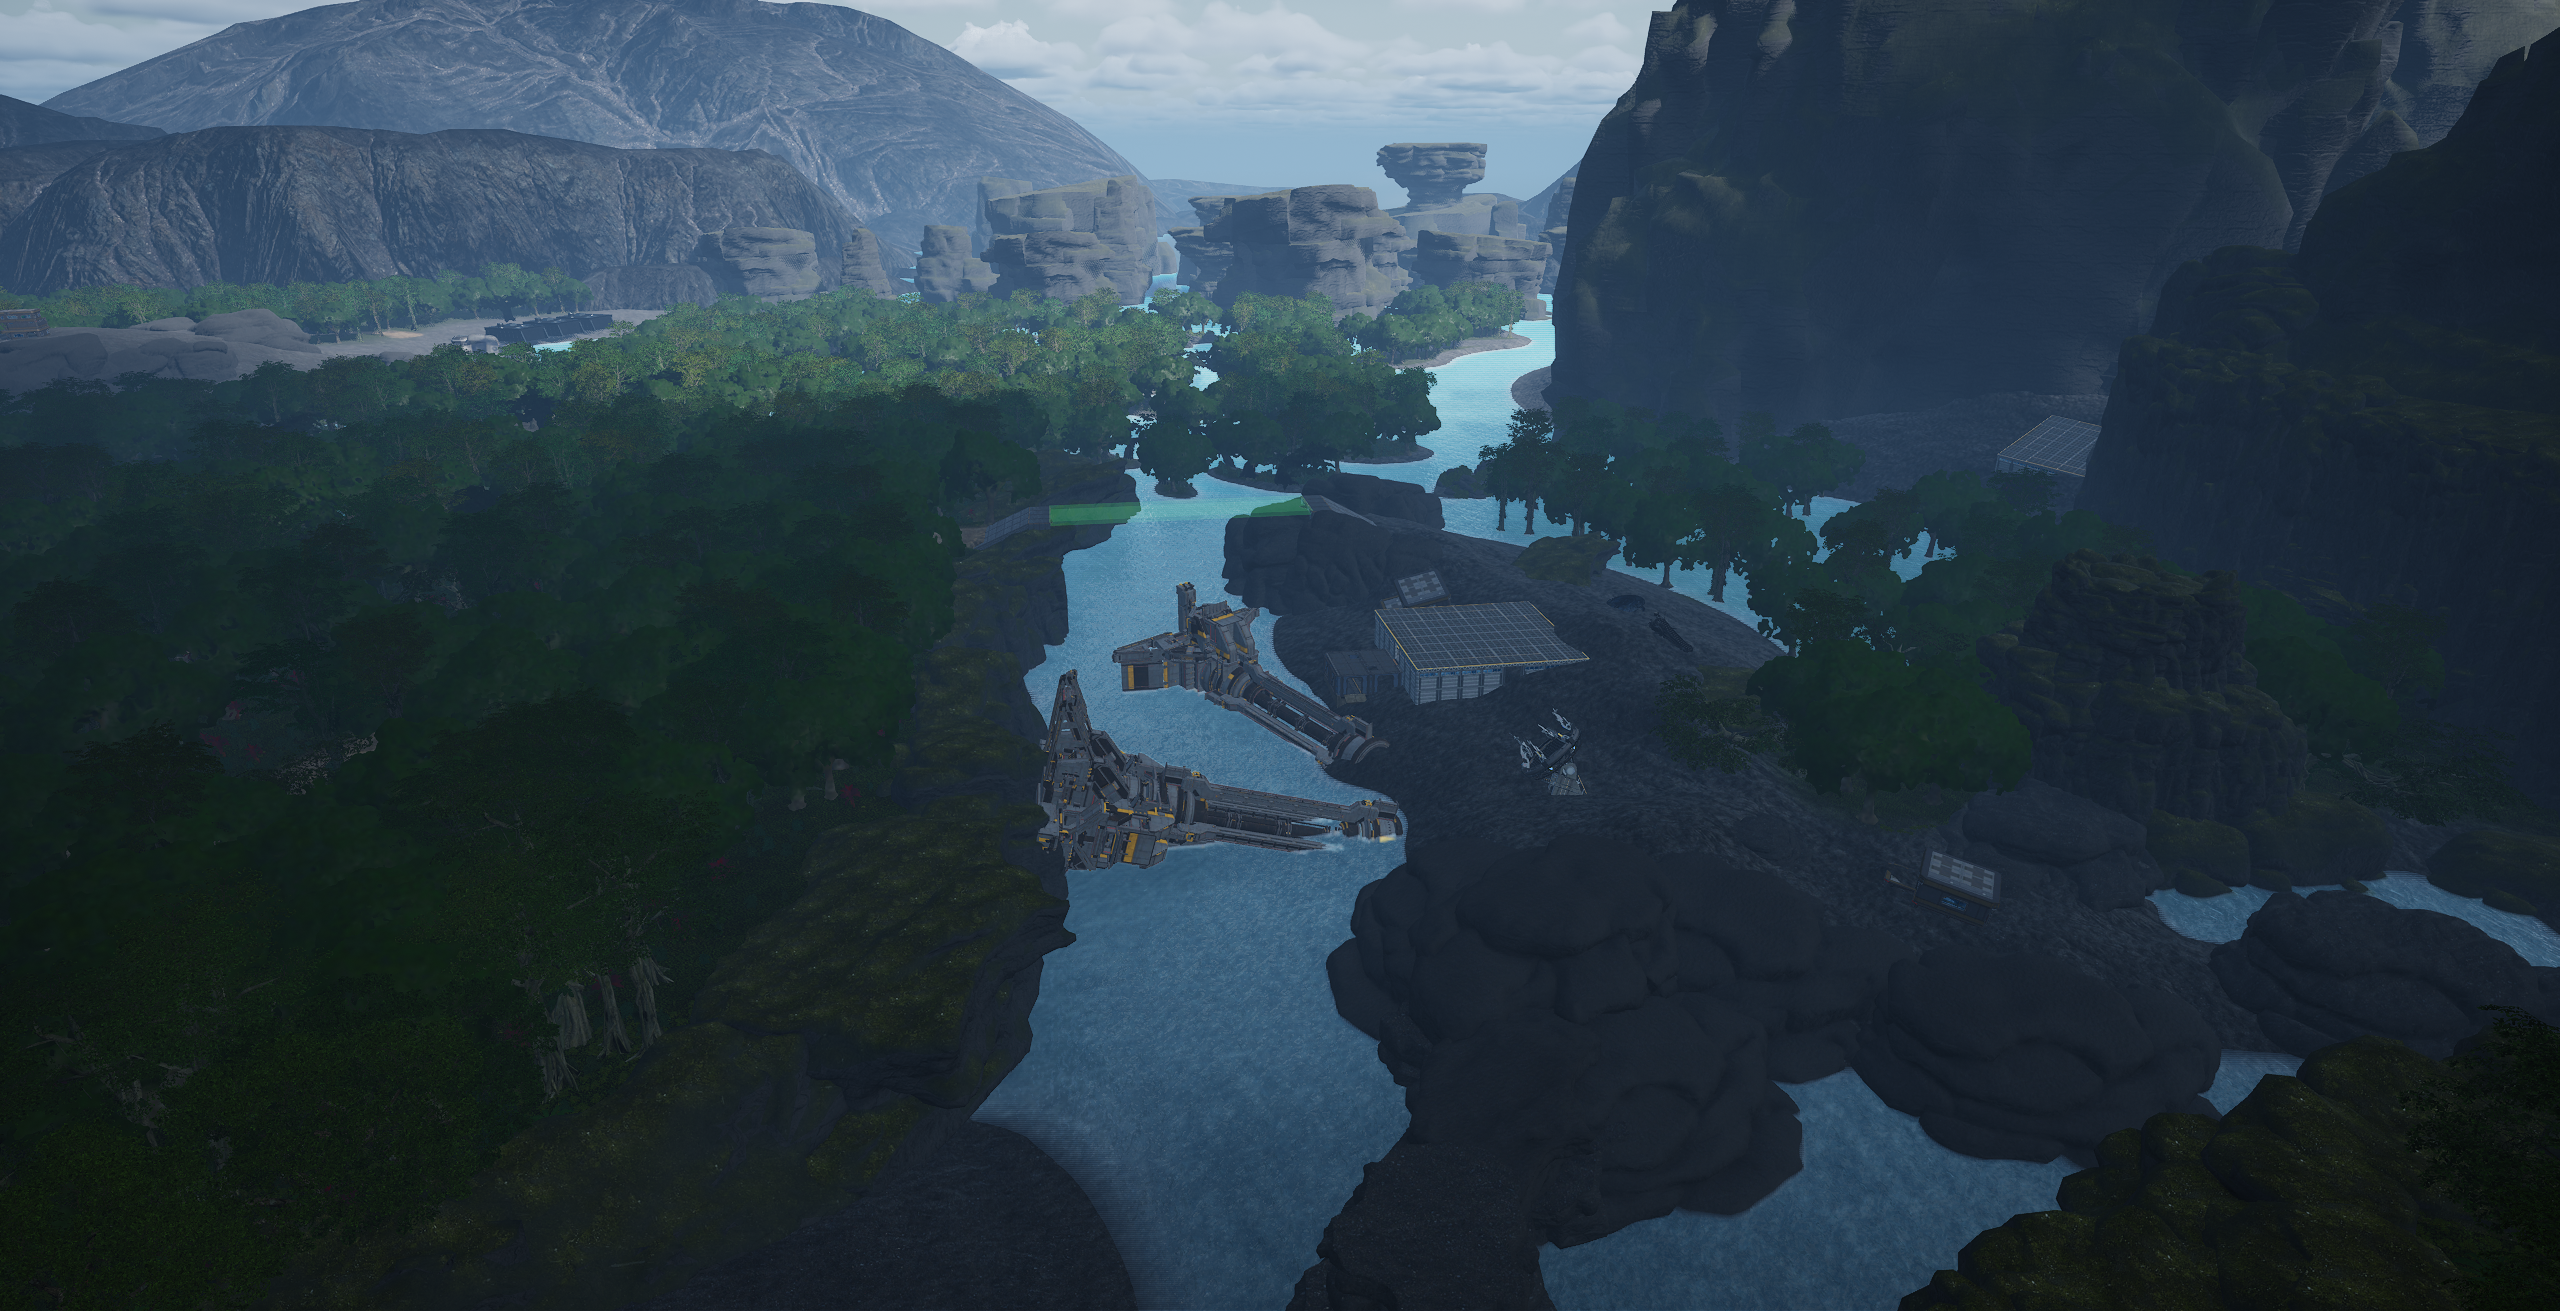
 Here, the retaining wall serves to give the attackers an extra edge when pushing onto the objective. It serves as a one-way lane (excluding jet pack troopers),
preventing the defenders from mounting a counter-offensive and retaking the treeline in that area. Additionally, by hindering the defenders from retaking the treeline, prolonged meat-grinder jungle combat is avoided on the first point. The same is true for the cliffside hut approach. This was done, as the first objective should not end the game unless the defenders are far better than the attackers. It
exists in order to help the defenders burn the attackers tickets (spawns and vehicles) and time. However, the defenders are still given lanes for counter-attacks and protection. The main facility has very defensible hallways, and has a backdoor
facing the defender's supply lines. The oceanside surge wall also helps to protect against long-range vehicle bombardment, allowing them to much more efficiently use the hangars and rocks as cover.
Here, the retaining wall serves to give the attackers an extra edge when pushing onto the objective. It serves as a one-way lane (excluding jet pack troopers),
preventing the defenders from mounting a counter-offensive and retaking the treeline in that area. Additionally, by hindering the defenders from retaking the treeline, prolonged meat-grinder jungle combat is avoided on the first point. The same is true for the cliffside hut approach. This was done, as the first objective should not end the game unless the defenders are far better than the attackers. It
exists in order to help the defenders burn the attackers tickets (spawns and vehicles) and time. However, the defenders are still given lanes for counter-attacks and protection. The main facility has very defensible hallways, and has a backdoor
facing the defender's supply lines. The oceanside surge wall also helps to protect against long-range vehicle bombardment, allowing them to much more efficiently use the hangars and rocks as cover.
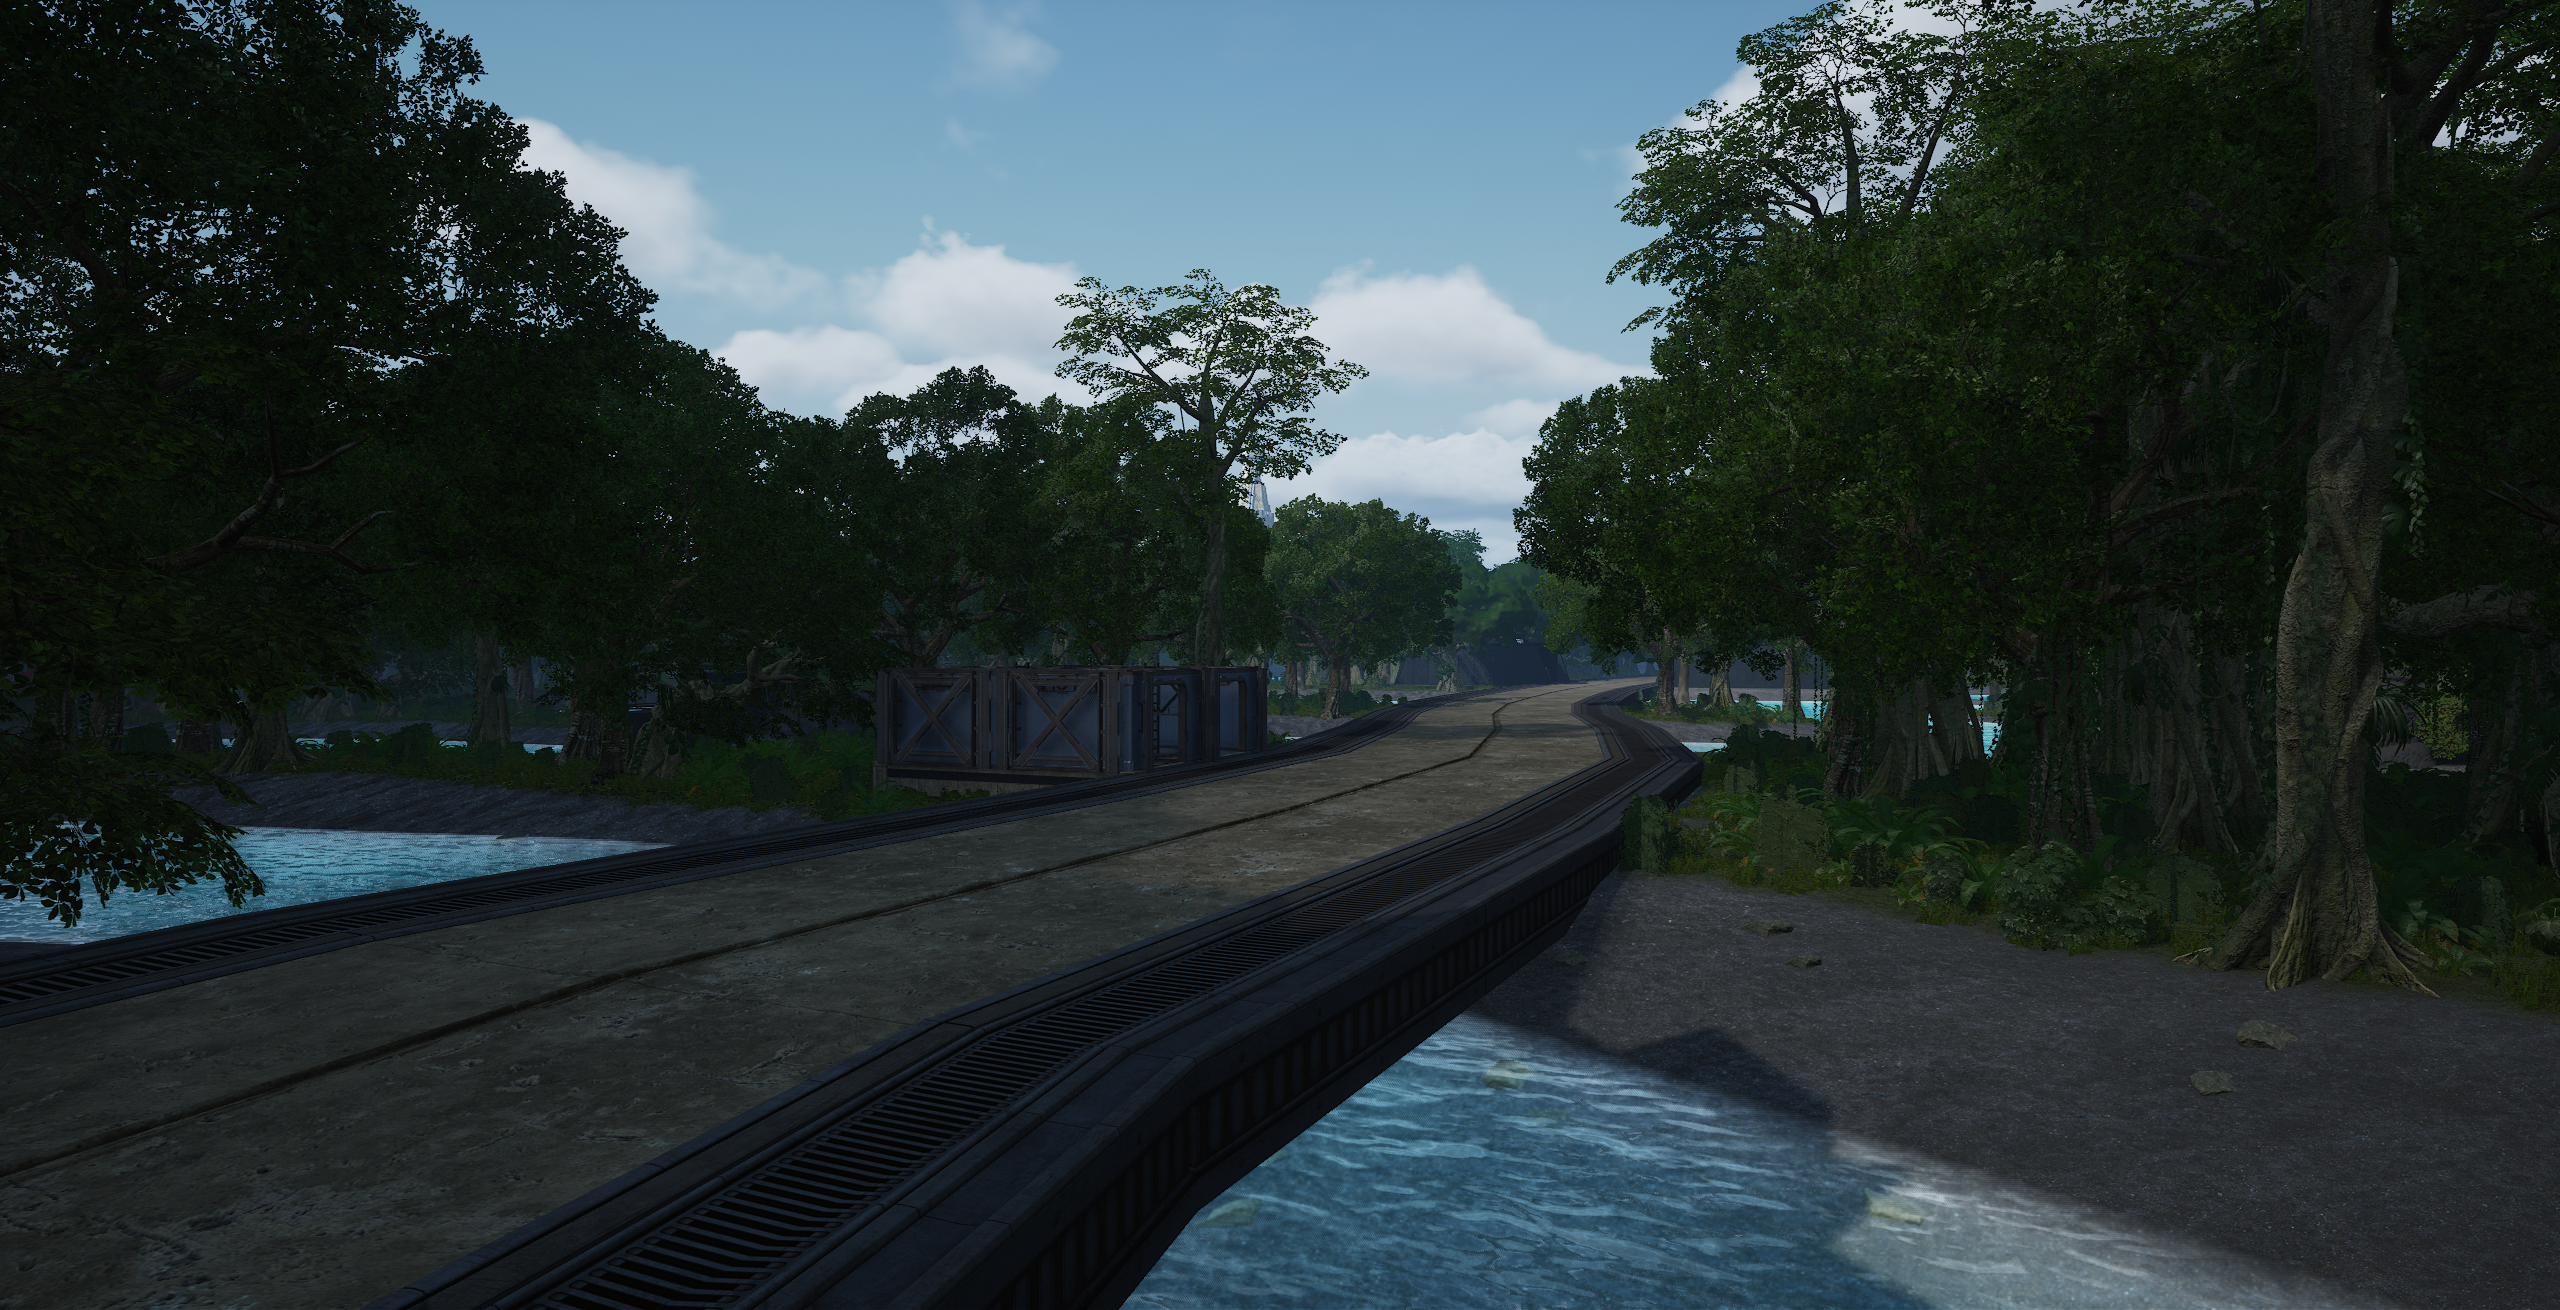
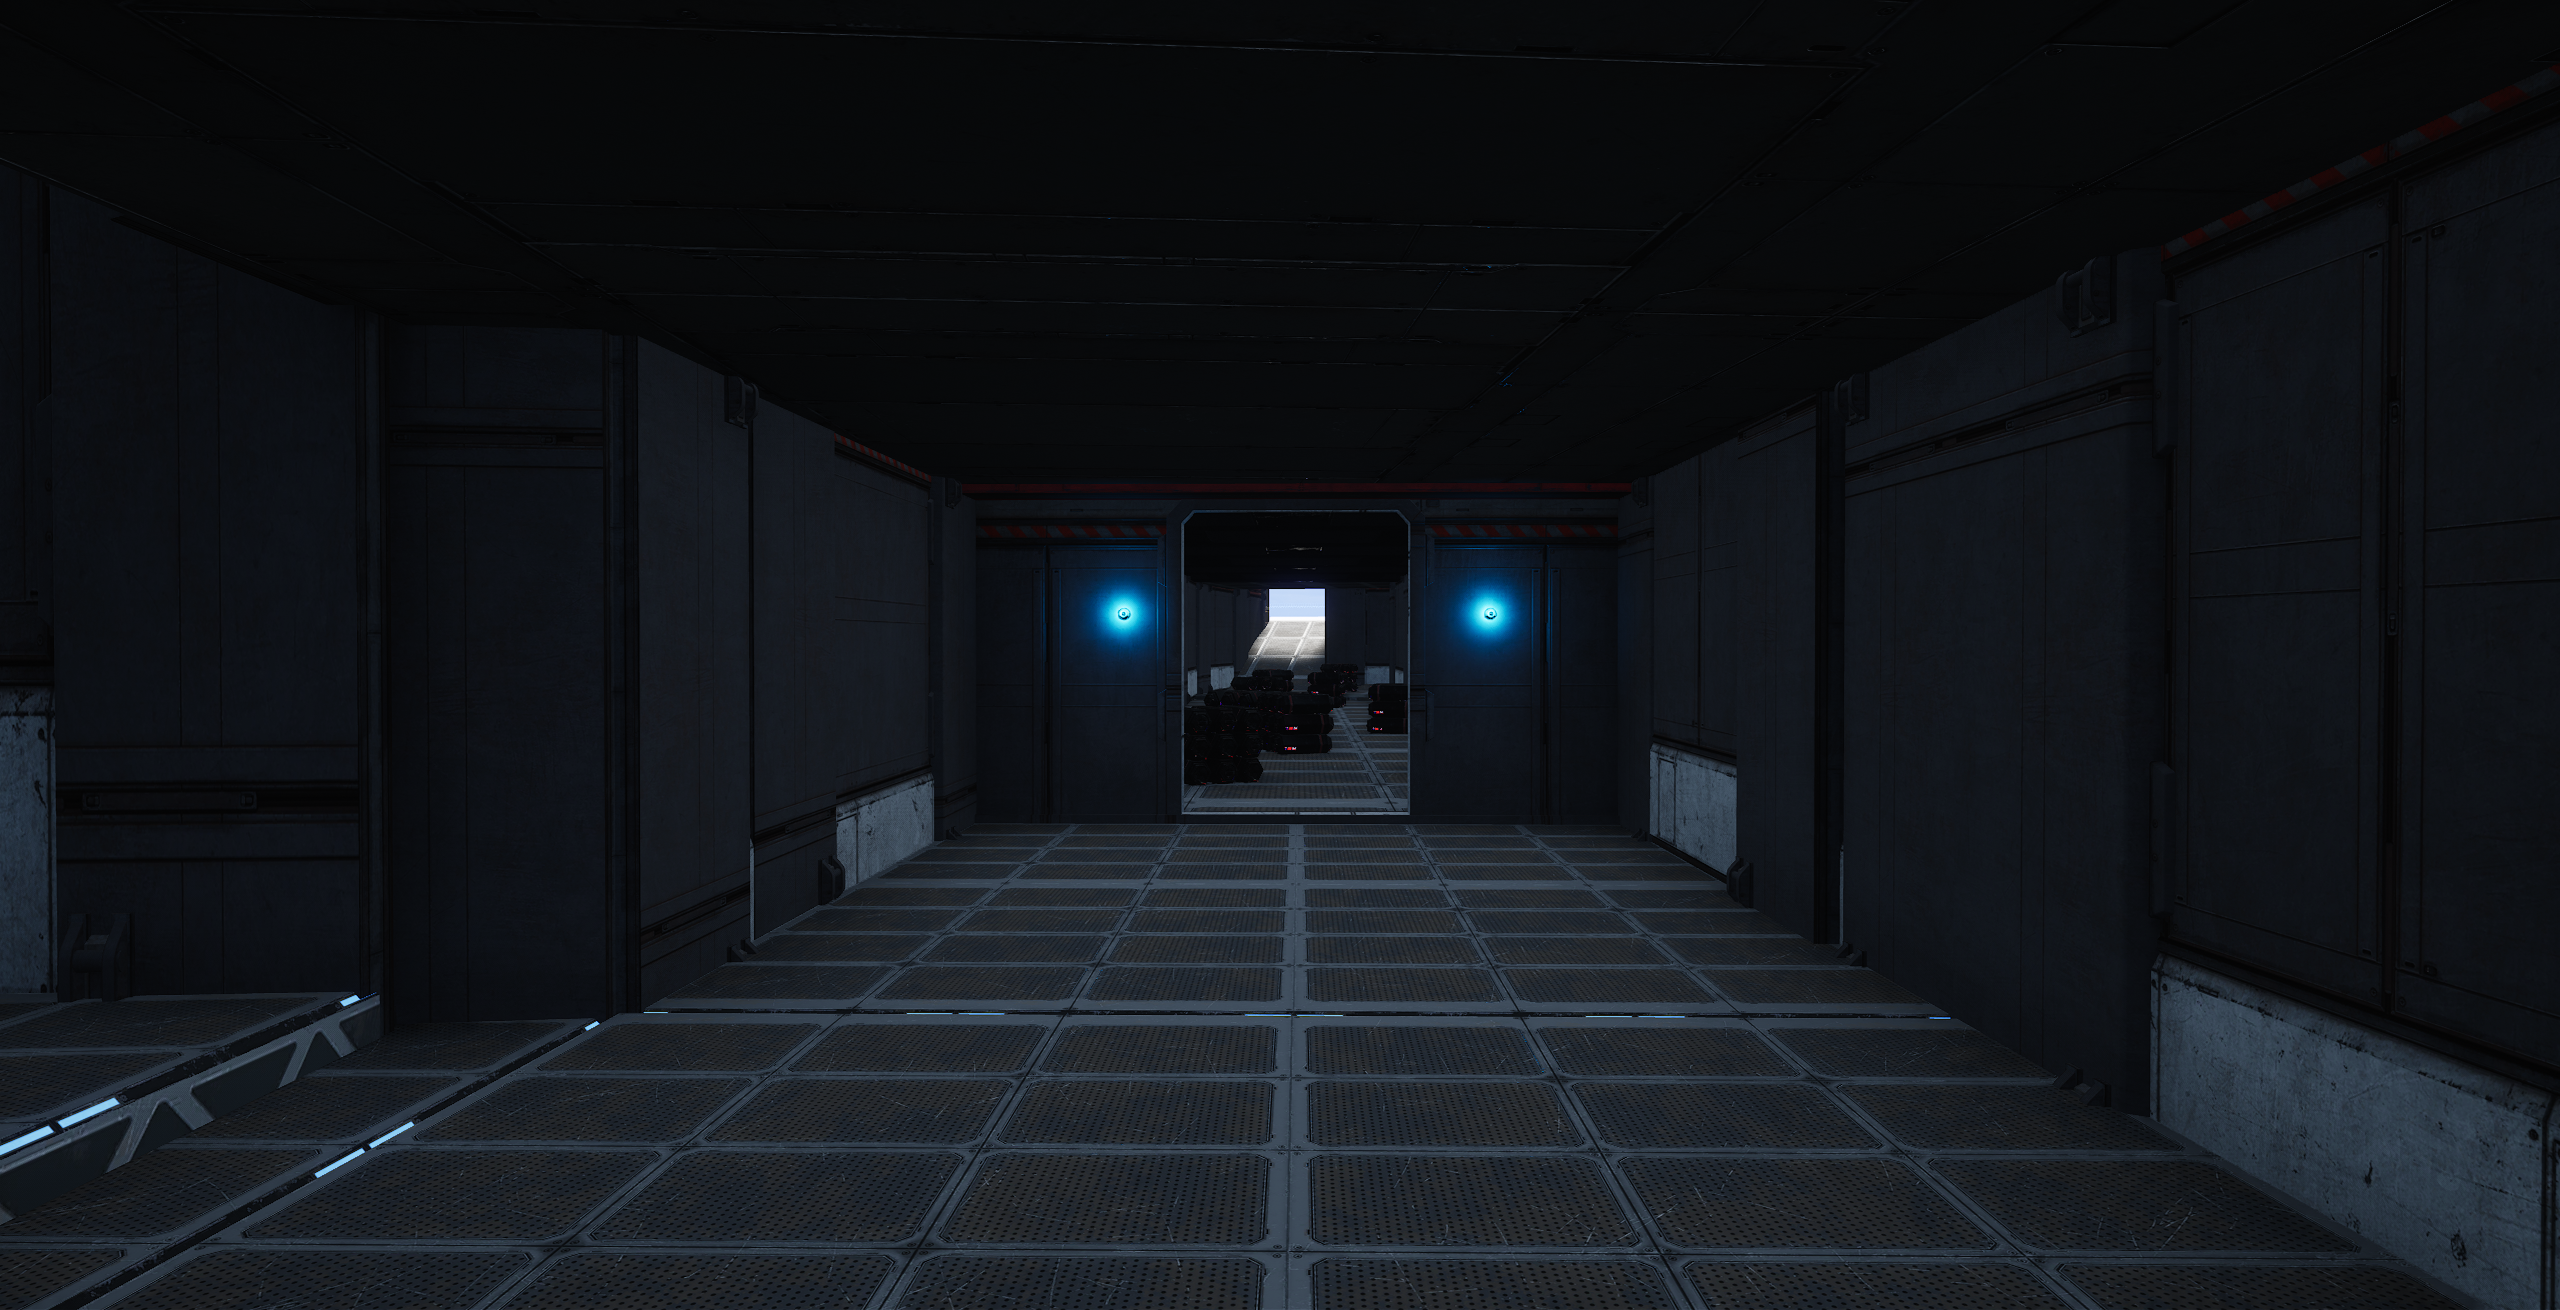
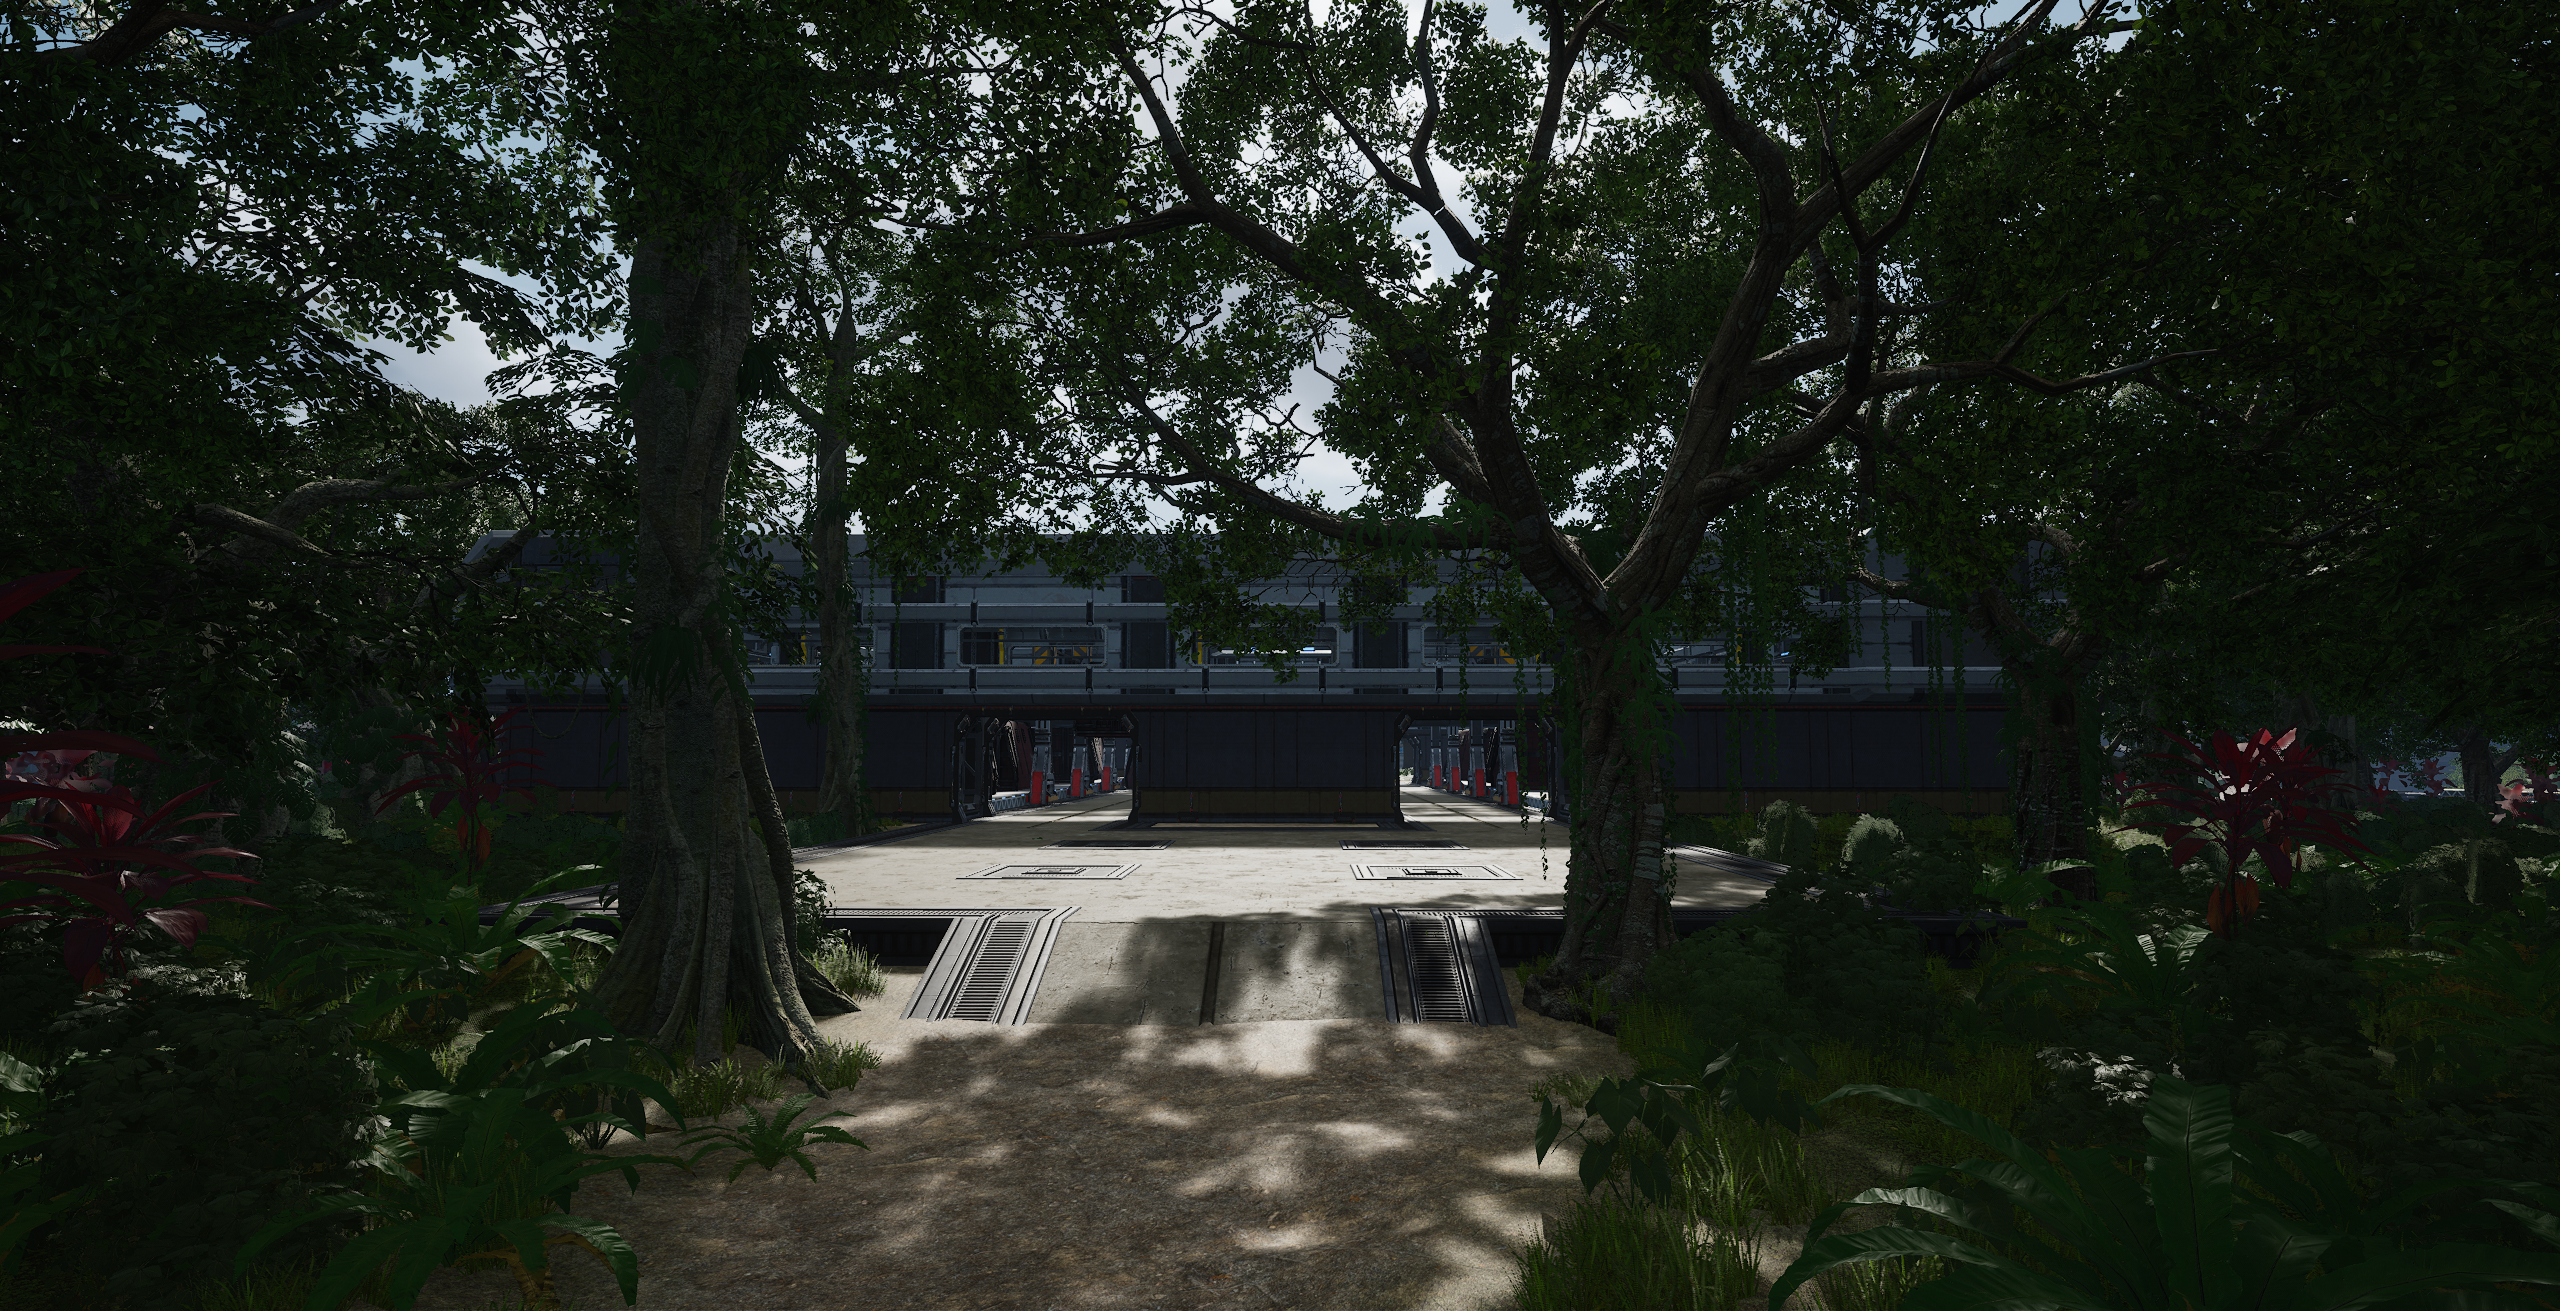
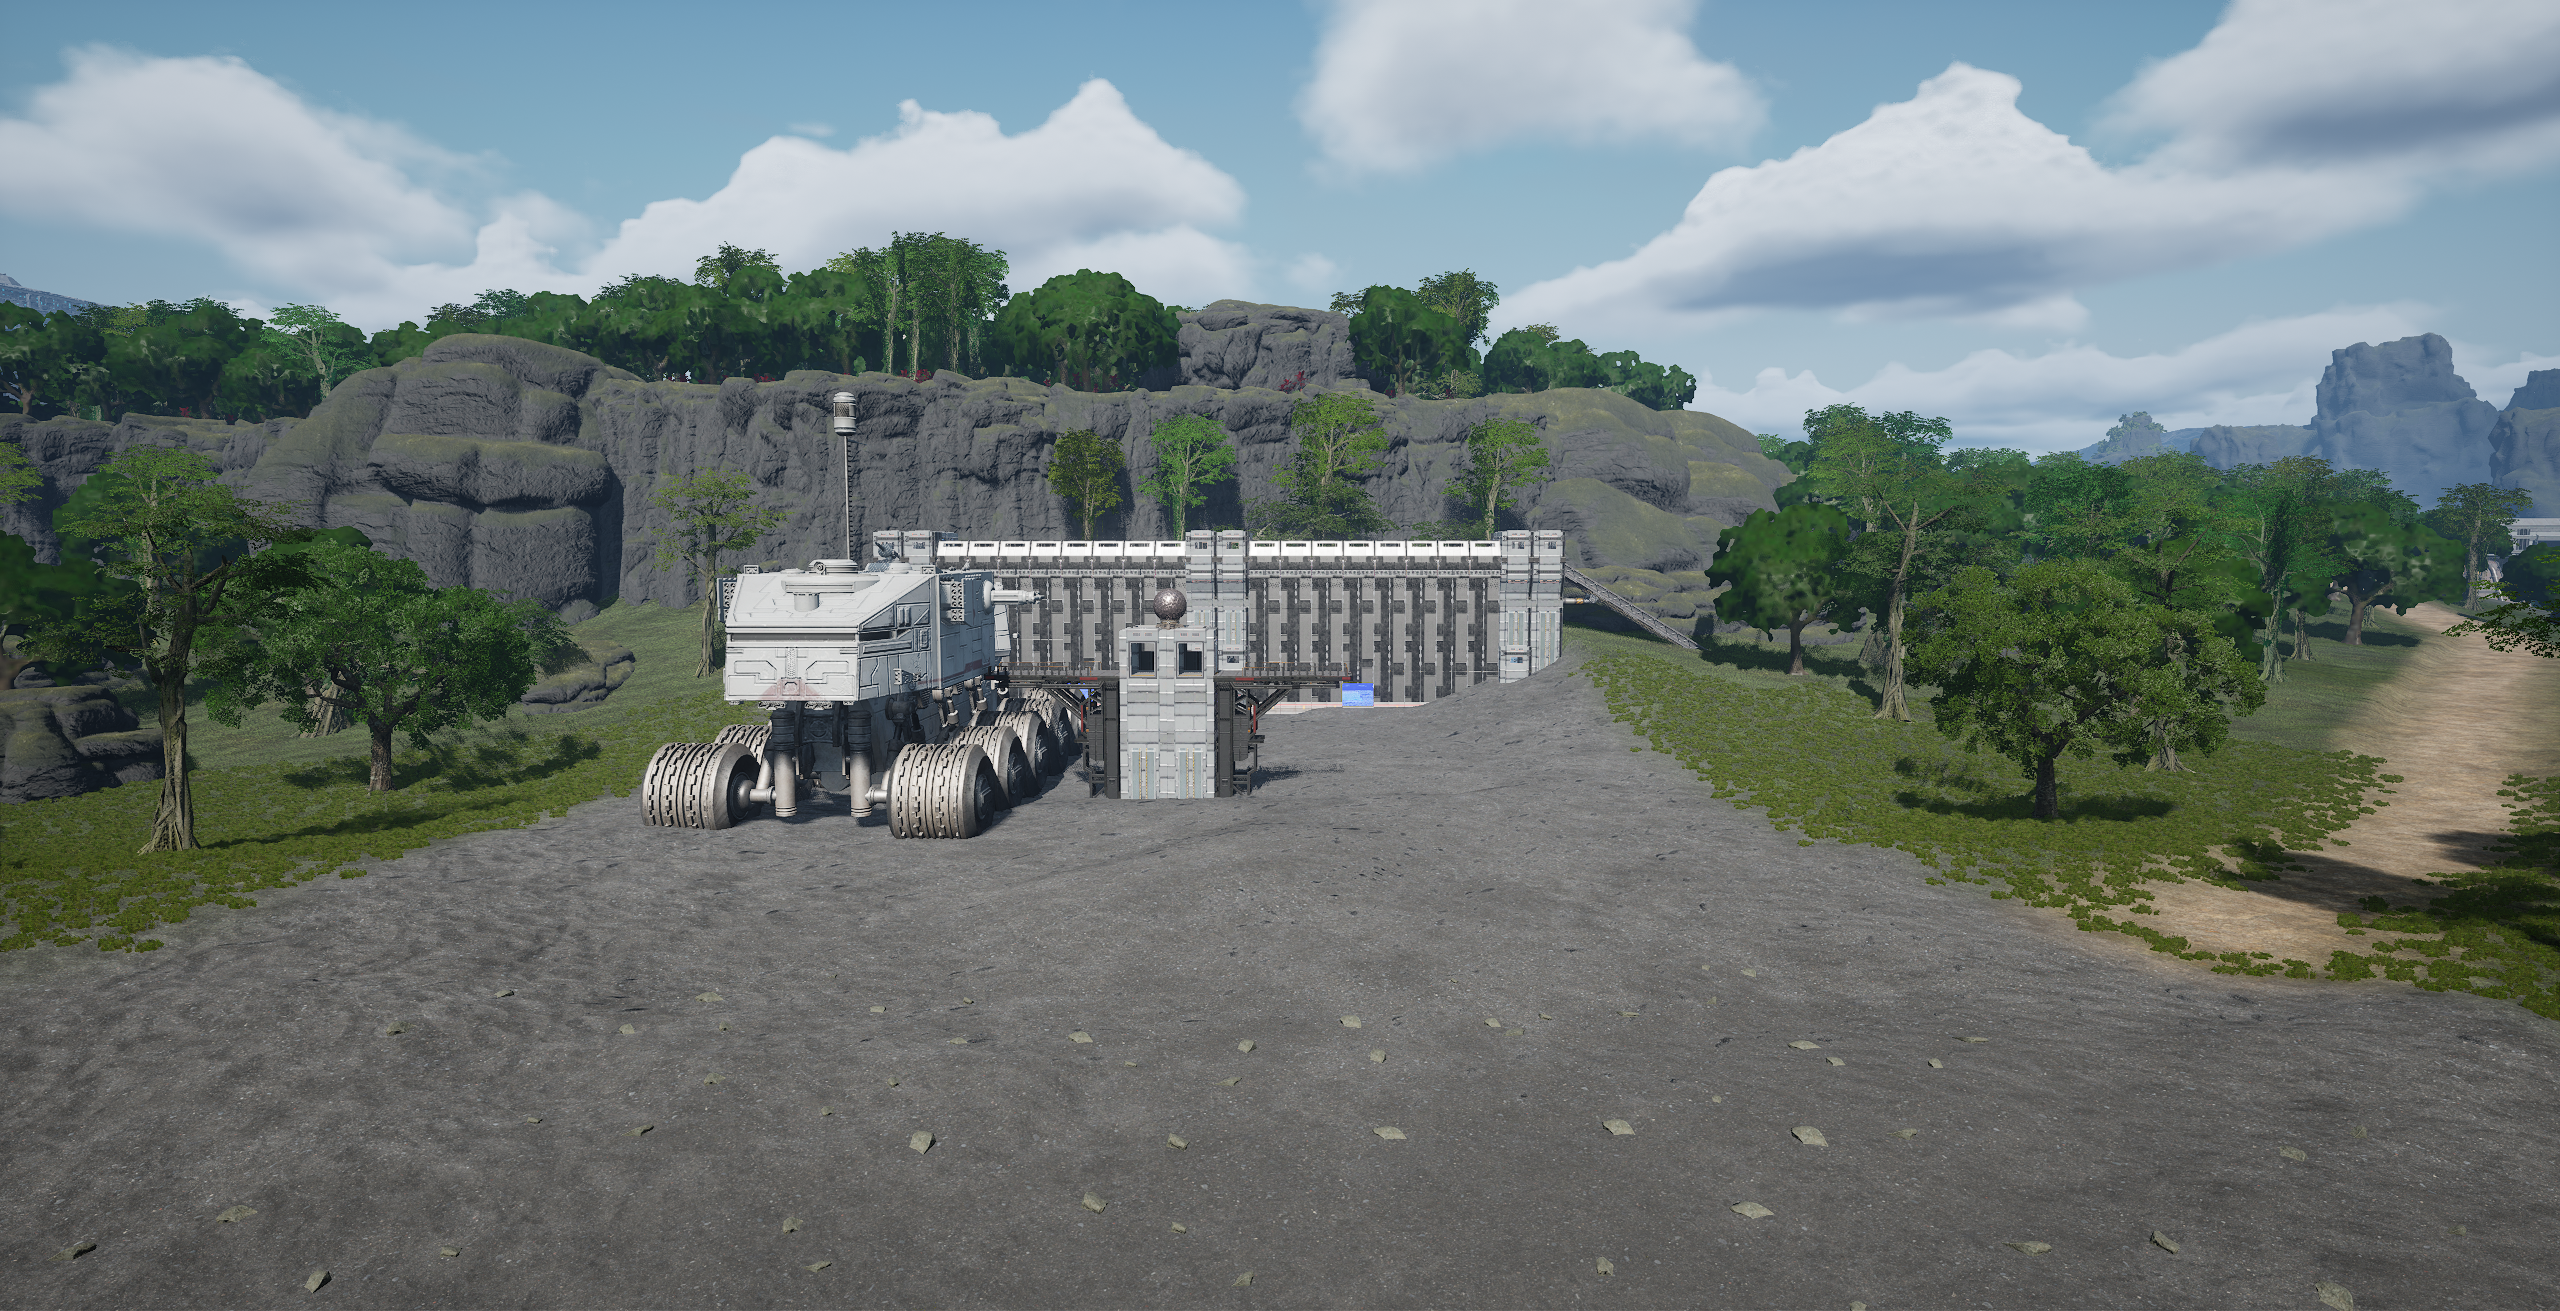
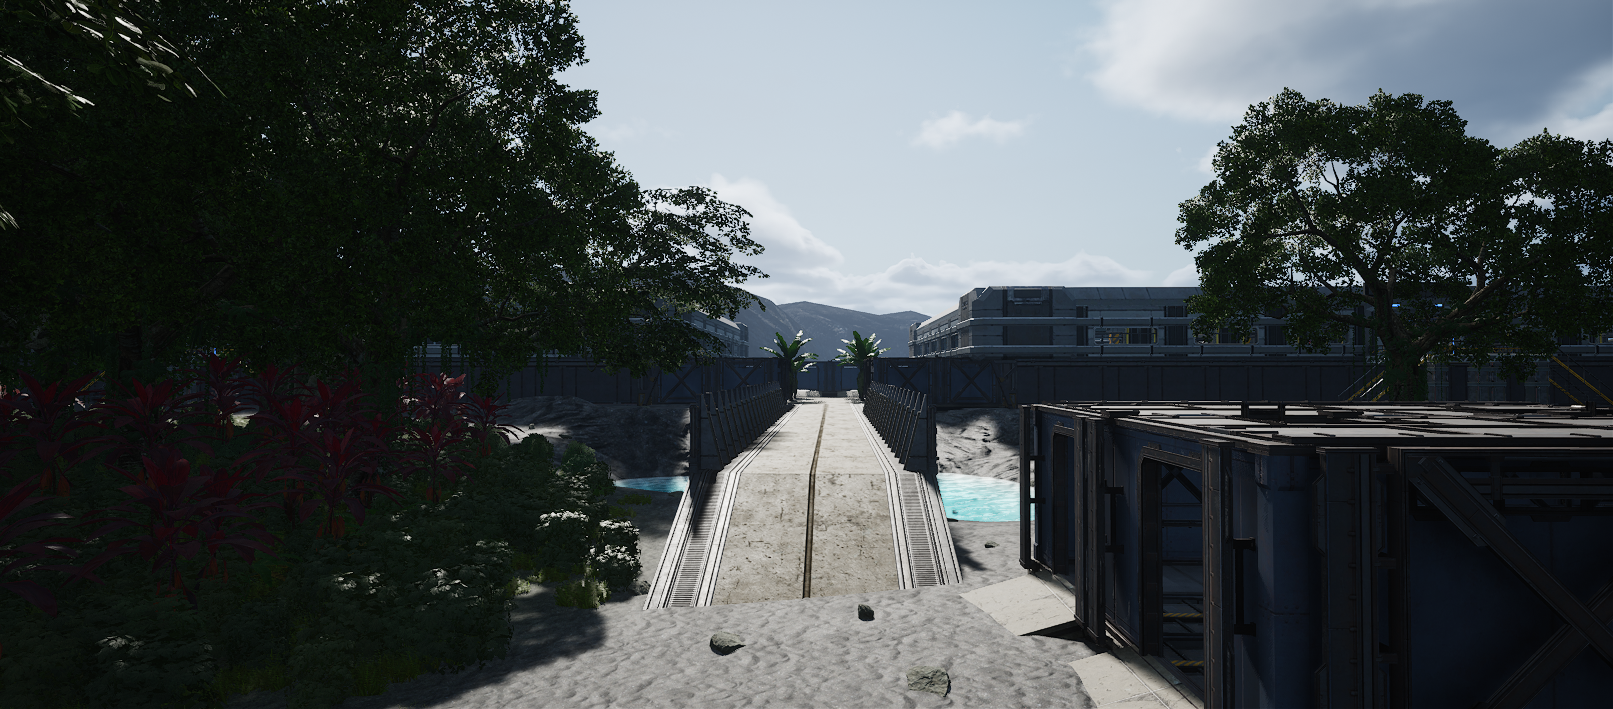
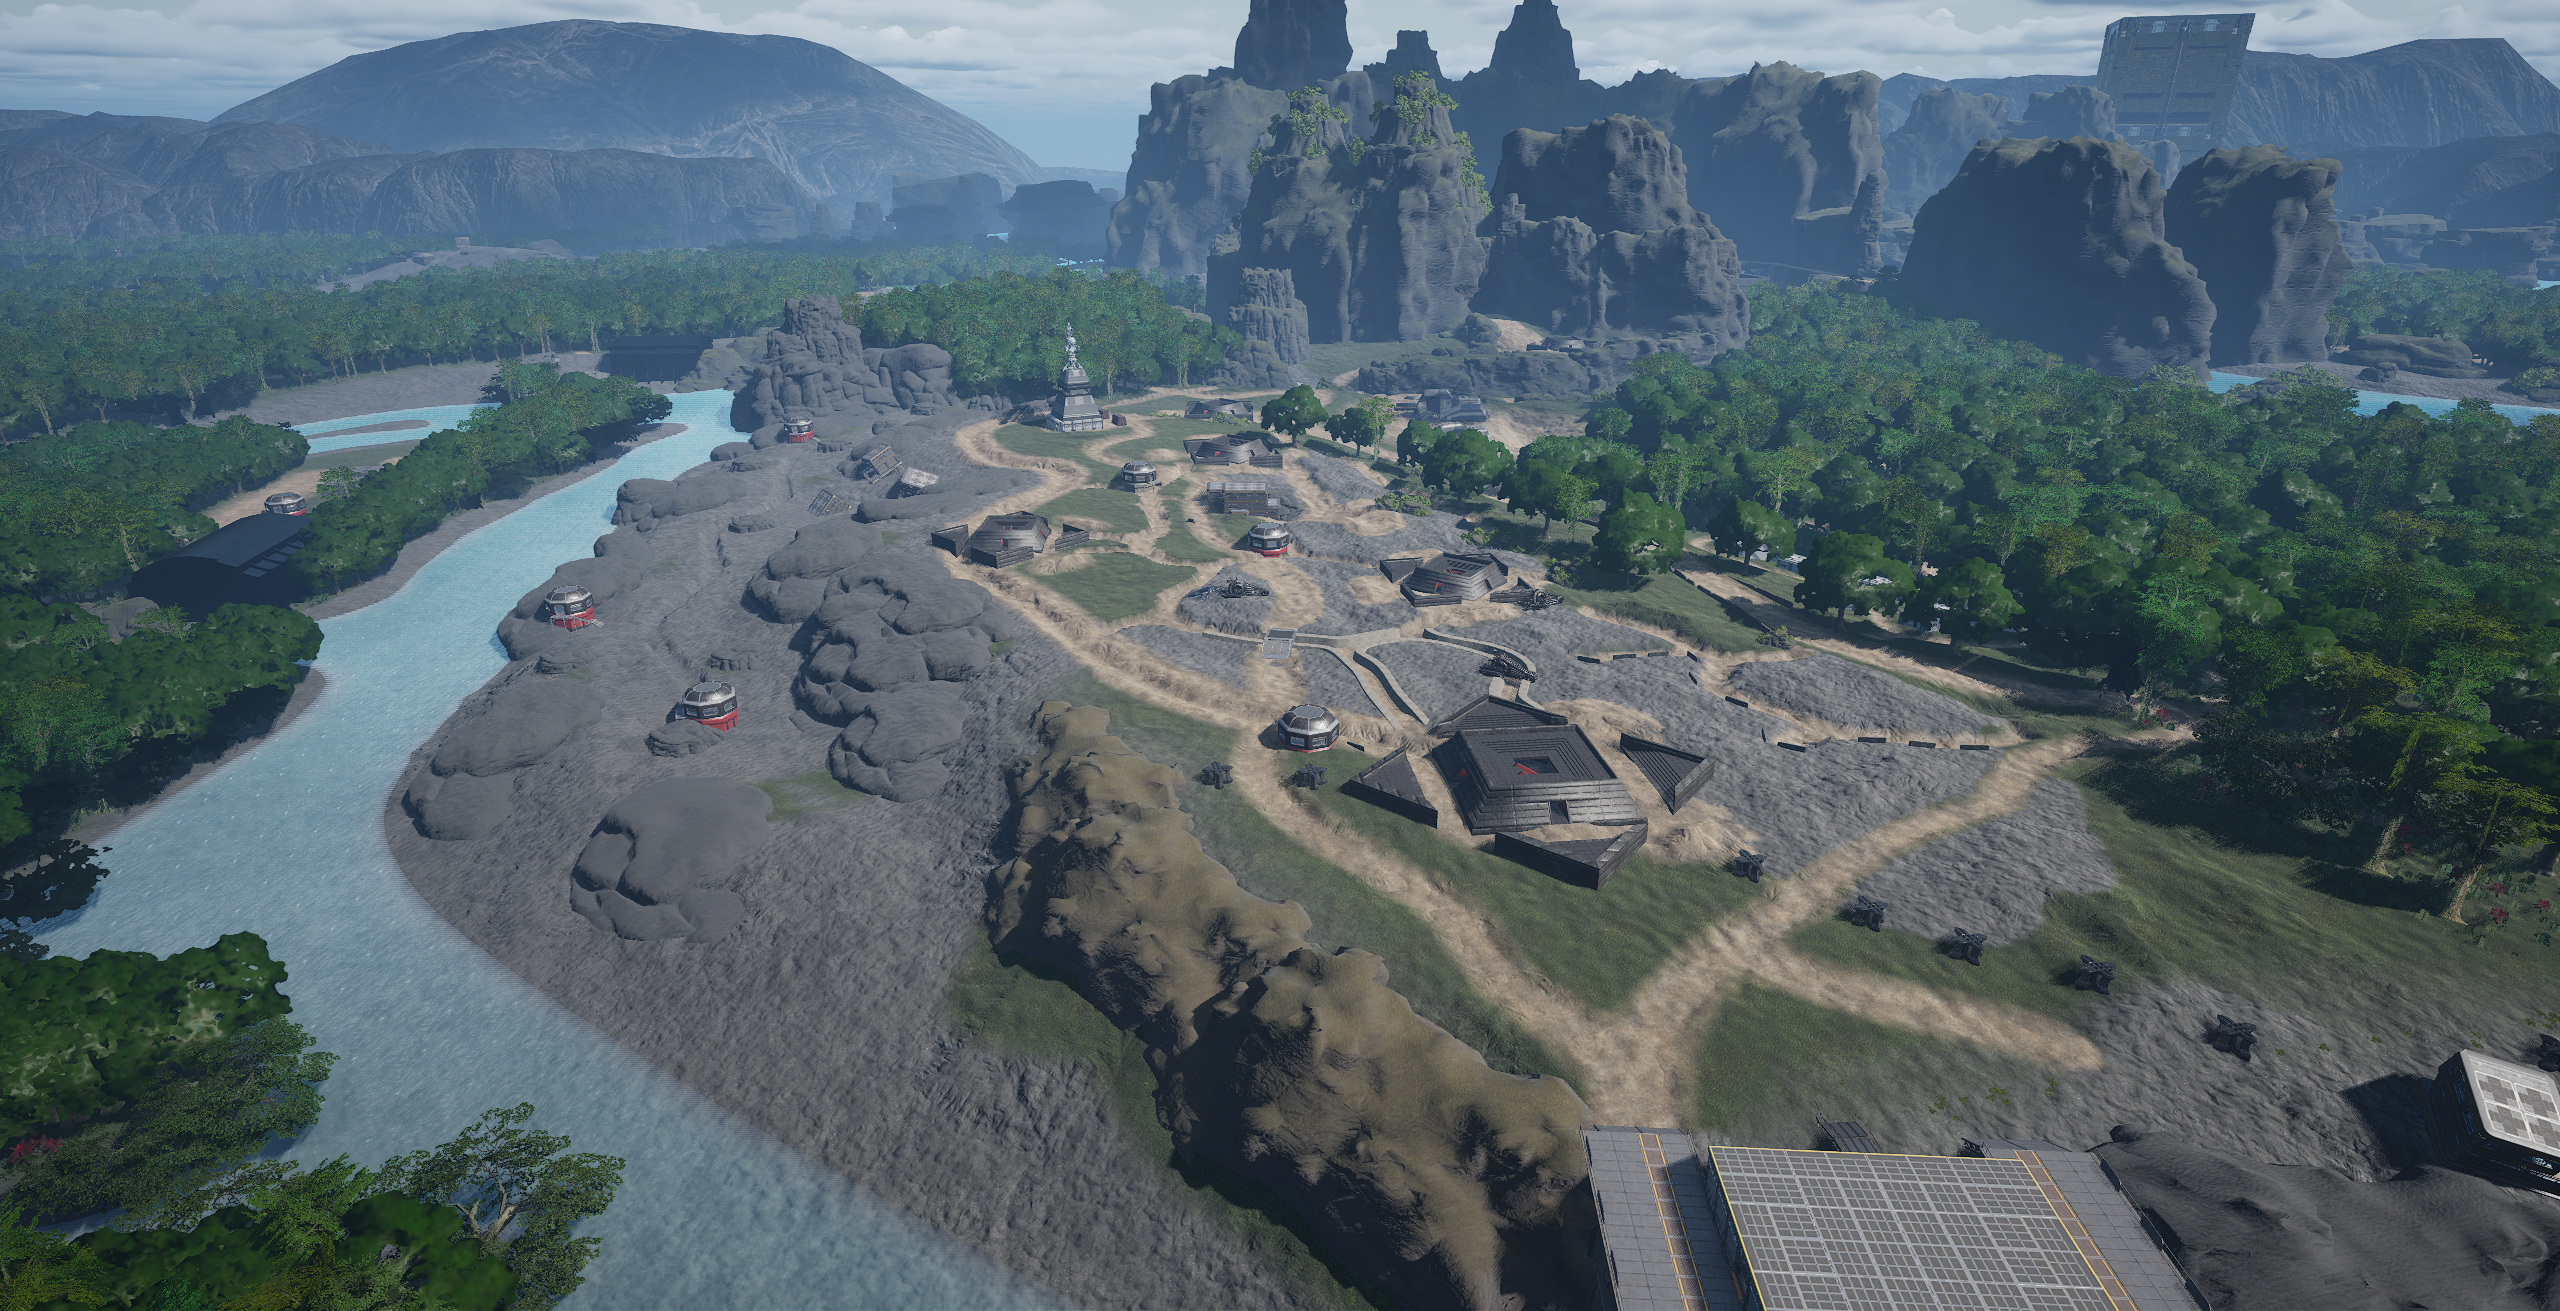
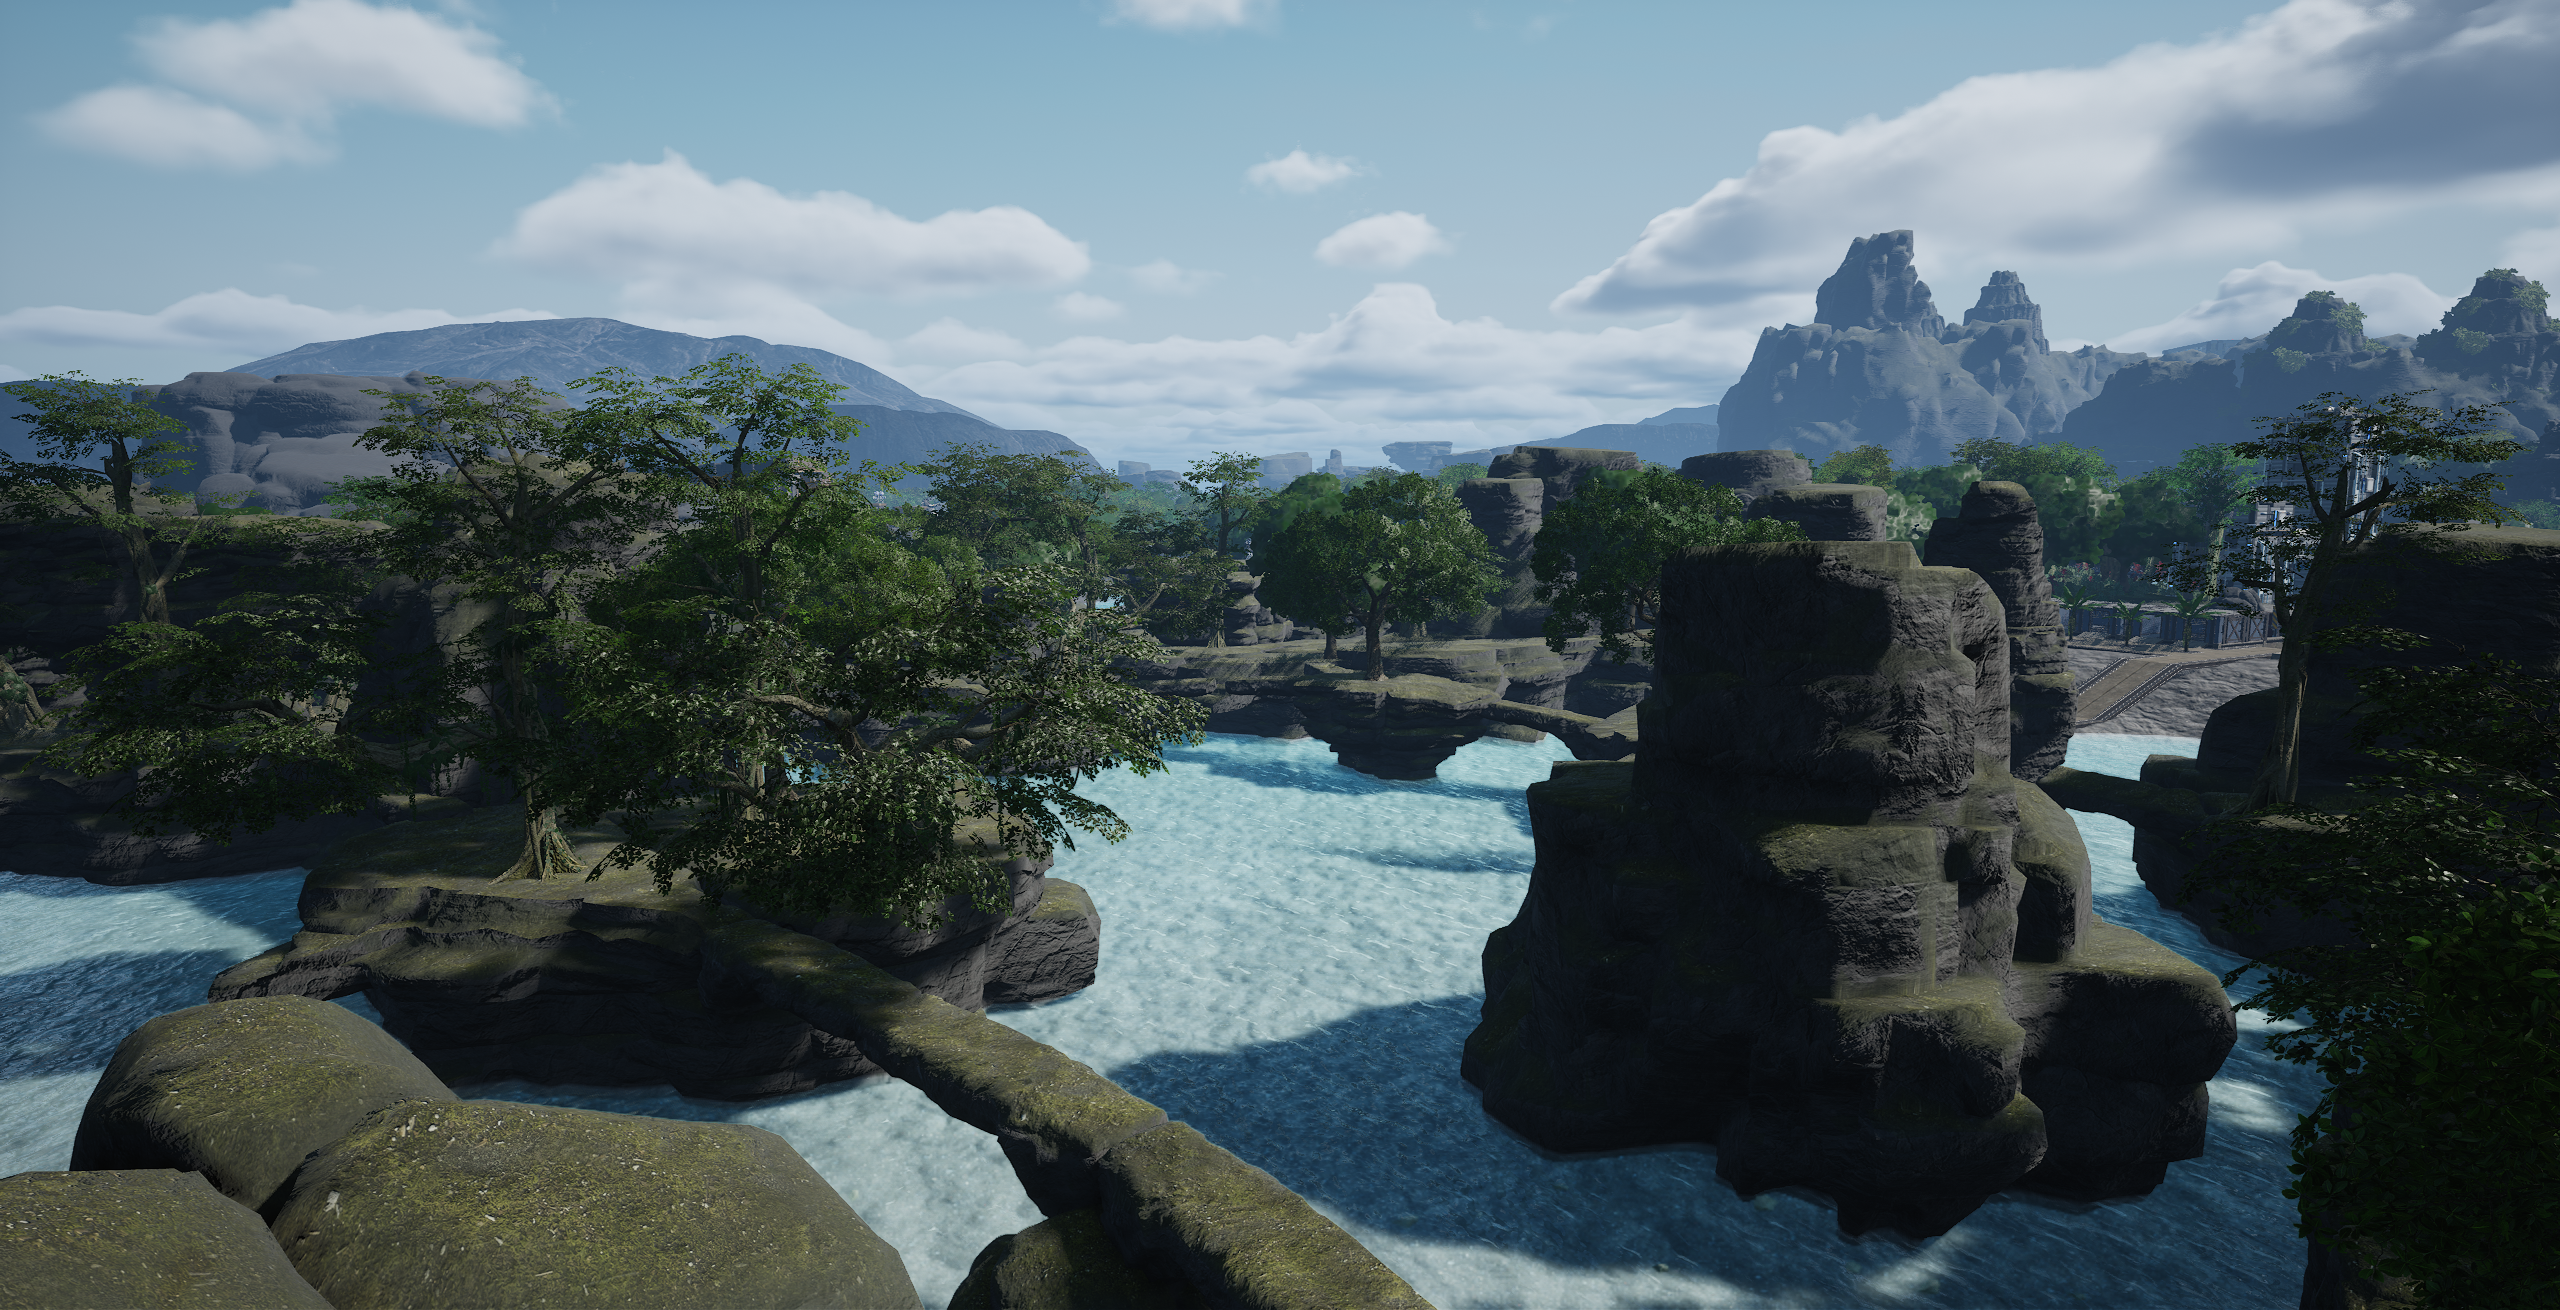
 A similar design is found here, where a retaining wall provides a one-way lane for the attackers. However, it is often better served as just a firing position onto the objective,
as the height of the wall does make it harder to push down. The defenders also have a more robust facility, as this is no longer the first objective. There are numerous buildings in close proximity, plenty of rooms to hole up in, and an underground passage
that connects to the bridge over the river. Notably, the river also provides passage through the jungle for vehicles (both armor and logistics), which gives them critical cover from air vehicles.
A similar design is found here, where a retaining wall provides a one-way lane for the attackers. However, it is often better served as just a firing position onto the objective,
as the height of the wall does make it harder to push down. The defenders also have a more robust facility, as this is no longer the first objective. There are numerous buildings in close proximity, plenty of rooms to hole up in, and an underground passage
that connects to the bridge over the river. Notably, the river also provides passage through the jungle for vehicles (both armor and logistics), which gives them critical cover from air vehicles.
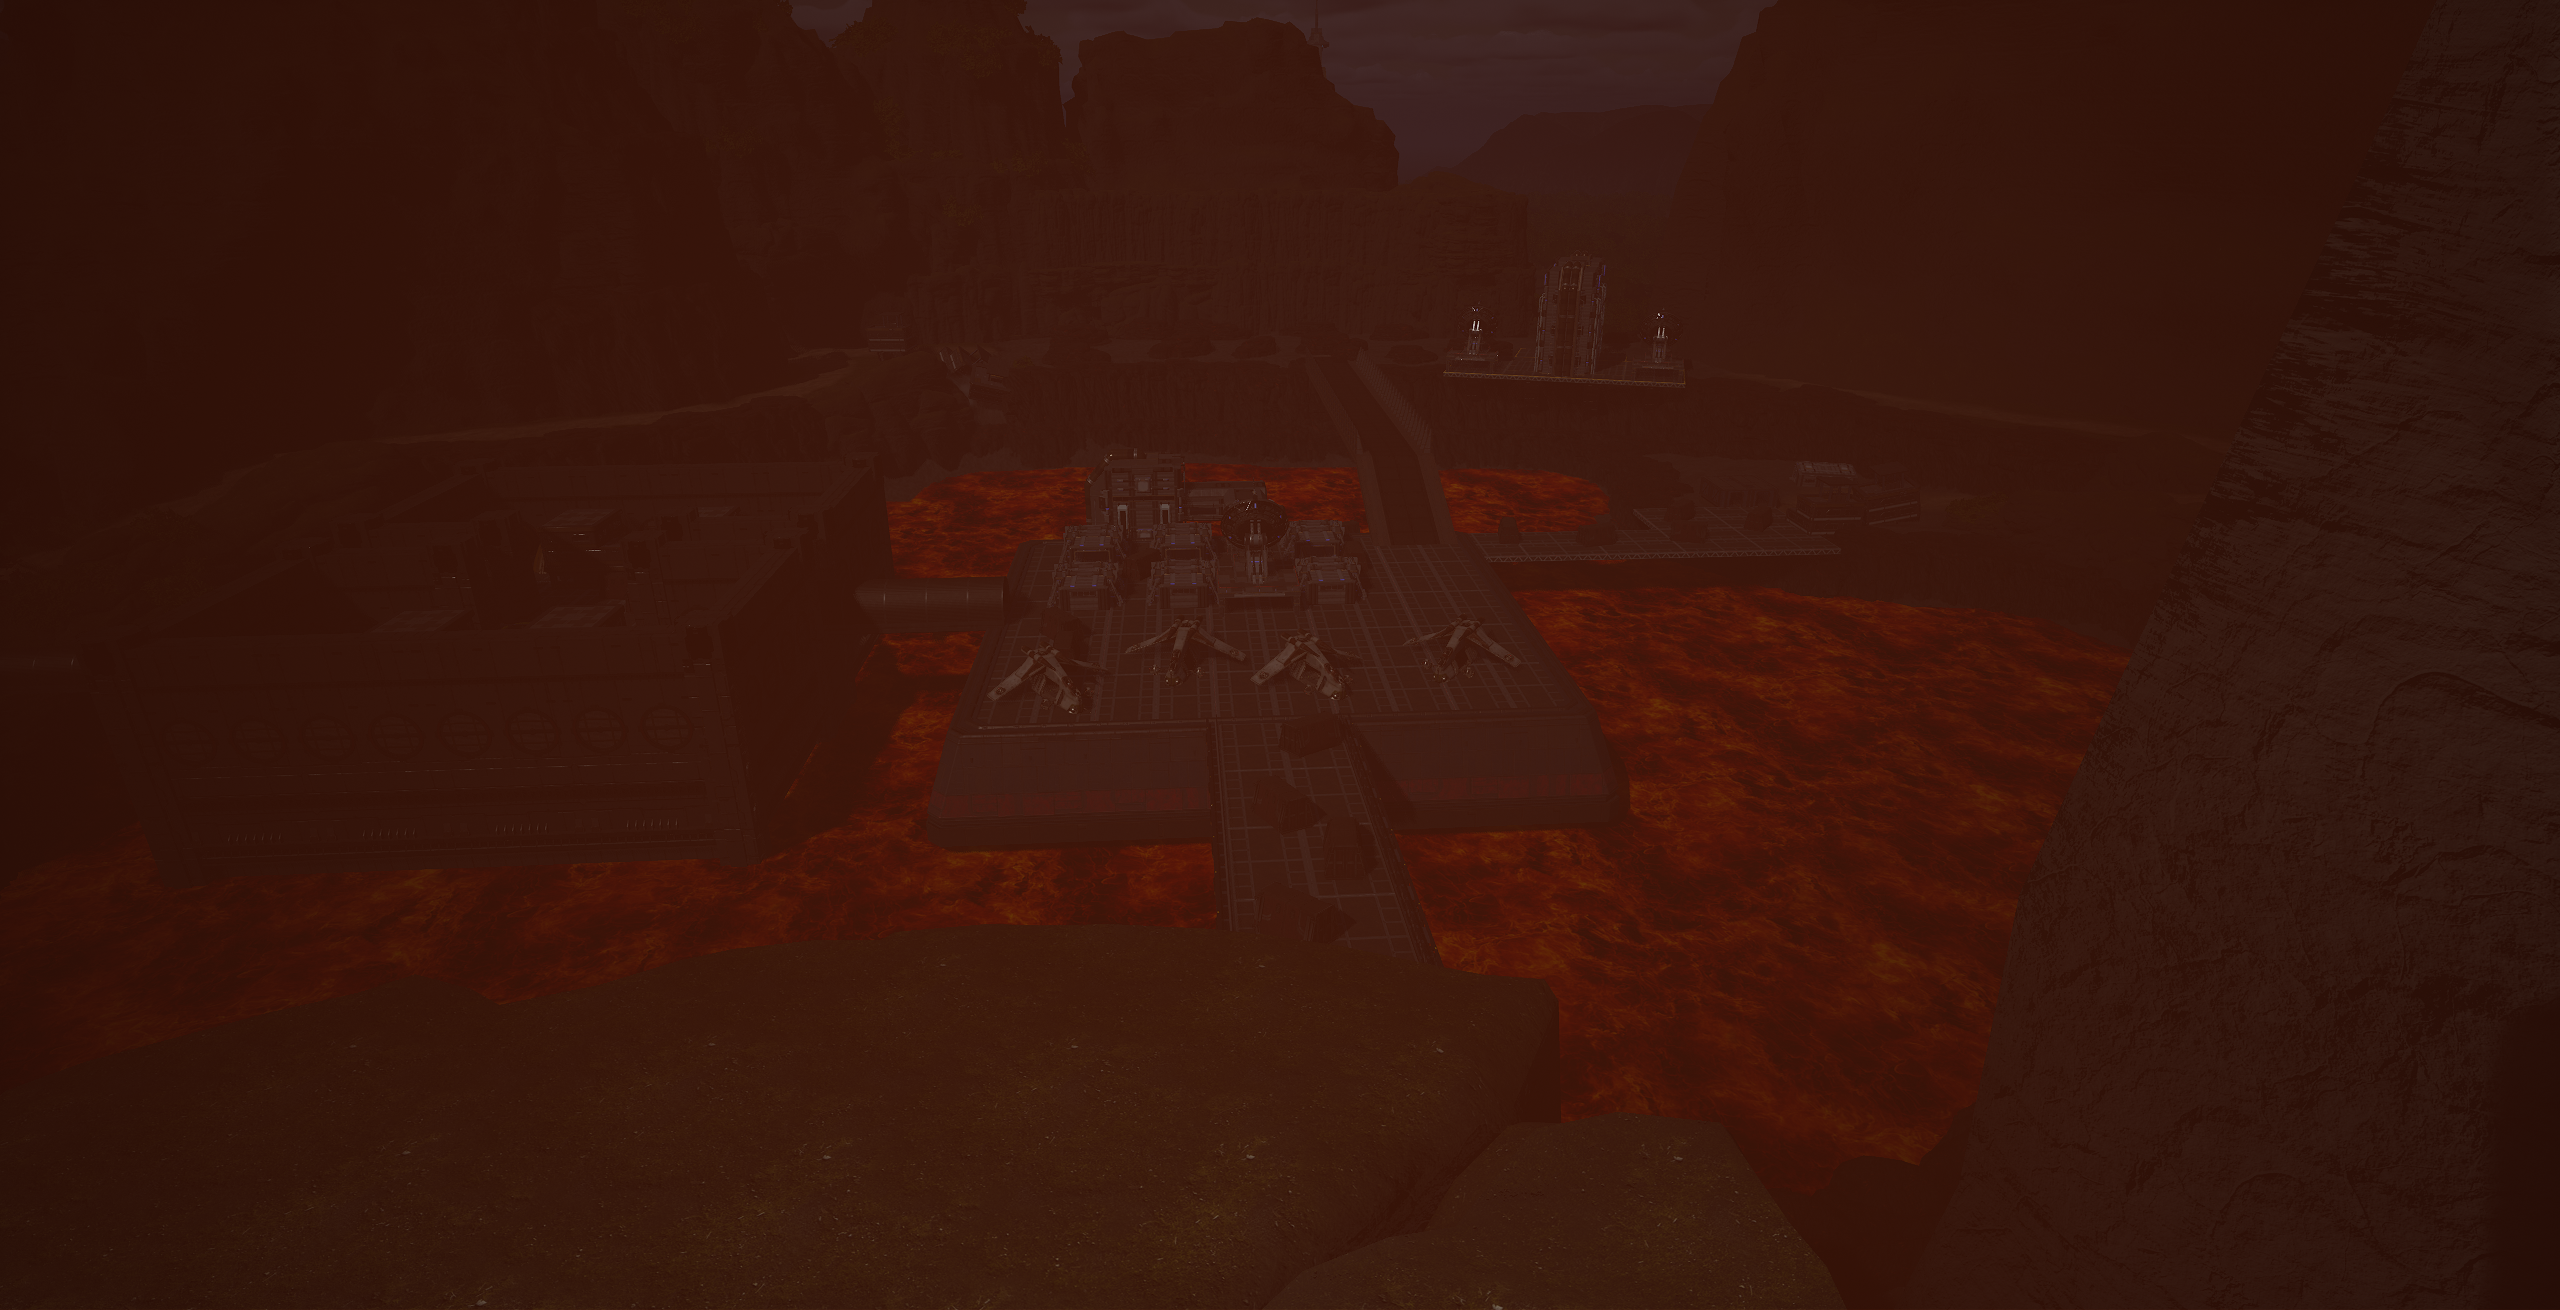
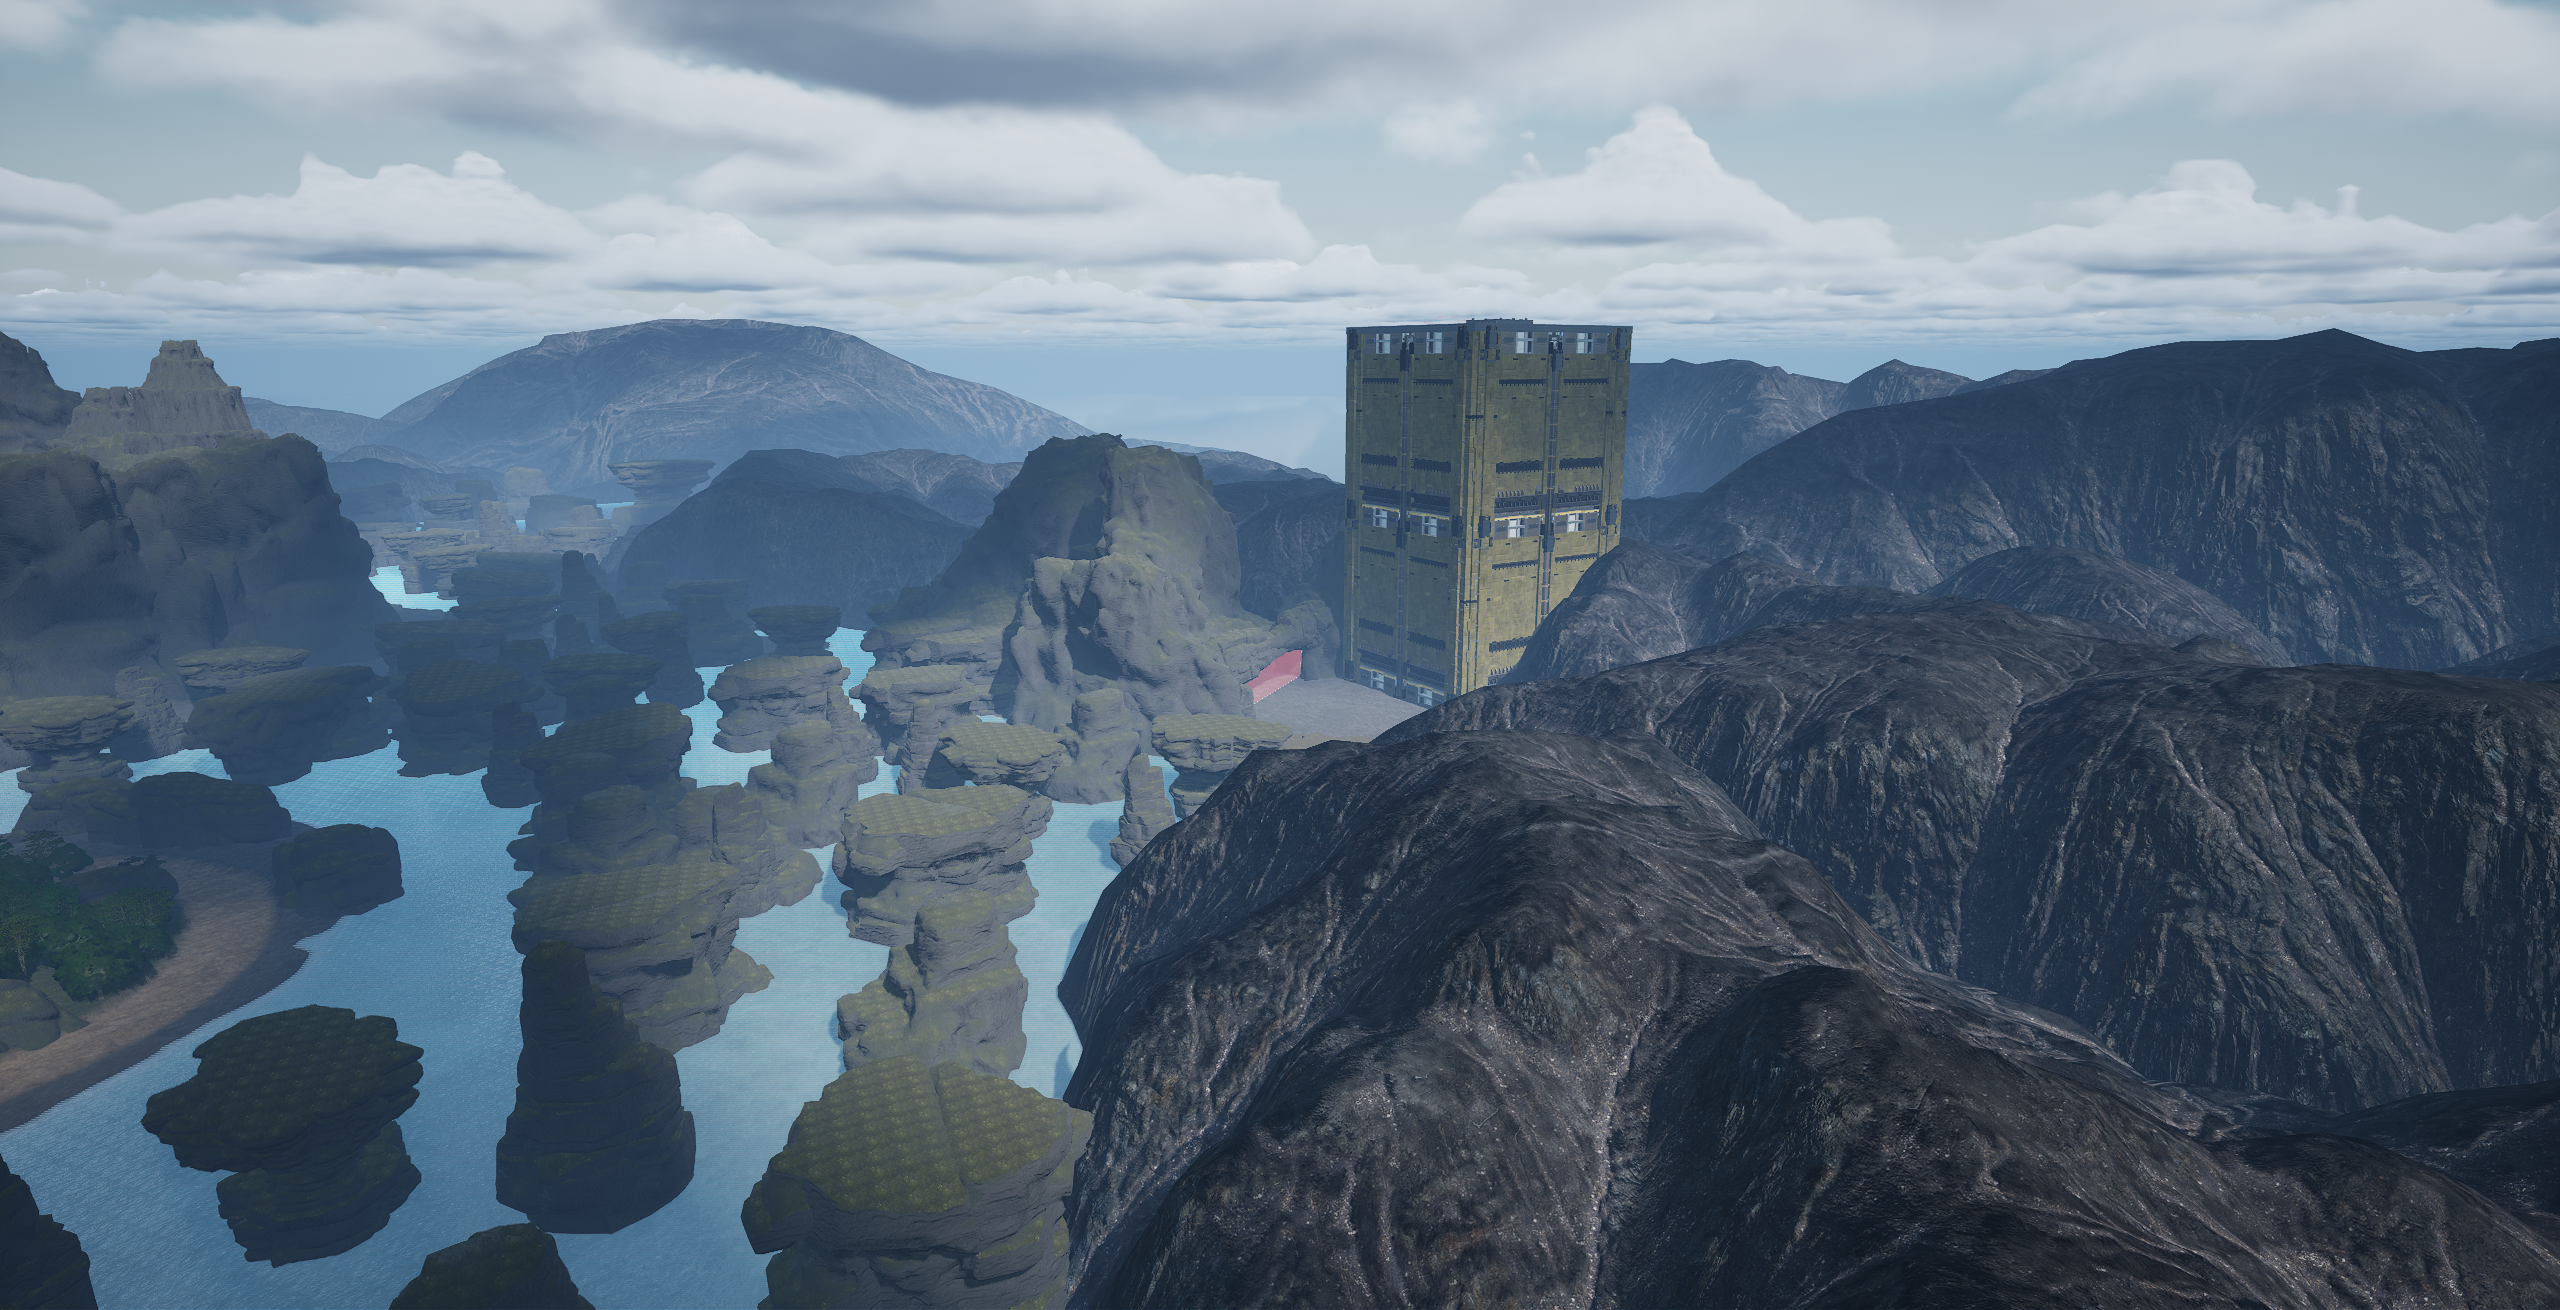
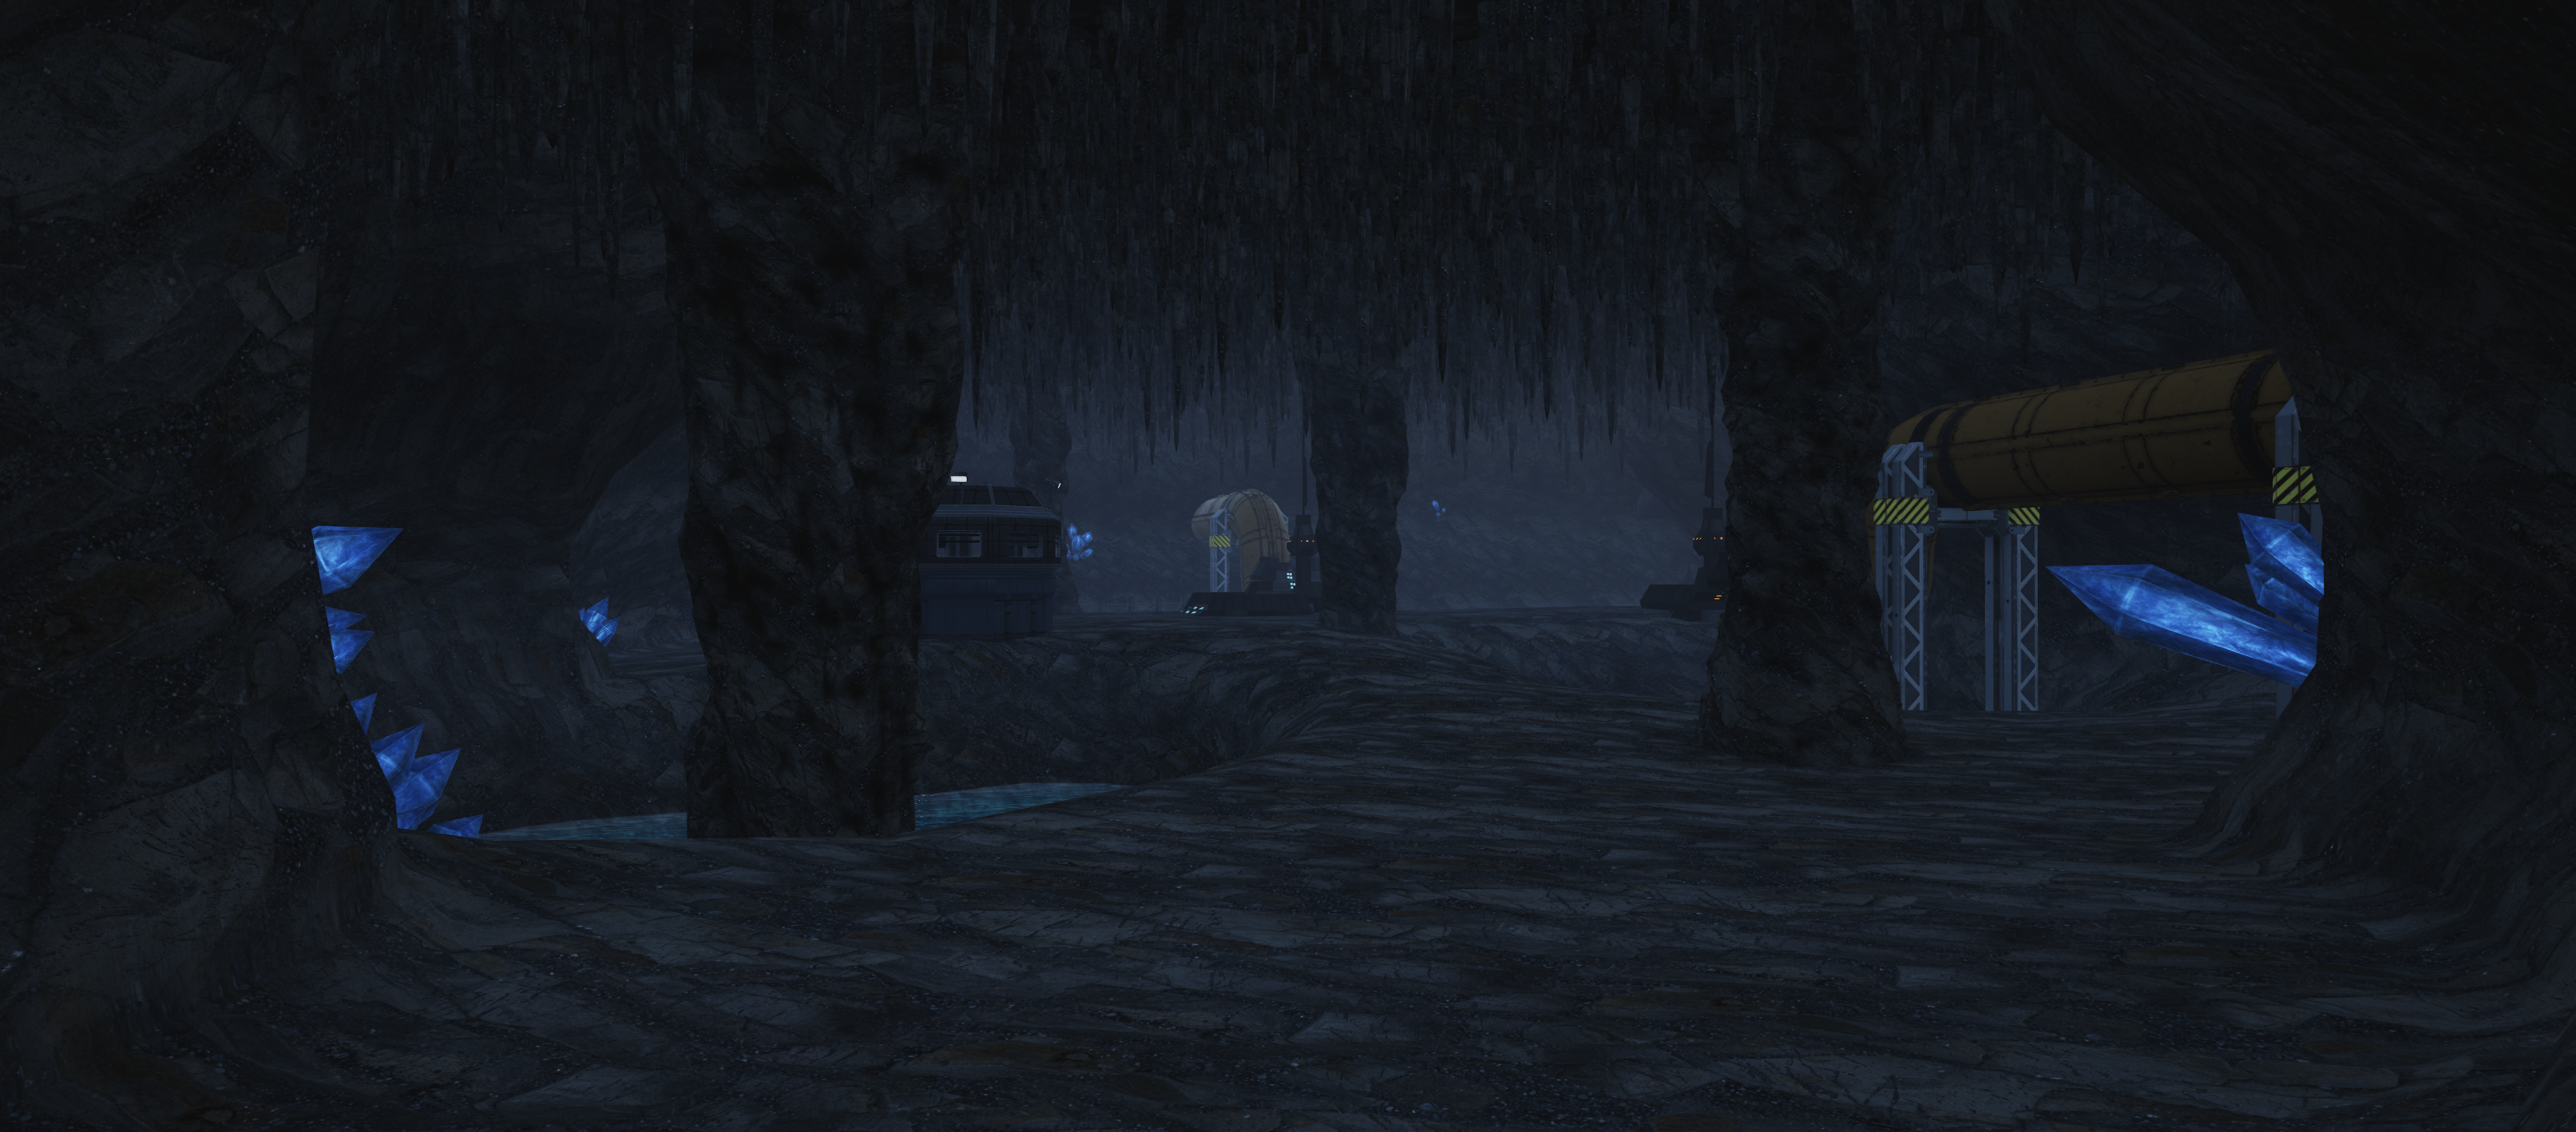
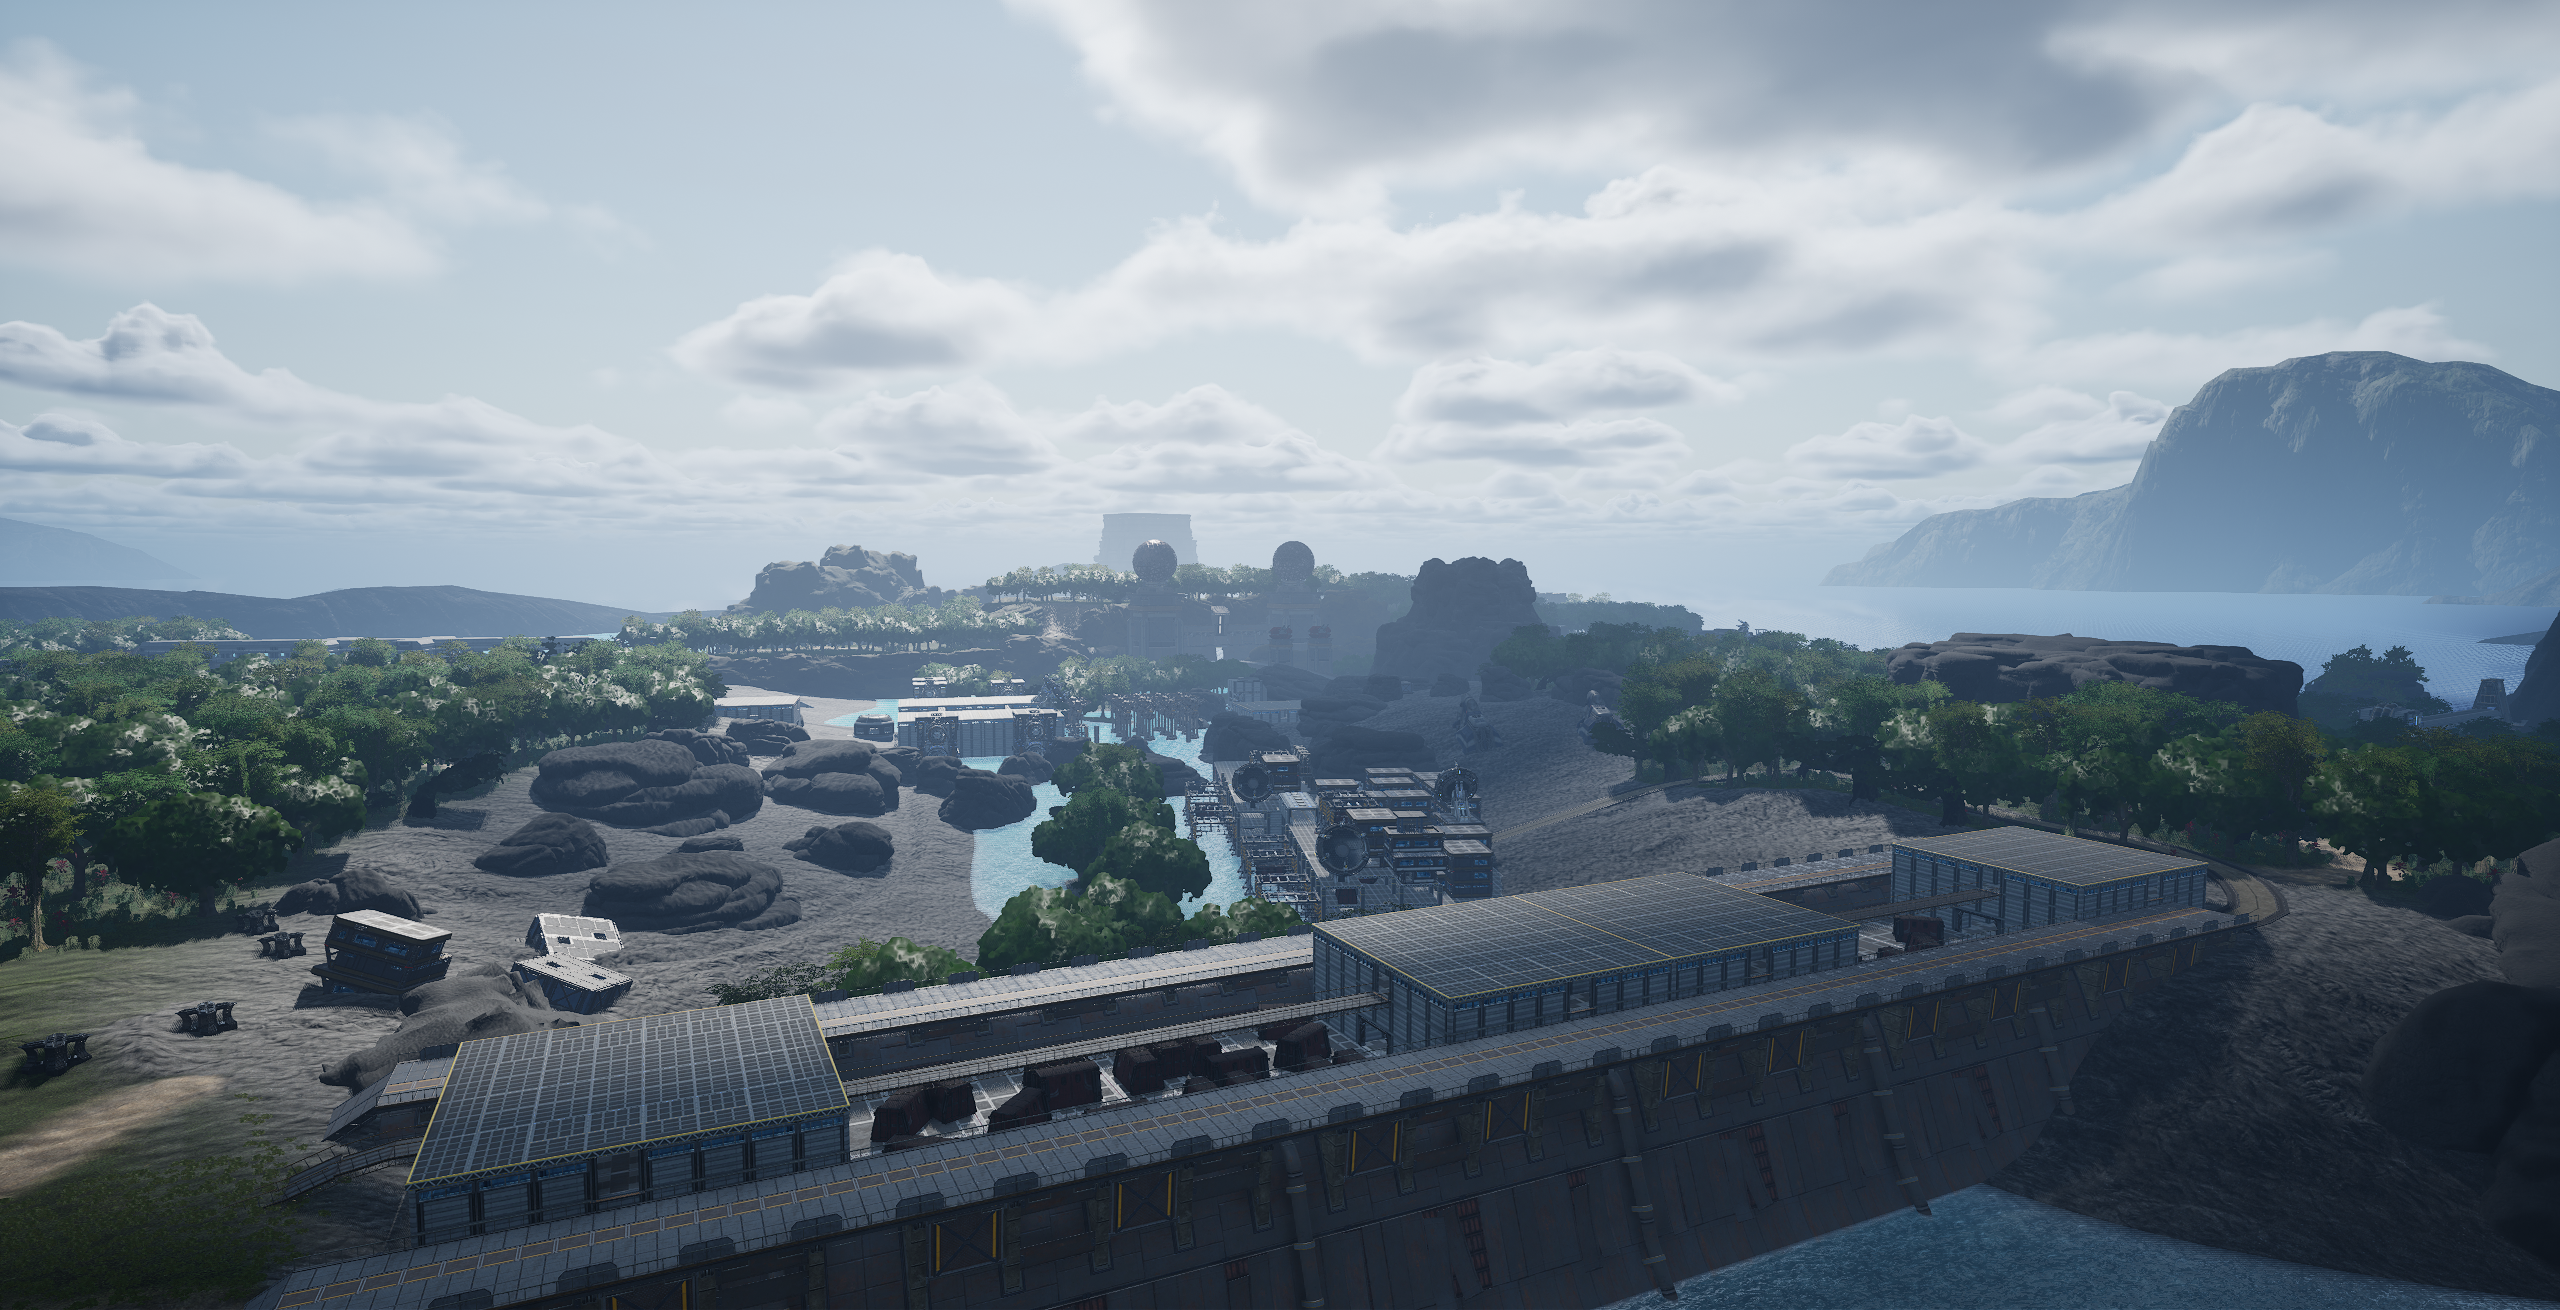
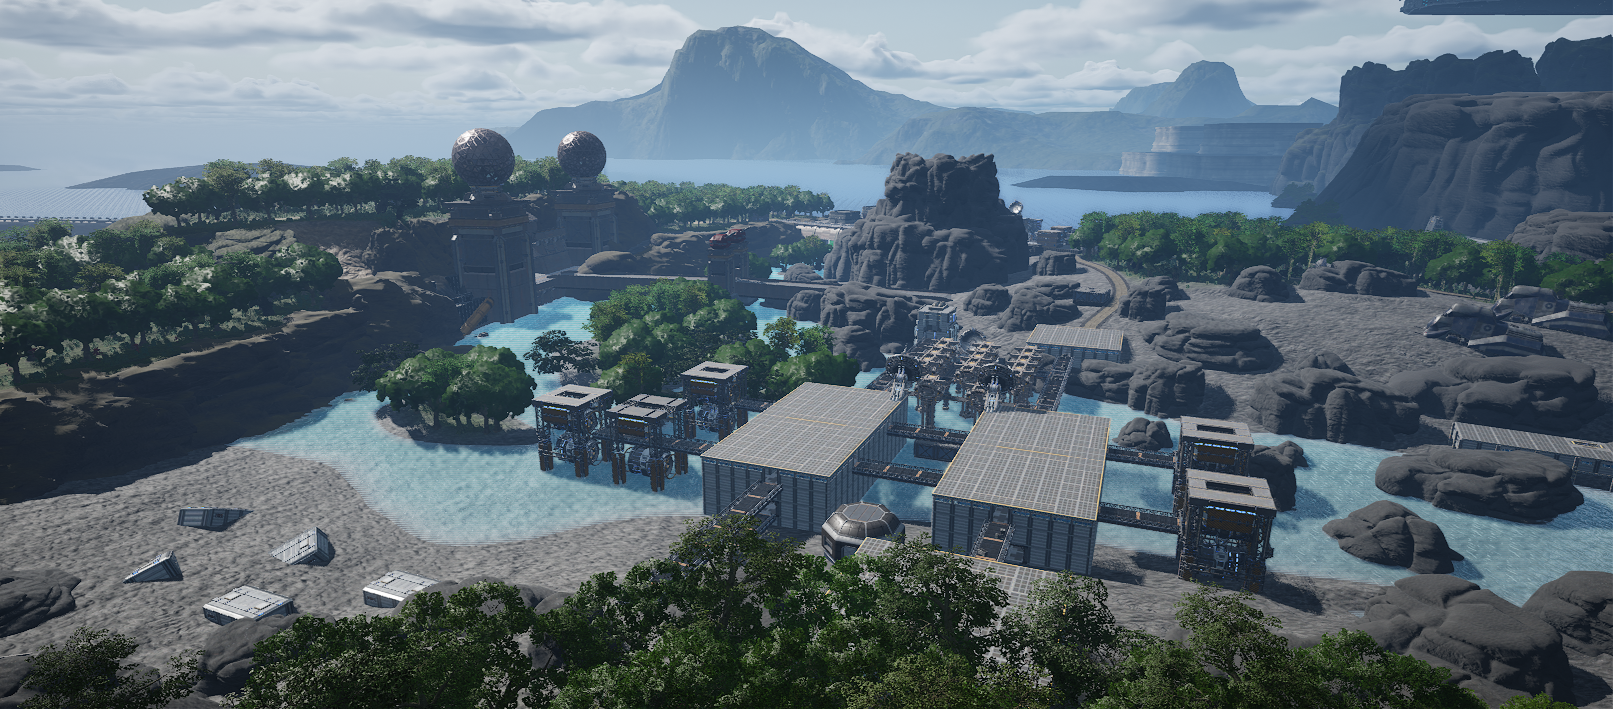
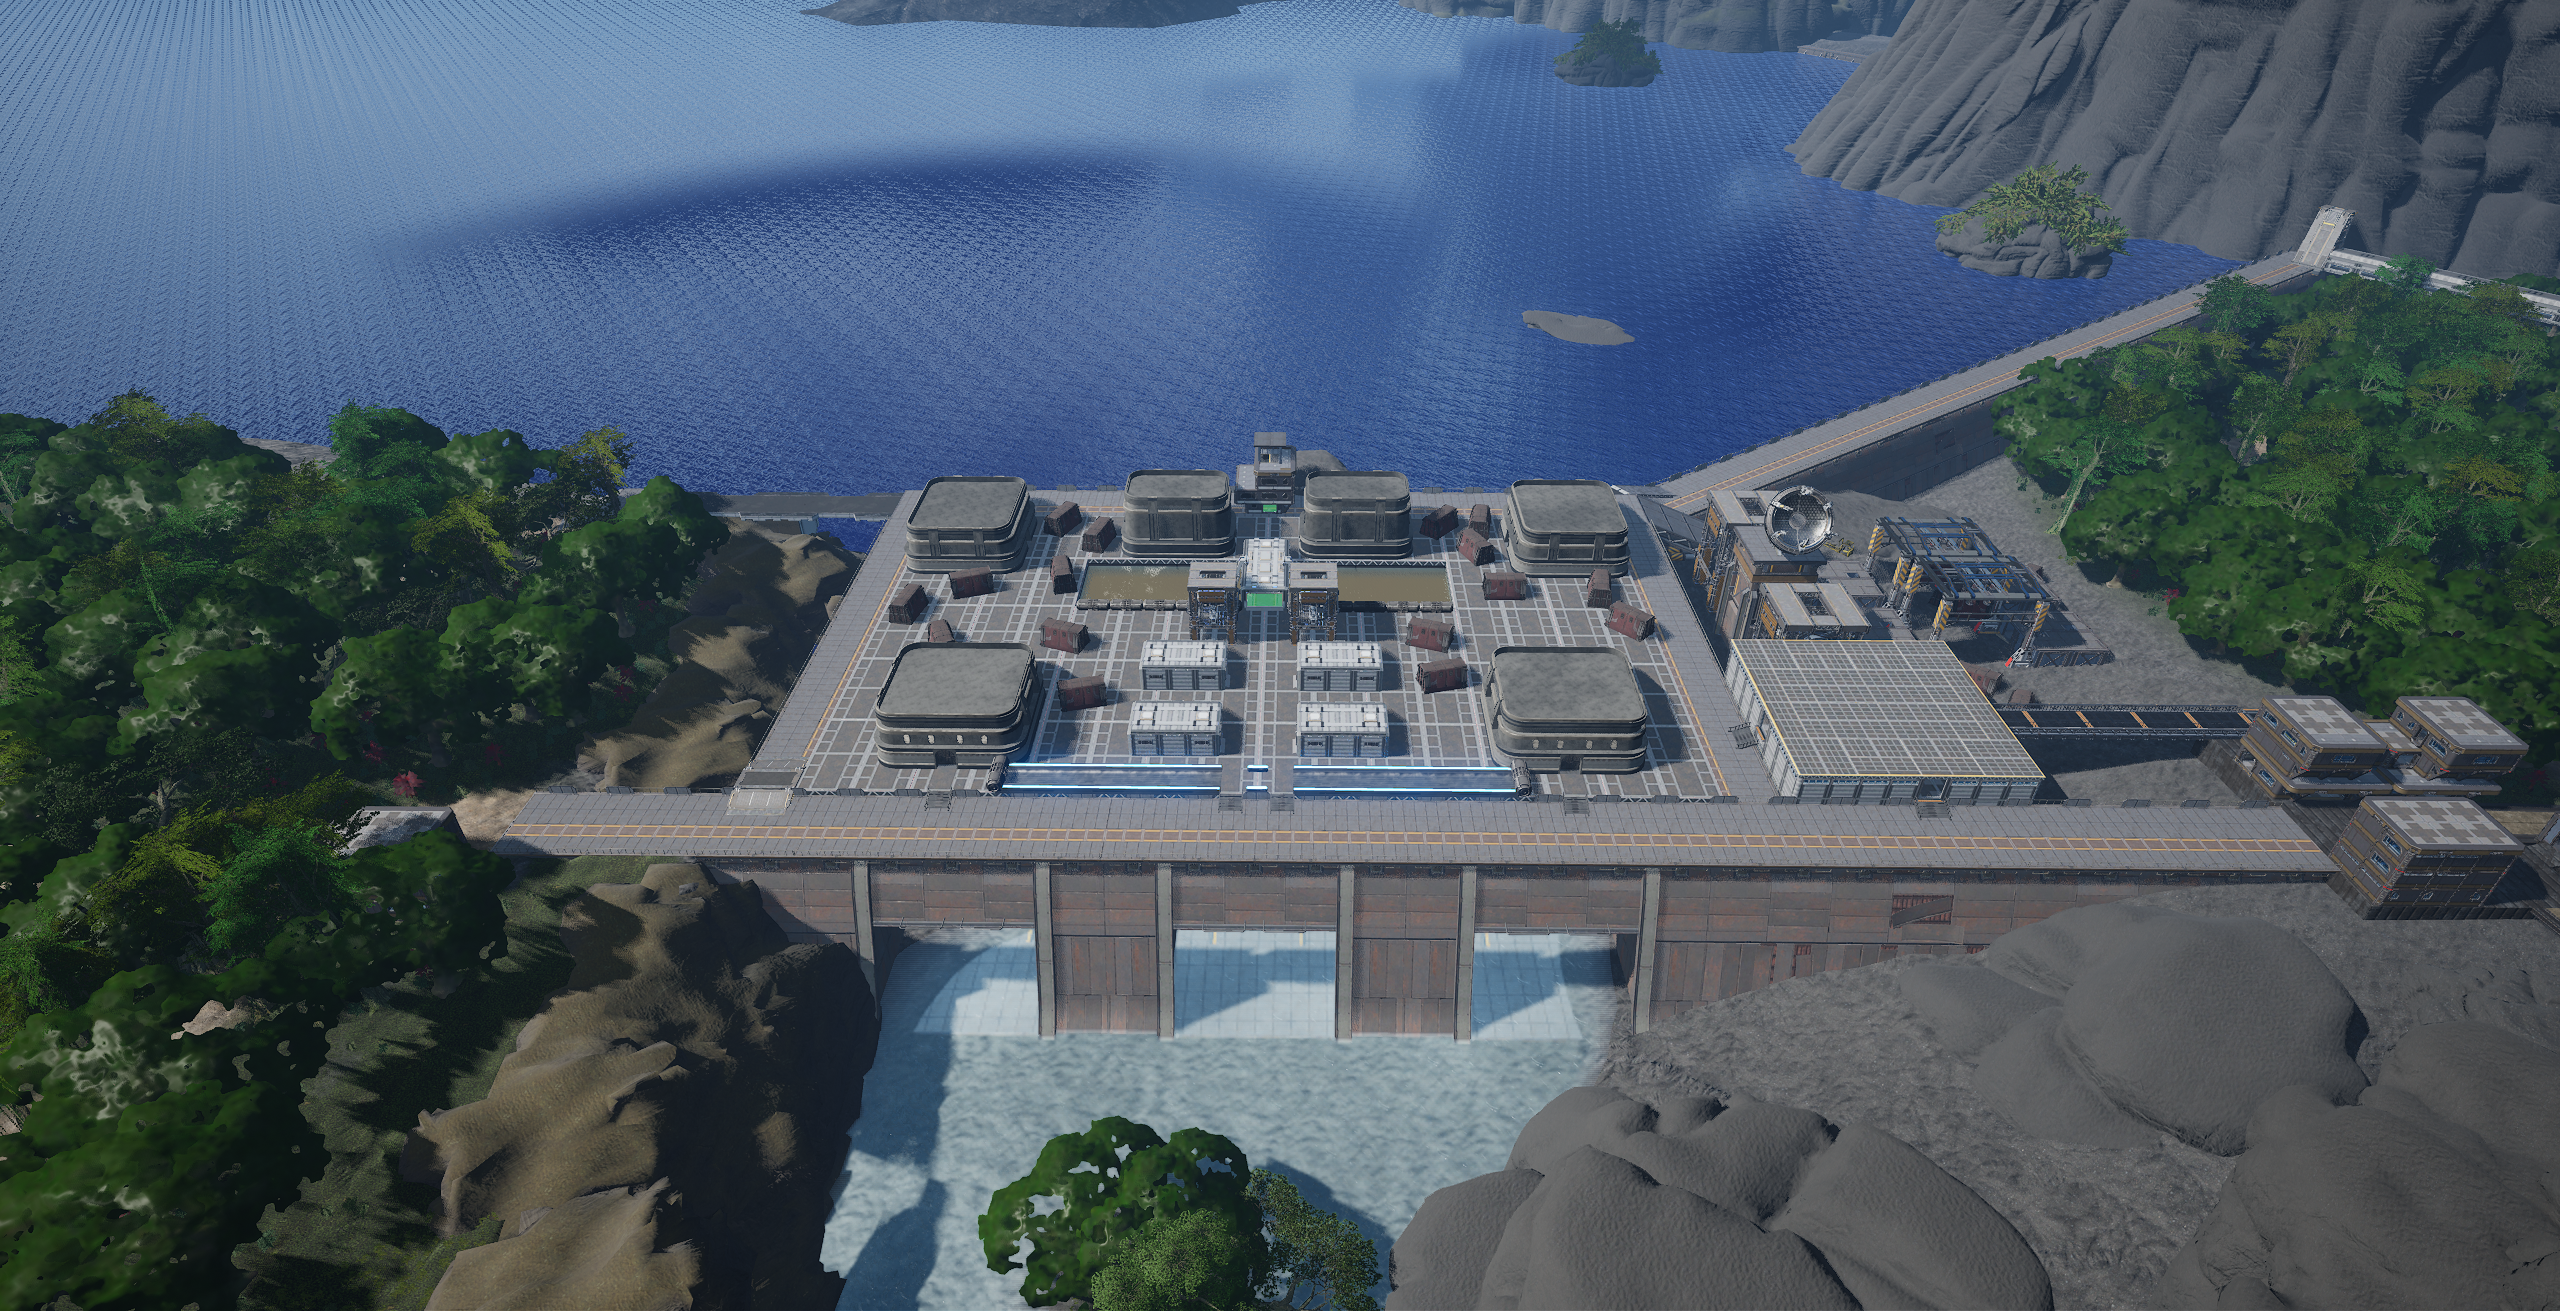
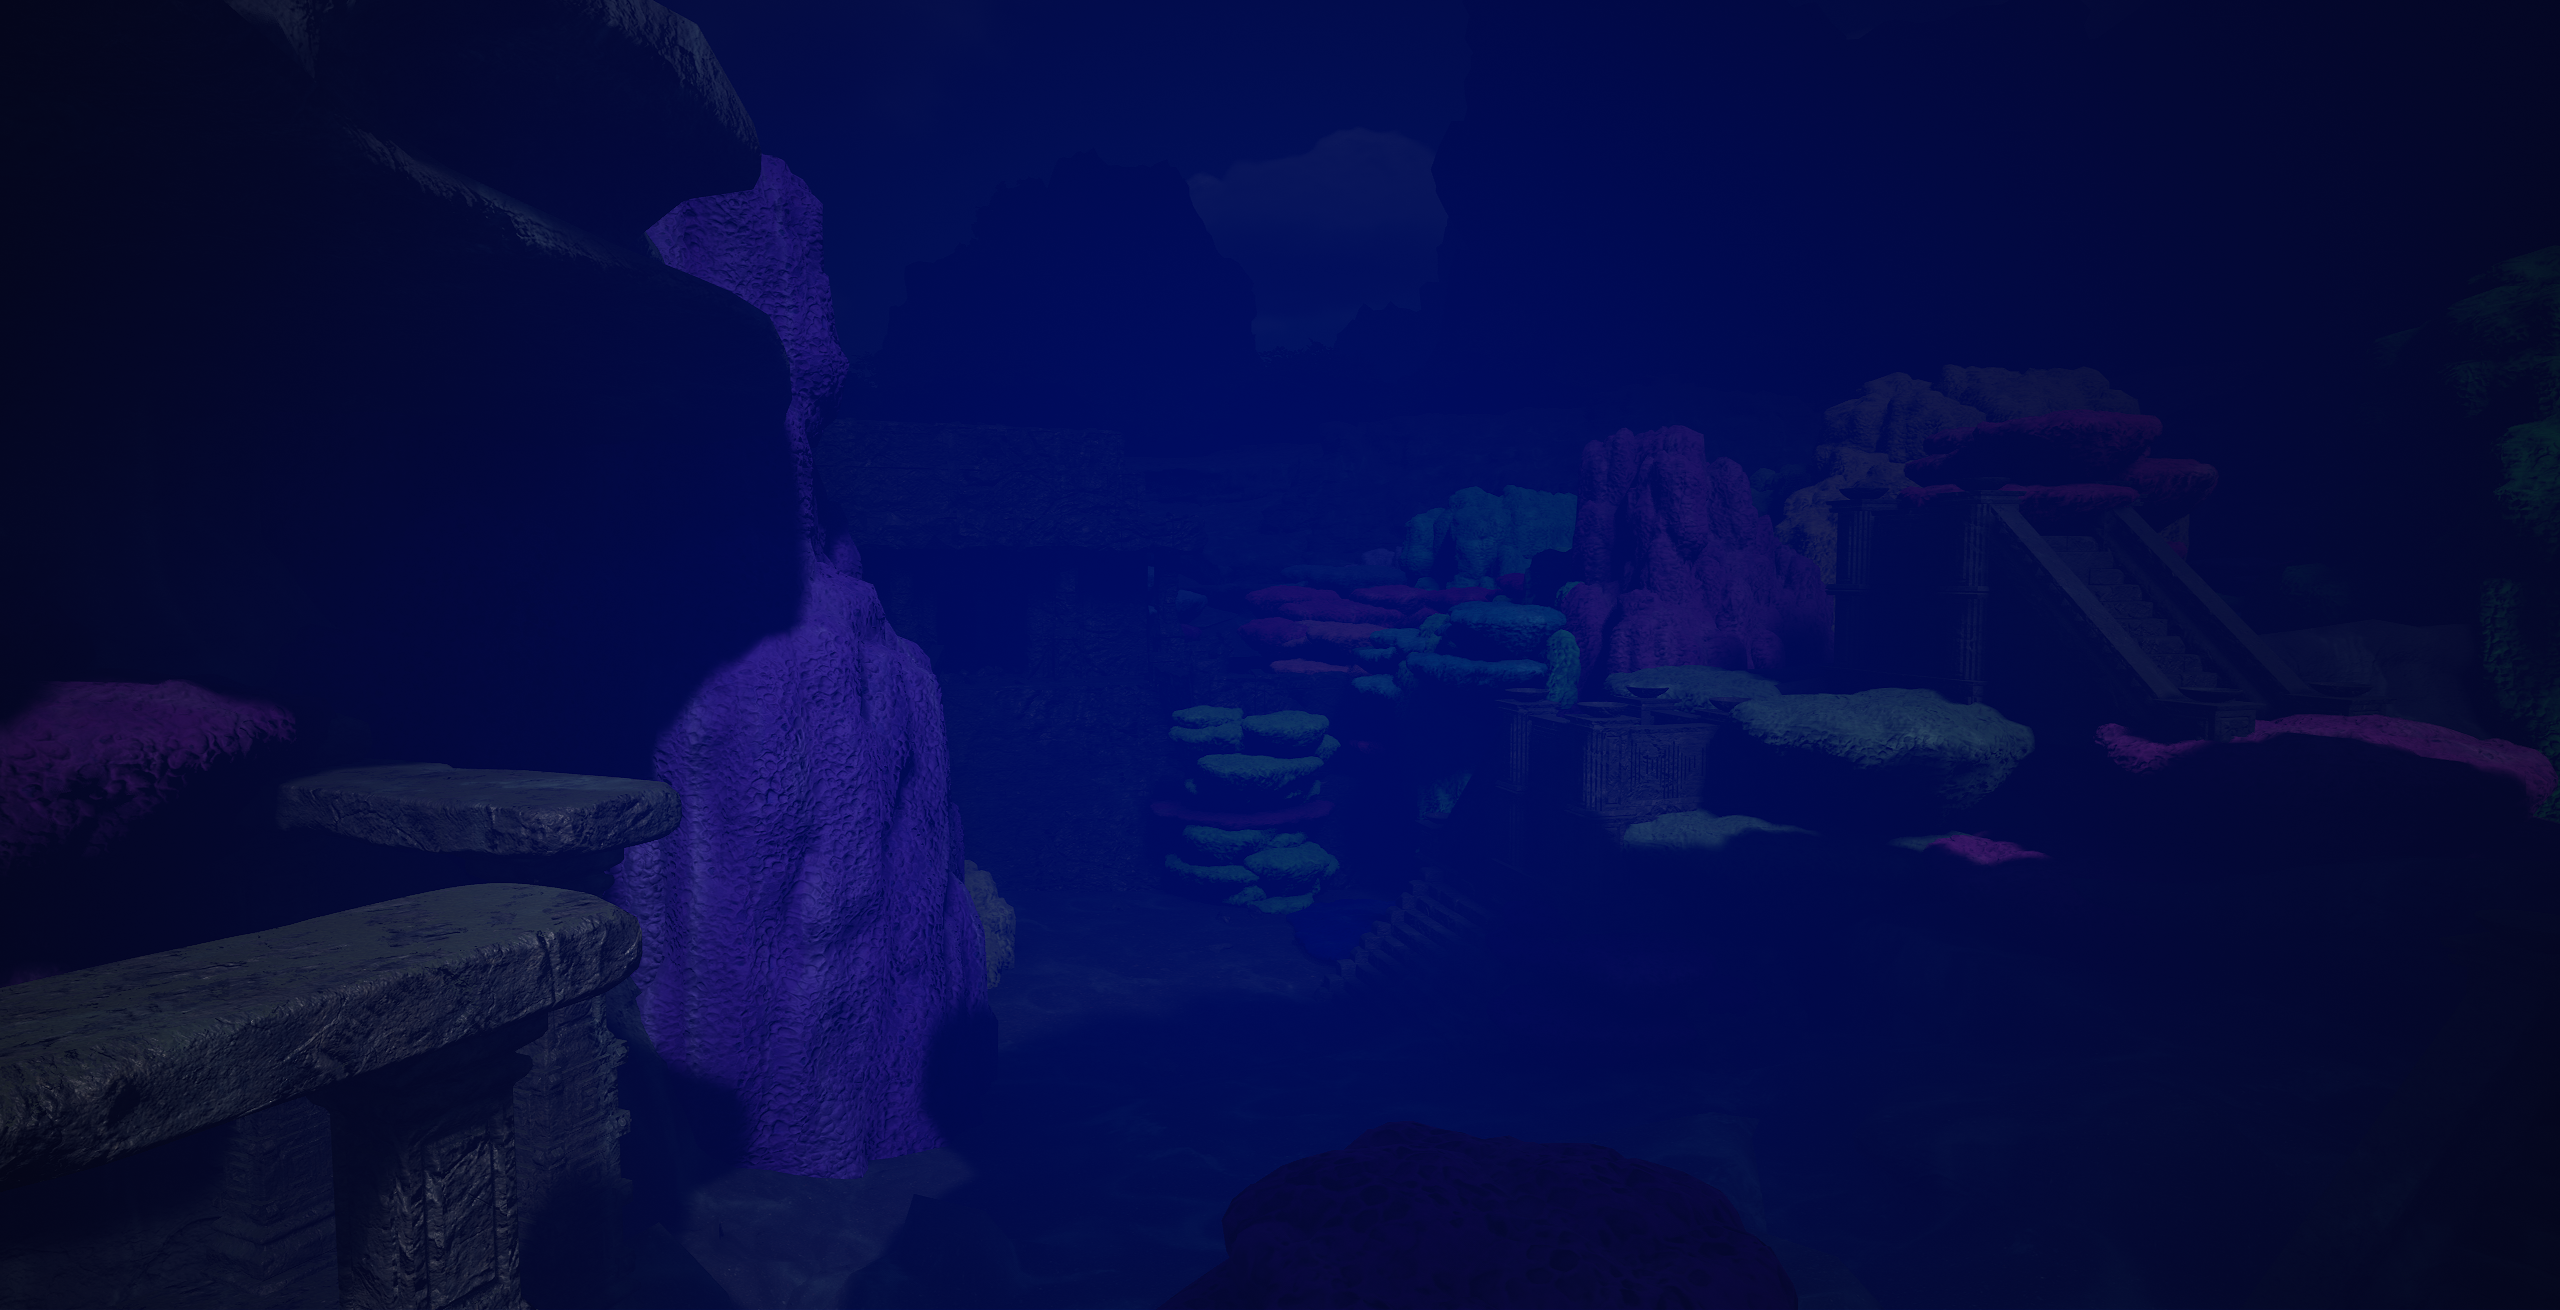
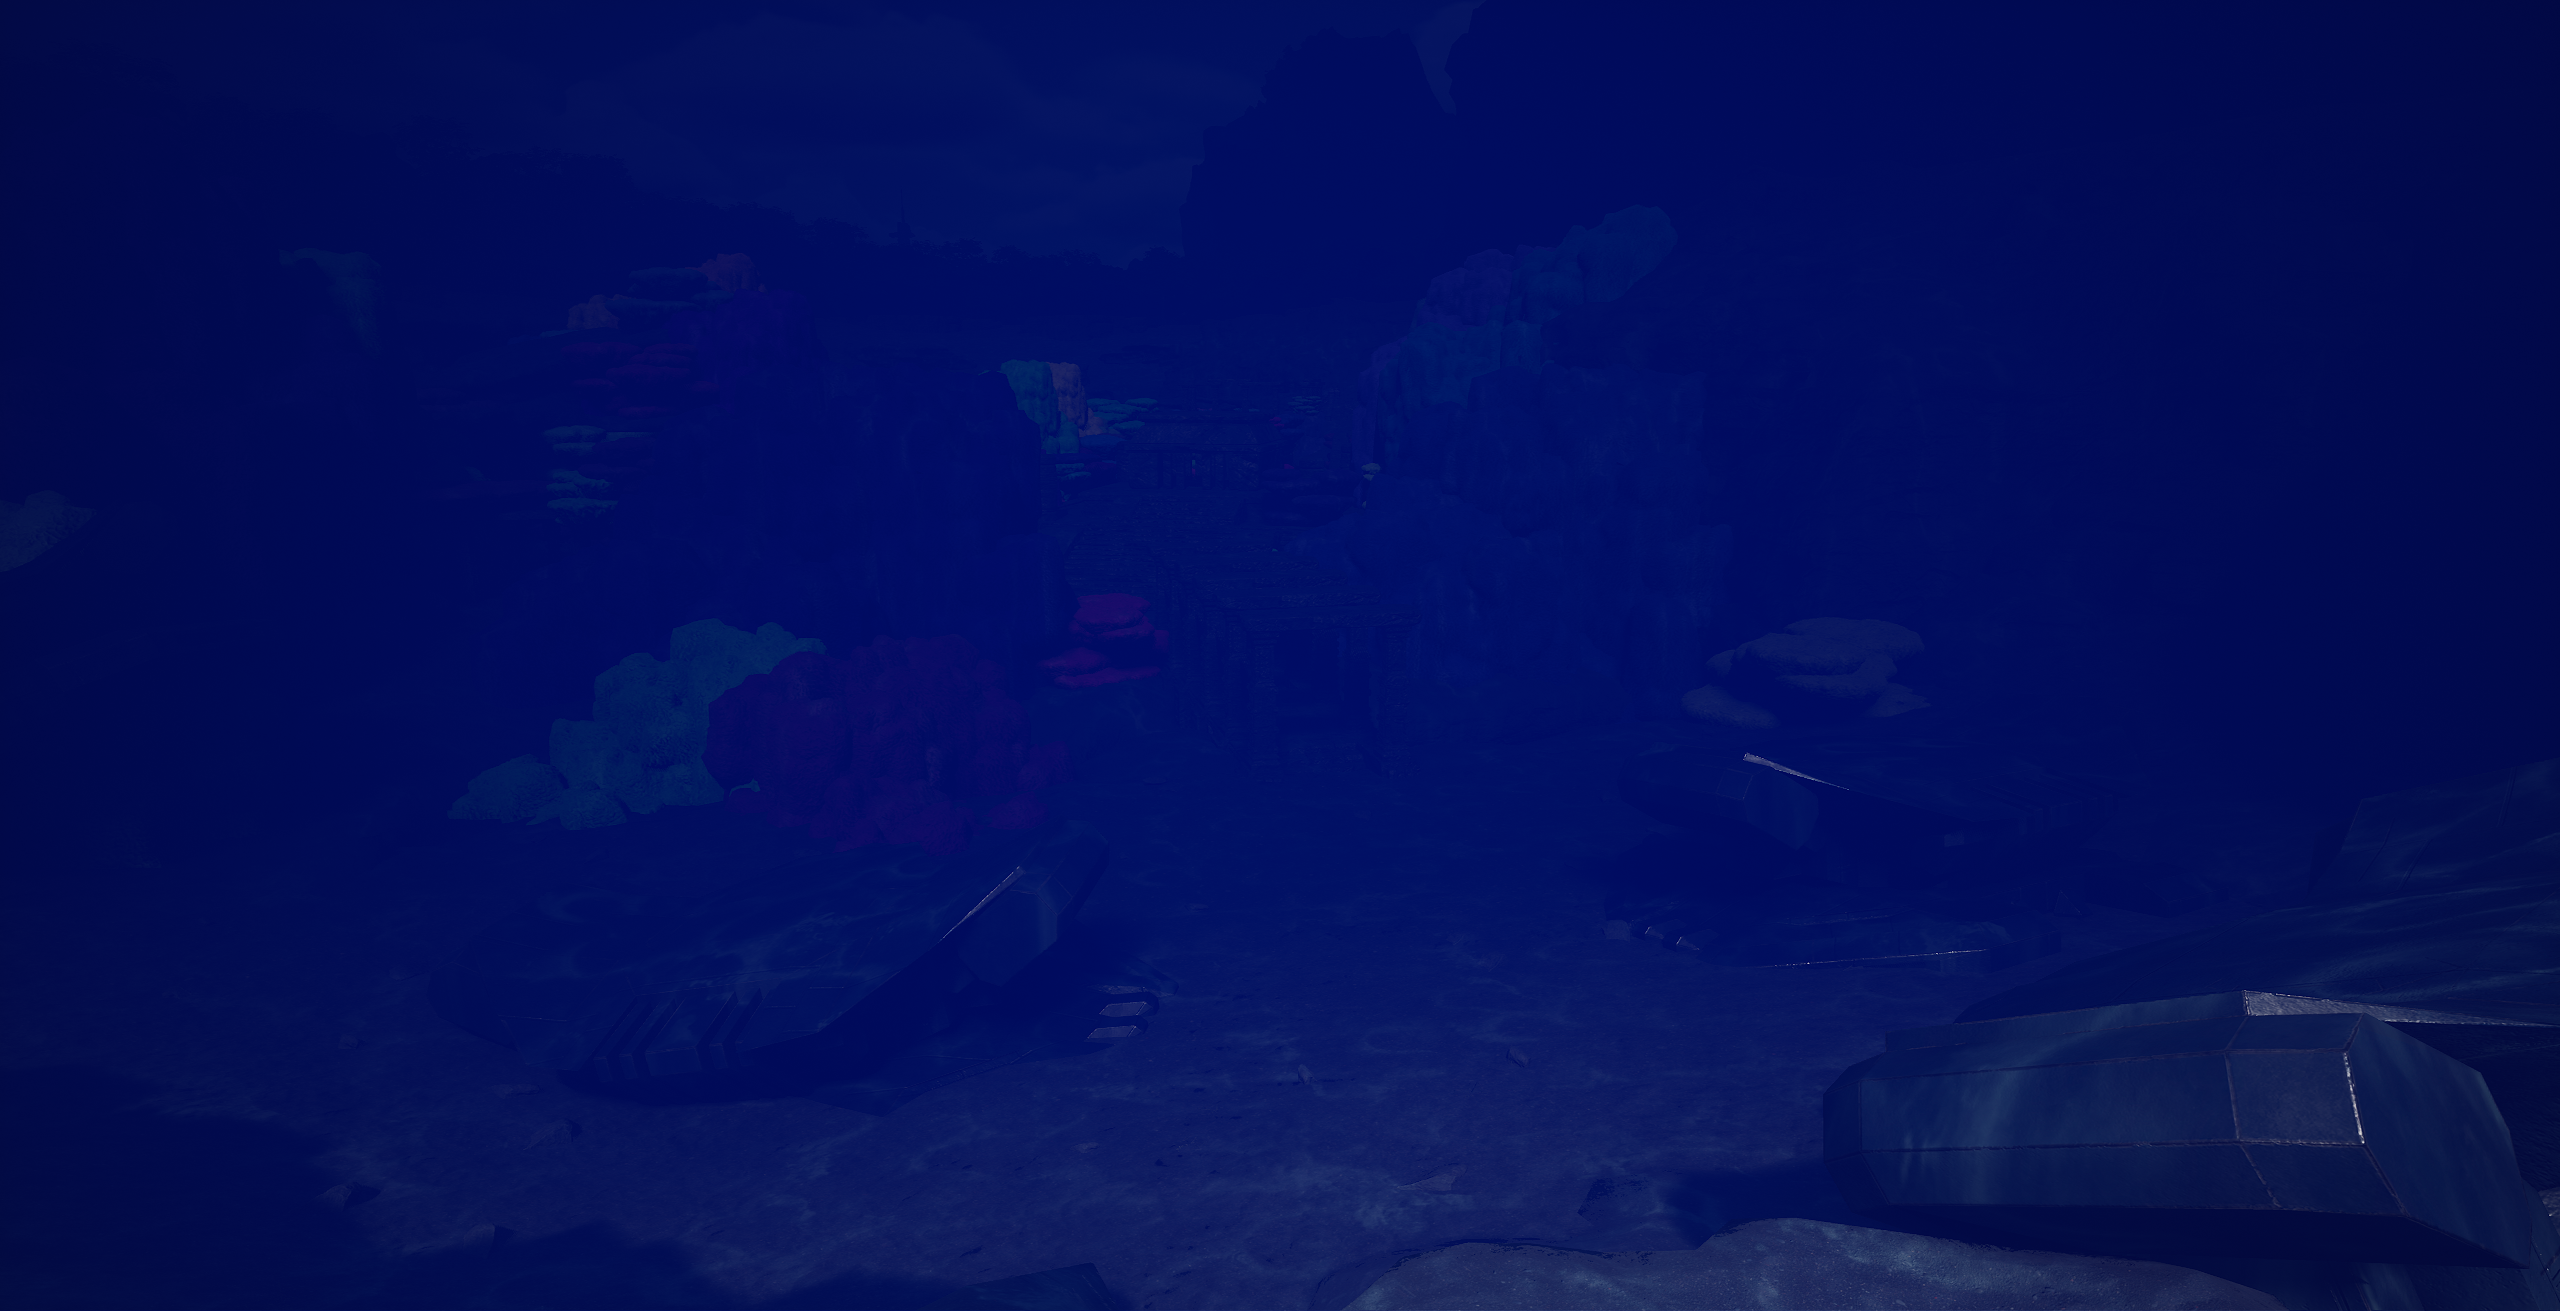
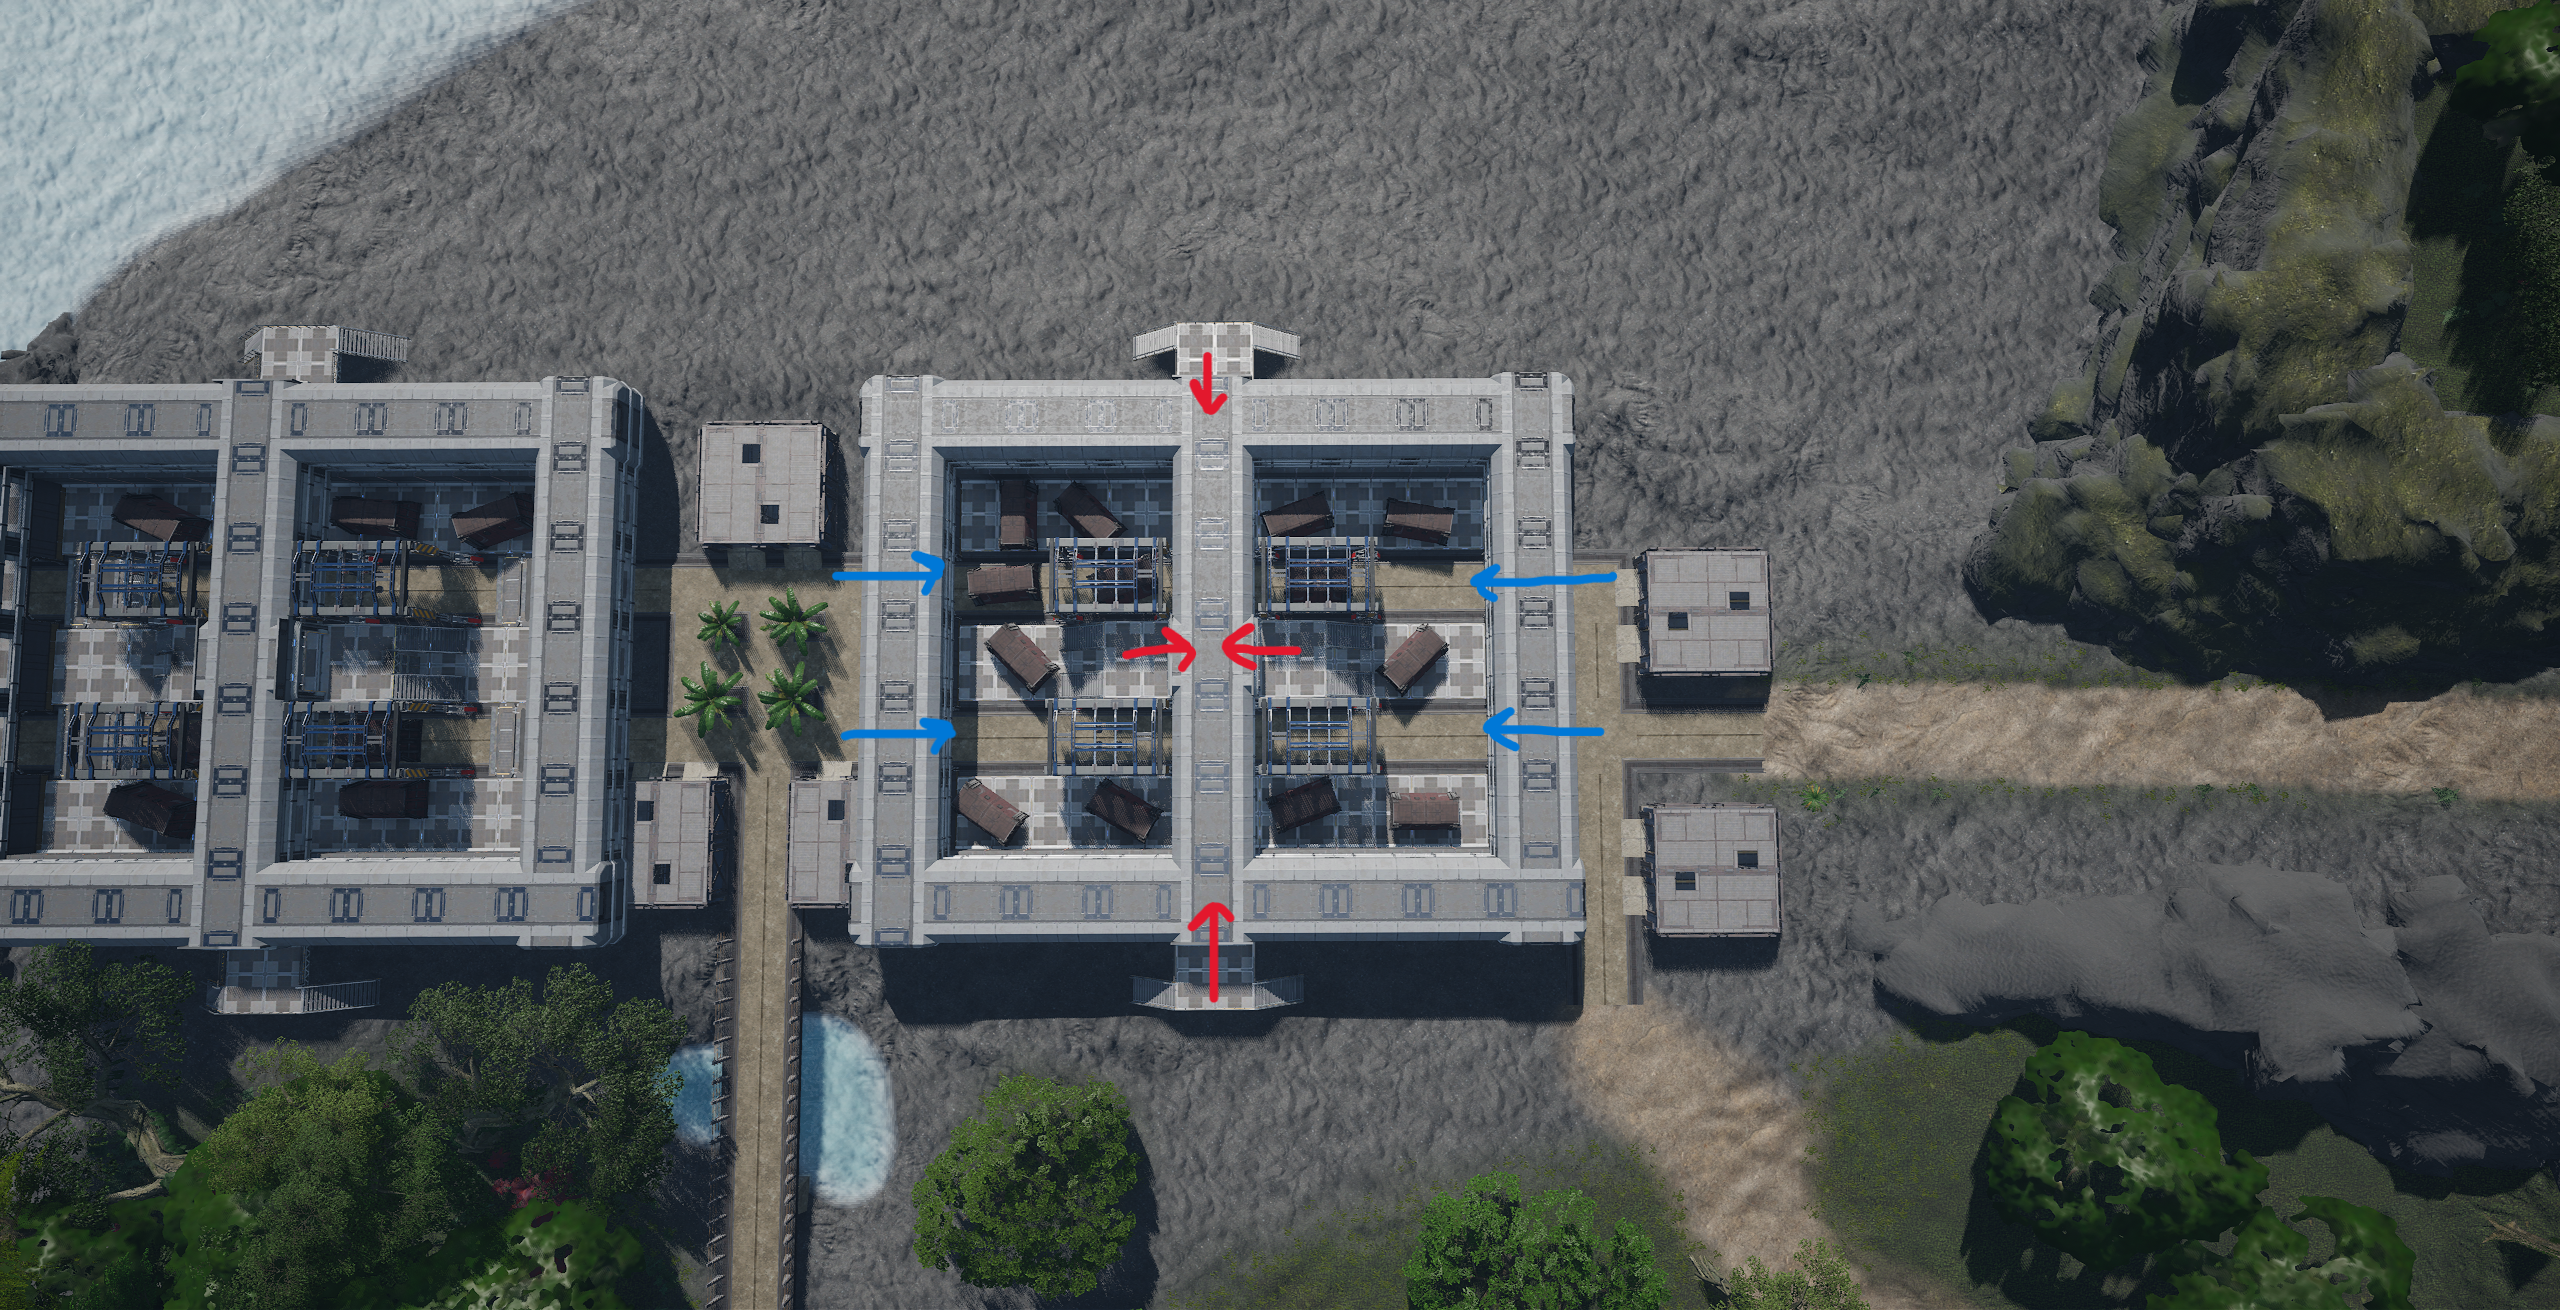
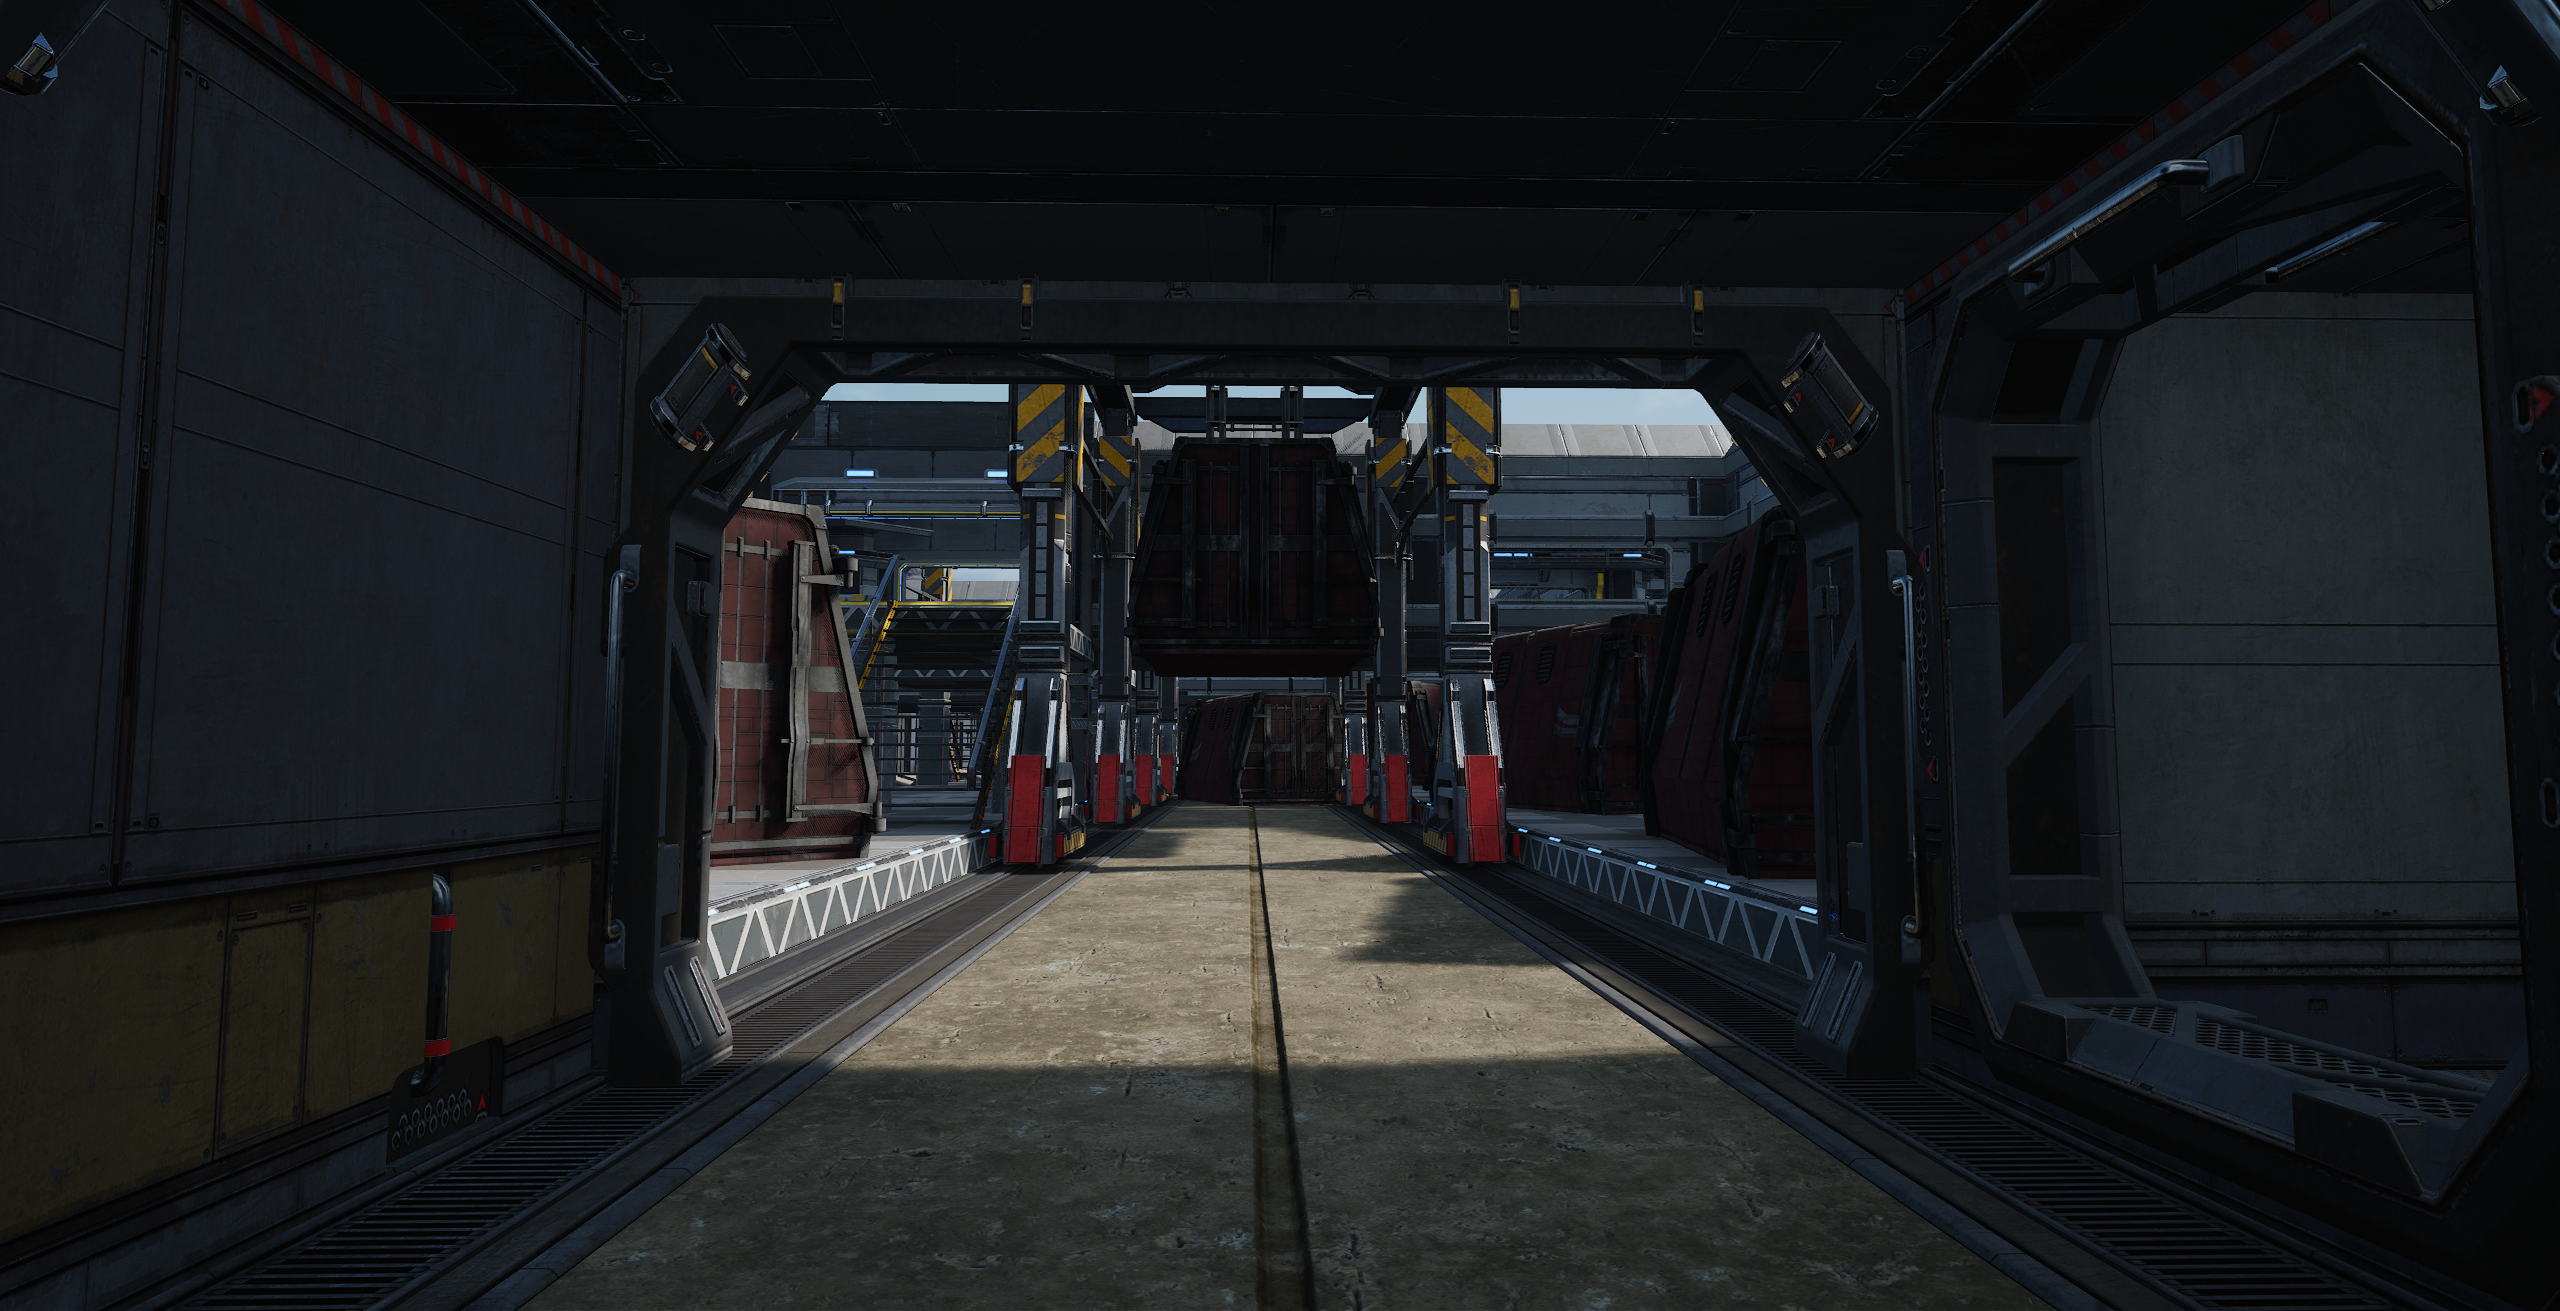
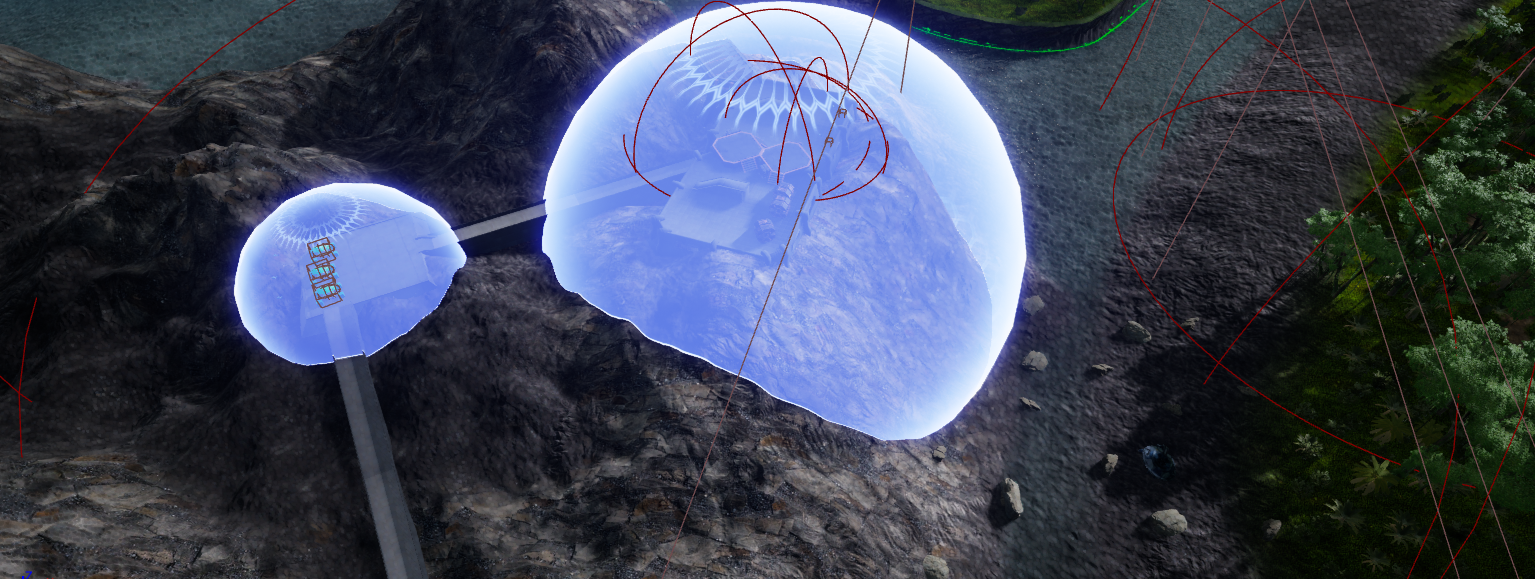
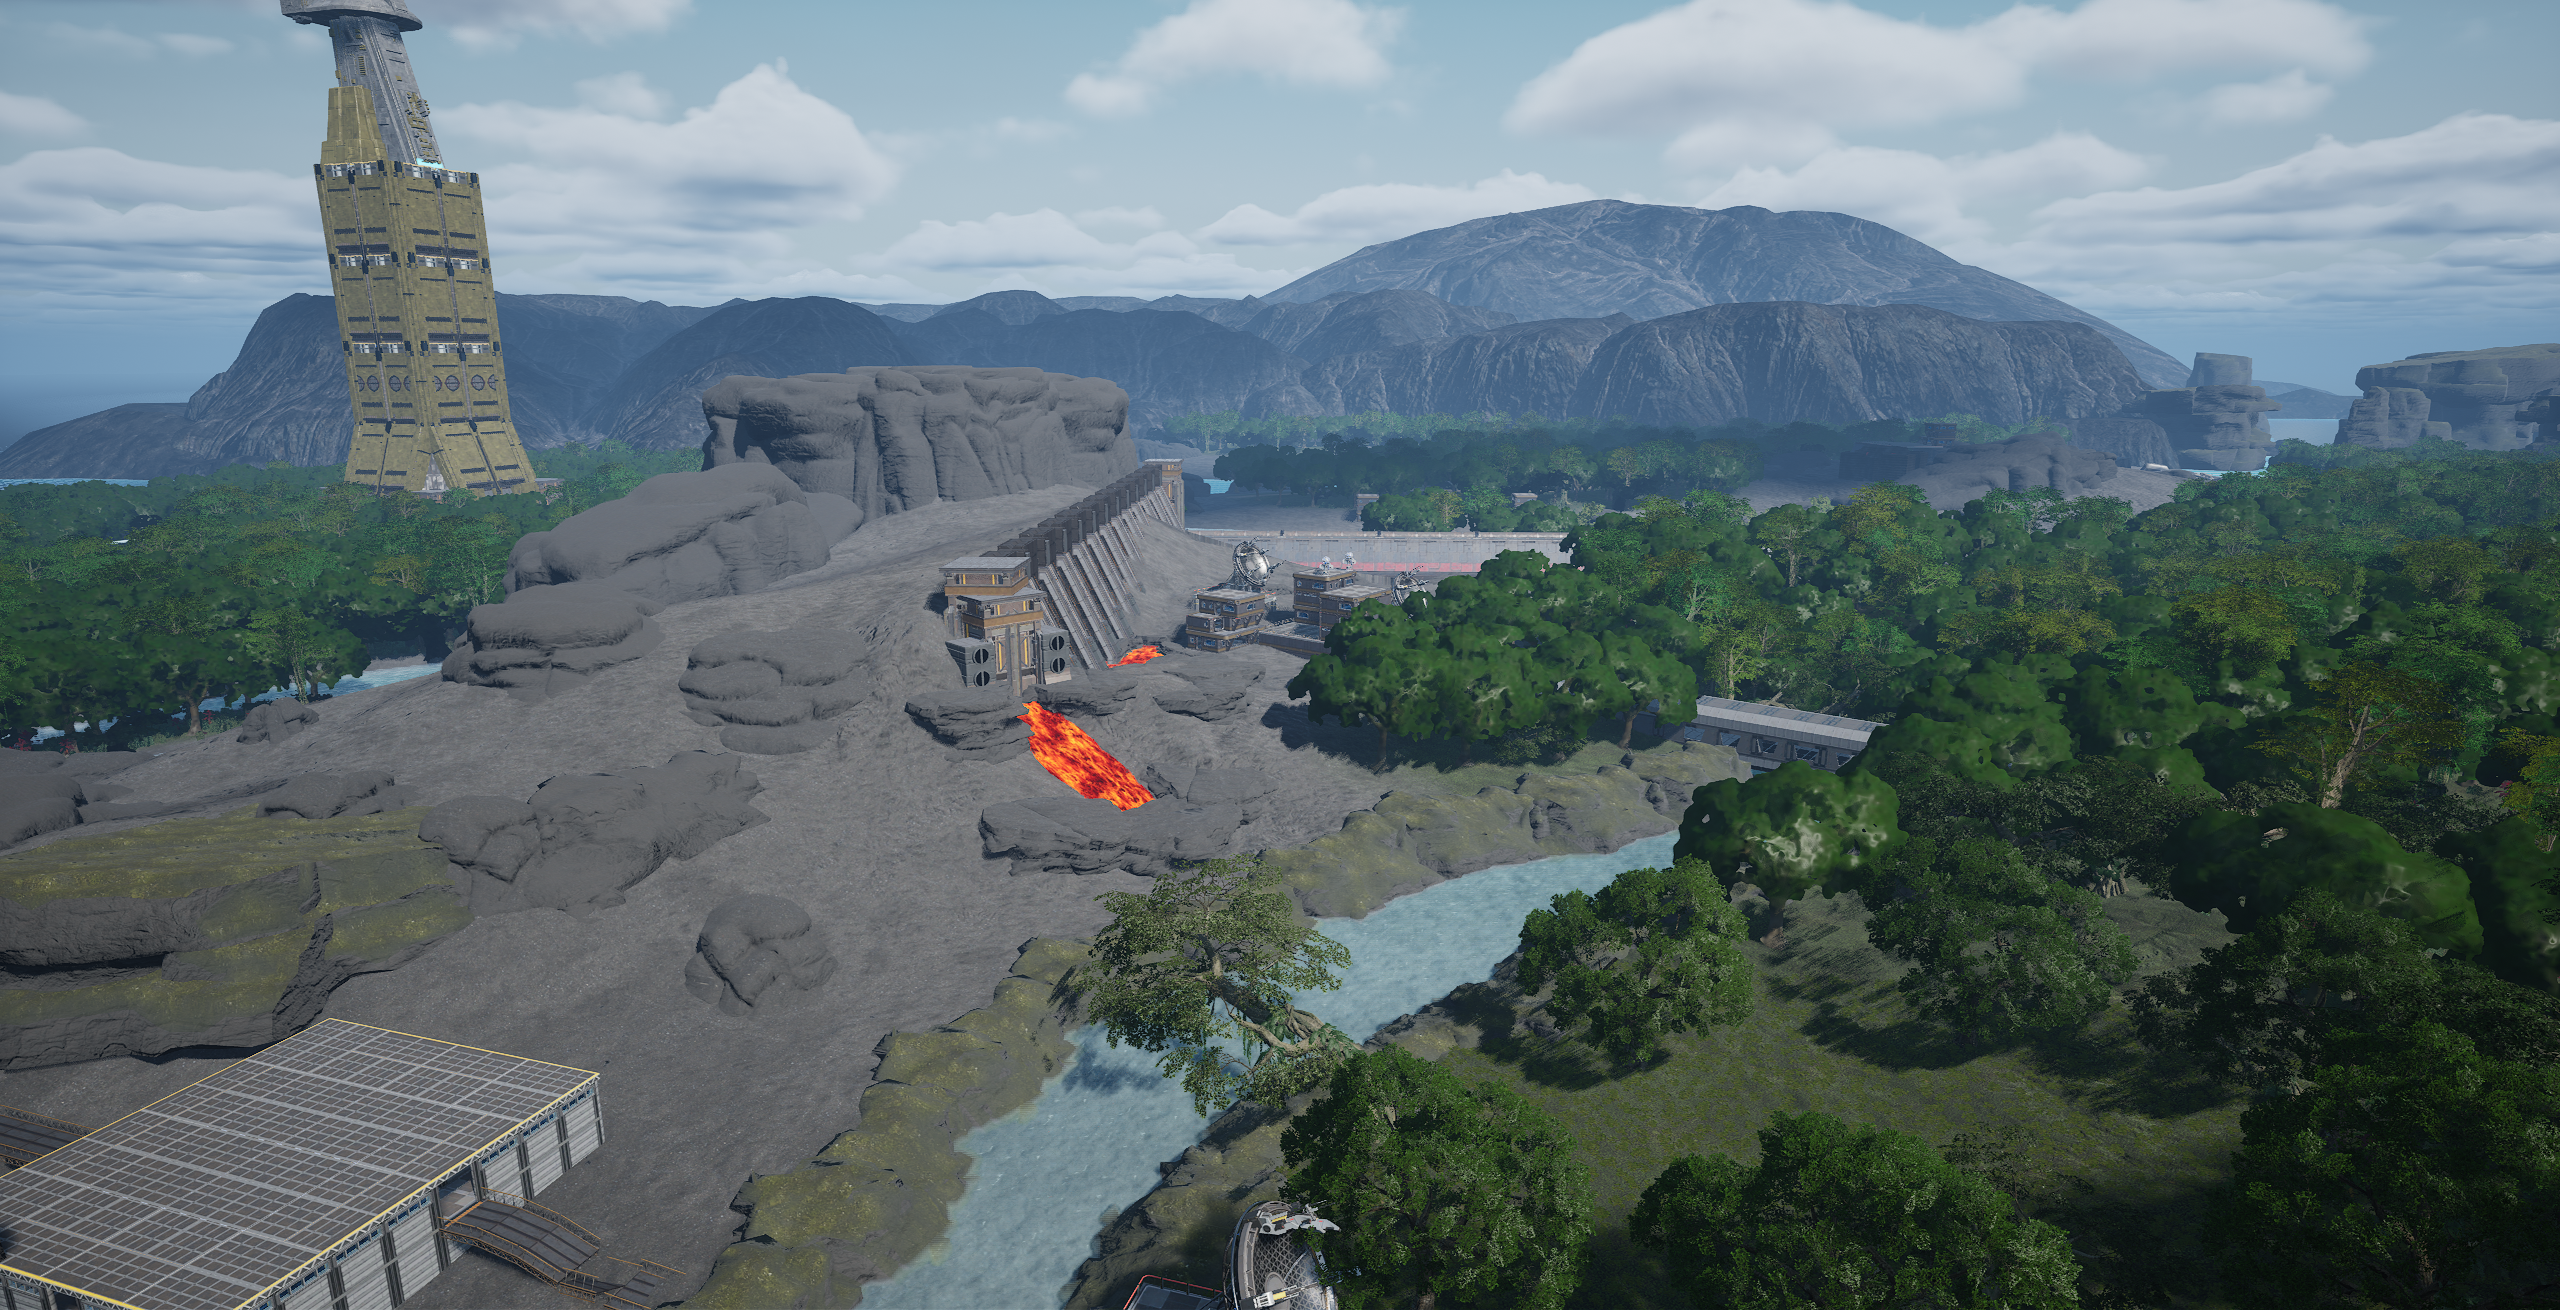
 On the other end of things, we have the defender's 'nest egg' objective. Attackers are limited to four narrow lanes of attack, plus a very restricted 1-way tunnel lane mostly used
to insert saboteurs behind enemy lines. There are multiple strong points that the defenders may use, all of which are protected from orbital bombardment and have ideal firing positions. The caveat to all of this, however, is that the defenders must choose to either
strongly defend one of them, or weakly defend all. Because of how the logistics and base building mechanics work, there are no other options. The initial version of this objective is shown to the left, but it has since been updated to the above, so as to have better gameplay and visuals.
On the other end of things, we have the defender's 'nest egg' objective. Attackers are limited to four narrow lanes of attack, plus a very restricted 1-way tunnel lane mostly used
to insert saboteurs behind enemy lines. There are multiple strong points that the defenders may use, all of which are protected from orbital bombardment and have ideal firing positions. The caveat to all of this, however, is that the defenders must choose to either
strongly defend one of them, or weakly defend all. Because of how the logistics and base building mechanics work, there are no other options. The initial version of this objective is shown to the left, but it has since been updated to the above, so as to have better gameplay and visuals.